User Guide
|
Eclipse HX-PiCo
Page 53
2)
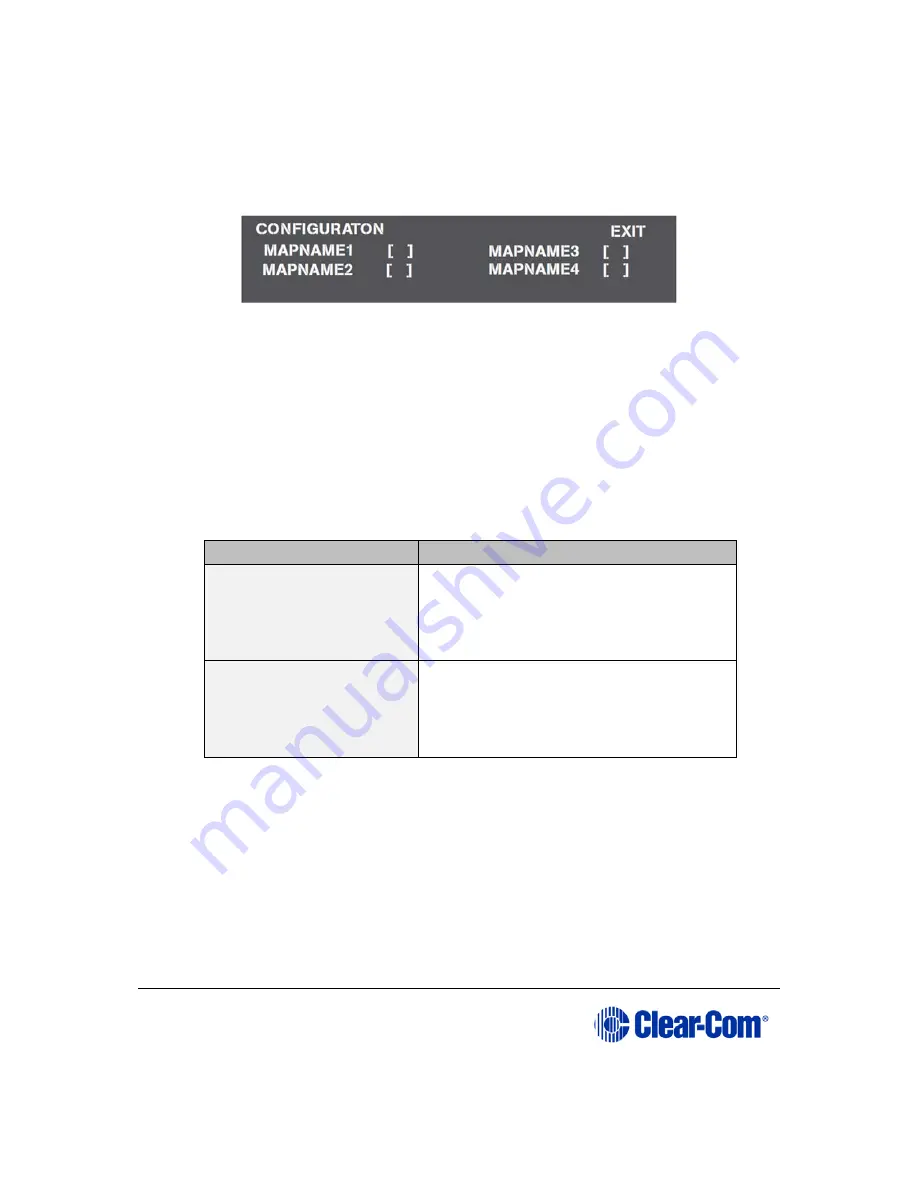
The Configuration menu is displayed showing the names of each of the four
onboard configuration maps, as programmed in the EHX software.
Figure 23: Configuration menu display
3)
Scroll to the desired configuration map’s checkbox. Press the setup/enter
rotary control to select the configuration.
An X is displayed in the configuration’s checkbox when it is selected.
4)
A screen appears asking for the selection to be confirmed. Select Yes to
confirm the selection or select No or Exit to cancel the changes.
The Reset menu is displayed. From the Reset menu, select one of the following:
Reset option
Description
Reset
Resets the system to the currently
selected configuration, while restoring
active calls and activating any changes
made from the Eclipse HX-PiCo’s front
panel since the last reset.
Clear Xpoints
Resets the system to the currently
selected configuration, while clearing
active calls and clearing any changes
made from the Eclipse HX-PiCo’s front
panel since the last reset.
Table 15: Reset options
5)
To exit the menu, scroll to and select EXIT.
Note:
Selected crosspoints can be cleared without resetting the system by using the
Apply Labels menu in EHX. For more information, see your EHX documentation.
6.6
Setting the IP address for the Eclipse HX-PiCo
The factory default for the Eclipse HX-PiCo IP address is DHCP enabled.
When a DHCP server is located, and an IP address is allocated, then the Eclipse HX-
PiCo’s IP address can be viewed using the menu system.


