10
EN
G
LI
SH
6. Operating Instructions
6.1 Basic use
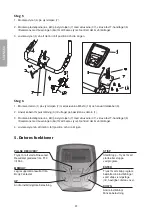
Activating the display
Push one of the buttons or start pedalling to activate the display. If the display does not work, make sure that
the AC/DC adaptor is correctly connected.
Tension
The tension is represented by bars on the display, a high bar represents a high tension and a low bar repre-
sents a lower tension. The tension can be altered whilst you are exercising using [UP] and [DOWN].
Targets
Every exercise program has various targets which you can set, such as the workout time, distance travelled,
or number of calories burned.
To Pause
Push the [ST/SP] button whenever you would like to pause the training programme. The measurement will
pause and the display will show the current values. Push [ST/SP] again to resume the programme.
To change the function whilst training
Push [ST/SP] to stop the current programme. Push [UP] or [DOWN] to select another programme, confirm by
pushing [ENTER].
Resetting
To reset set programmes, push [ST/SP] and hold it in for 3 seconds. The computer will beep and the display
will briefly show every sequence of the programme.
6.2 Selecting an Exercise Programme
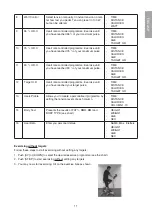
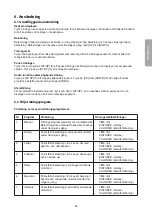
Explanation of the menus/programmes
No.
Programmes
Explanation
Targets/Settings
1
Manual
Exercise programme with or without set targets.
The tension can be manually adjusted whilst
exercising.
- TIME
- DISTANCE
- CALORIES
2
Rolling
Preset programme with varied tension throughout
the workout.
- TIME
- DISTANCE
- CALORIES
3
Valley
Preset programme representing the ups and
downs of a valley.
- TIME
- DISTANCE
- CALORIES
4
Fat Burn
Preset programme representing an upward slope
and a downward slope.
- TIME
- DISTANCE
- CALORIES
5
Ramp
Preset programme with gradually increasing
tension.
- TIME
- DISTANCE
- CALORIES
6
Mountain
Preset mountain climbing programme with tension
levels rising and falling throughout.
- TIME
- DISTANCE
- CALORIES
7
Intervals
Preset programme with the tension level changing
rapidly.
- TIME
- DISTANCE
- CALORIES
Summary of Contents for AC-6472C
Page 2: ......
Page 5: ...ENGLISH 3 Contents of package Bolt M8x70 Dome nut M8 Washer M8 Allen key Screwdriver...
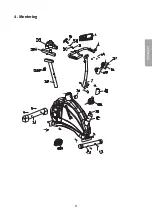
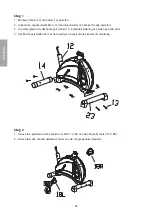
Page 6: ...ENGLISH 4 Assembly...
Page 15: ...15 ENGLISH 9 Exploded view 11...
Page 21: ...21 SVENSKA 4 Montering...
Page 30: ...30 SVENSKA 9 Spr ngskiss 11...
Page 36: ...36 NORSK 4 Montering...
Page 45: ...45 NORSK 11 9 Sprengskisse...
Page 51: ...51 SUOMI 4 Asennus...
Page 60: ...60 SUOMI 11 9 Kokoonpano...
Page 63: ......


