O
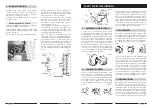
bevel side down, keep the base of the bevel
against the work. Good practice is to place the
skew well over the work, pull it back until the
edge begins to cut, then swing the handle into
position to advance the cut. Both the toe and
the heel of the skew can be used for taking
light cuts, but do not penetrate the wood too
deeply without cutting clearances, as there is
danger of burning the tip of the tool.
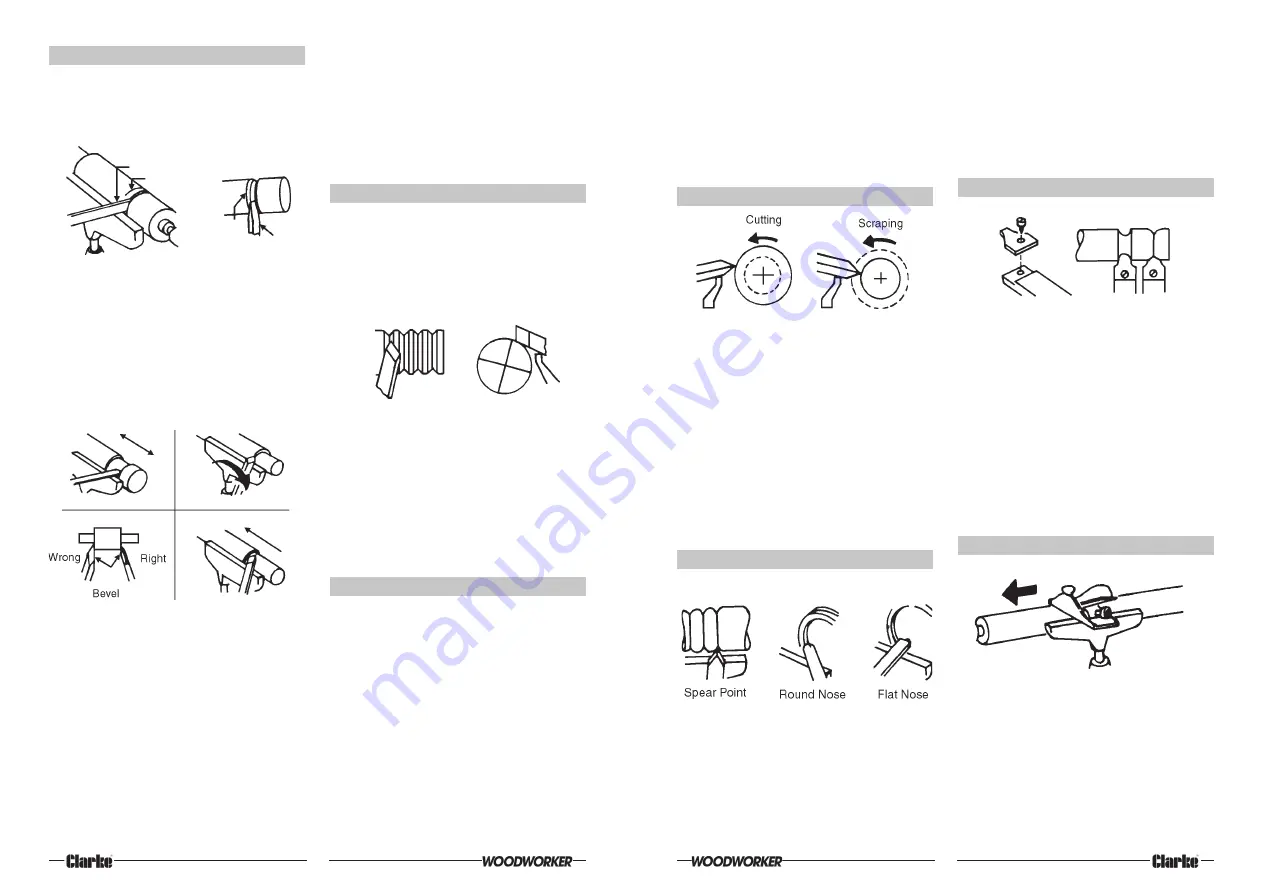
5. USING THE PARTING TOOL
scraping, when cutting methods cannot be
employed.
The spear point is used for fine scraping and
delicate operations, such as the forming of
beads, parallel grooves and shallow vees. Edges
and bowl contours can be rounded with the
round nose chisel. Any flat surface can be
scraped with the flat nose chisel.
7. USING SHAPER/MOULDING KNIVES
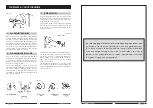
The parting tool has just one primary purpose to
cut straight into the workpiece as deep as
desired, or all the way through to make a cut-
off, it is therefore a very narrow tool. 1/8 inch
wide and shaped to cut its own clearance so
that the edge will not be burned. When used
for scraping, however, it should be backed off
regularly to prevent overheating.
Unlike the gouge and skew, the parting tool is
seldom held with the bevel against the work.
As the amount of stock removed is small, a
support for the bevel is not necessary. The tool
is simply fed into the work at an angle (for
cutting), or pointed at the workpiece centre (for
scraping) it can be held easily in one hand.
6. USING THE SCRAPING CHISELS
A 1/2” wide spear point chisel, a 1/2” wide round
nose chisel and a 1” wide flat nose chisel
complete the list of tools ordinarily used by home
craftsmen. Each of these scraping chisels can
be purchased in various other sizes for special
purposes. All are very useful for diameter
scraping operations and for circumference
An old chisel can be made to serve as a holder
for ‘shaper’ or ‘moulding’ knives. Such knives
make it possible to scrape many interesting
shapes in the workpiece surface in one or two
operations instead of the many operations
required with standard chisels. It is generally not
practical to use cutting methods with special
shape tools, scraping methods should be used.
The holder should provide a shoulder against
which the butt end of the knife can be firmly
seated, and the knife must be securely
mounted, either by means of a screw threaded
into the holder, or be compressing it between
two prongs bolted together.
8. USING A BLOCK PLANE
Clear glass smooth finishes (especially on soft
woods) can be obtained by using a block plane
set to take a fine shaving. The tool rest should
be raised up approximately to the top of the
workpiece, and the plane should be horizontal,
but turned slightly in the direction of travel so
that it will take a shearing cut. Two tool rests,
one in front and the other behind the work, can
be used to advantage in positioning the plane
so as to exactly limit the depth of cut (and
finished size of the workpiece).
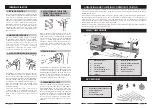
15
Fig. 17
Fig. 19
Fig. 18
Fig. 16
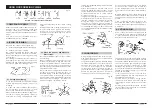
Use the gouge to remove any waste stock
outside of shoulder, and smooth this section up
to within 3mm of the shoulder in the usual
manner. Finishing of the shoulder unless it is more
than 25mm high is best done with the 1/2” skew.
First, the toe of the skew is used to remove
shavings from the side of the shoulder, down to
finish size. Hold the skew so the bottom edge of
the bevel, next to shoulder, will be very nearly
parallel to side of shoulder, but with the cutting
edge turned away at the top, so that only the
extreme toe will do the cutting.
If the cutting edge is flat against the shoulder,
the chisel will run. Start with the handle low, and
raise handle to advance toe into the work.
Cut down to finished diameter of outside area,
then clean out the corner by advancing the
heel of the skew into it along the surface of the
outside area.
Tilt the cutting edge with handle raised up, so
that only the extreme heel does this cutting. If
the shoulder is at the end of work, the process is
called squaring the end. In this case, reduce
outer portion to a diameter about 6mm larger
than tool centre diameter, then later saw off the
waste stock.
6. CUTTING VEES
Vee grooves can be cut with either the toe or
heel of the skew. When the toe is used, the
cutting action is exactly the same as in trimming
a shoulder, except that the skew is tilted to cut
at the required bevel. Light cuts should be taken
first on one side then the other, gradually
enlarging the vee to the required depth and
width.
When the heel is used, the skew is rotated down
into the work, using the rest as a pivot.
Otherwise, the cutting position and sequence
of cuts is the same.
As when using the toe, it is important that cutting
be done only by extreme end of cutting edge.
If deep vees are planned, it is quicker to start
them by making a sizing cut at the centre of
each vee. Vees can also be scraped with the
spear point chisel or a three-sided file.
7. CUTTING BEADS
This requires considerable practice.
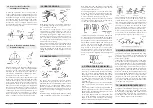
First, make pencil line to locate the tops (highest
points) of two or more adjoining beads. Then
make a vee groove at the exact centre
between two lines, and down to the desired
depth of the separation between the beads.
Be careful not to make the groove too wide or
you will remove portions of the desired beads.
The sides of the two adjoining beads are now
cut with the heel of the skew, preferably 1/2”
size, unless beads are quite large. Place the
skew at right angles to the work axis, flat against
the surface and well up near the top. The
extreme heel should be just inside the pencil line
that marks the top of the bead.
18
5. CUTTING A SHOULDER
A shoulder can be the side of a square portion
left in the workpiece, the side of a turned section
or the end of the workpiece. Most shoulders are
perpendicular to the work axis, but a shoulder
can be at any angle desired.
First, mark position of the shoulder with a pencil
held to the revolving workpiece. Then make a
sizing cut with the parting tool, placing this cut
about 2mm outside the shoulder position and
cutting to within about 3mm of the depth
desired for the area outside of the shoulder.
If shoulder is shallow, the toe of the skew can be
used to make the sizing cut, but do not go in
deeper that 3mm with the skew unless wider and
wider vees are cut to provide clearance for this
tool.
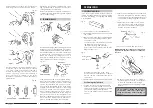
Fig. 29
Fig. 30
Fig. 28


