O
Better chisels have handles approximately 10"
(250mm) long, to provide plenty of grip and
leverage. Sharp tools are essential for clean,
easy work. Buy tools that will take and hold keen
edges.
An 8 piece chisel set is available from your
CLARKE dealer, part no. 6500649
2. THEORY OF TURNING
There are two classes of chisel; these are :
a.
Chisels intended primarily for cutting, and
b.
Chisels used only for scraping.
The cutting chisels are the gouge, skew and
parting tool. These are most commonly used.
They are sharpened to a razor edge by honing
on both sides.
The scraping chisels are the flat nose, round nose
and spear point. These are not honed on the
flat sides, the wire edges produced by grinding
are left on to aid in the scraping process.
must faster, especially the razor sharp cutting
chisels.
Cutting is faster than scraping and produces a
smoother finish which requires less sanding.
However, it is far more difficult to master.
Scraping, on the other hand, is far more precise
and easier to control.
12
USING WOODWORKING CHISELS
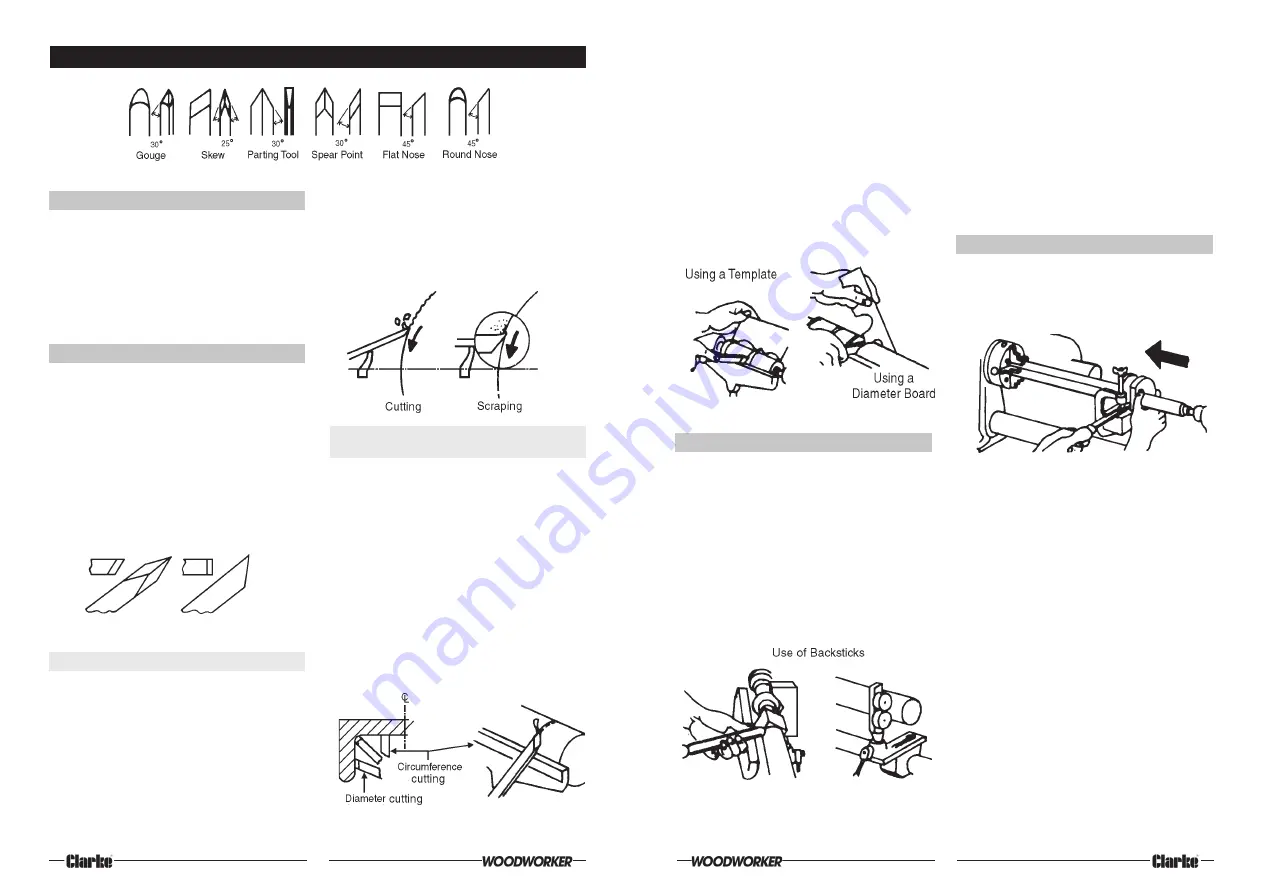
THE SIX MOST COMMONLY USED CHISEL TYPES
2.1 Cutting and Scraping
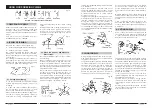
To cut, the chisel is held so that the sharp edge
actually digs into the revolving work to peel off
a shaving.
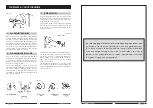
To scrape, the chisel is held at a right angle to
the work surface as shown in fig. 12, and
removes fine particles instead of shavings.
Many operations require that the cutting chisels
be used for scraping, but scraping chisels are
never used for cutting. Scraping dulls a chisel
Cutting Chisel Scraping Chisel
2.2 When You Can Cut and When You
Must Scrape.
There are two different types of cut to consider
when turning.
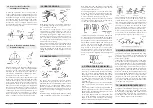
One is cutting at the circumference of the
workpiece (for example, turning down the outer
surface of a cylinder or the inner wall of a hollow
round box, as shown in fig. 13). In this approach
the surface being turned travels under the chisel
edge like an endless belt.
The second type is cutting at the diameter of a
workpiece (as when tur ning the face of
faceplate turning or the side of a large shoulder
on a spindle turning, as shown in fig. 13). In this
approach the surface being turned rotates like
a disc under the chisel edge. Sometimes the
approach will be a combination of both.
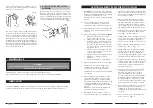
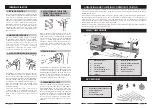
Fig. 10
Fig. 12
Fig. 11
Fig. 13
1. SELECTION OF CHISELS
3. LONG SPINDLES
A long turning can be worked in short sections,
with joints arranged to be at shoulders where
they will not be noticed.
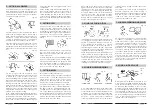
Long thin work that is likely to whip while turning
should be supported at one or two places by a
backstick. This is easy to make. A simple one
consists of a short length of wood mounted
vertically in an extra tool rest, and notched so
that it can be used to support the spindle from
behind. An improved type which uses 2 roller
skate wheels to form the notch-size is shown.
21
turning. The first finished turning can also be used
as a template.
Attach the template to a board, then mount
the board behind the lathe on hinges, so that
the template can be moved down to touch the
workpiece and allow you to closely observe
progress of your work.
If a great many turnings are being produced, a
diameter board will save the time used for
resetting callipers. This is simply a thin board
along the edge of which a number of
semicircular cuts have been prepared to
represent all the various calliper settings required
for measuring the sizing cuts. Each semicircular
cut is held against the workpiece instead of using
the callipers.
Position the backstick against a pre-turned
portion near the centre of the spindle, this
portion being at least 3mm over finish size to
allow for later removal of any marks made upon
it.
Operate lathe at a slower speed than normal.
Lubricate the workpiece at point of contact with
the backstick, using beeswax (preferably), or
grease.
After completing the turning, remove the
backstick and finish off the original point of
contact. Sand off any slight burns remaining on
workpiece.
4. CUTTING DOWELS
Dowels of any size can be turned quickly with
the simple jig shown. If the stock is prepared as
a split or quartered turning, half round and
quarter rounds will be produced.
The jig uses a 1/2” gouge as the cutting tool and
will produce dowels up to 11mm diameter. Make
the jig from suitable hardwood stock as shown.
The hole through the jig must be large enough
at the side, to the left of the gouge, to allow
passage of the square stock. At the right of the
gouge this hole must be just the diameter of the
finished dowel. Make the jig so you can hold
and guide it by hand.
To start, centre the stock as you would for a
spindle turning and turn down about 50mm at
the right end to desired size.
Then remove the stock, place your jig over the
turned end, with turned portion through the
smaller jig hole, and re-centre the stock on the
lathe.
Hold the jig firmly and start the lathe. Push the
jig slowly right to left along the stock until the
whole dowel is complete.
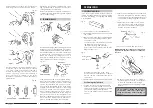
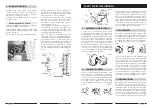
Fig. 38
Fig.39
Fig. 37


