Sample Configurations for the Cisco WVC210 Internet Camera
Configuring Port Forwarding
WVC210 Wireless-G PTZ Internet Video Camera With 2-Way Audio Administration Guide
68
9
STEP 4
Enter the IP address of your router in your web browser’s Address field and press
Enter
. For this example, we used the default IP address of
19
2.168.1.1.
STEP 5
From the web-based configuration utility, click
Firewall > Port Range Forwarding
.
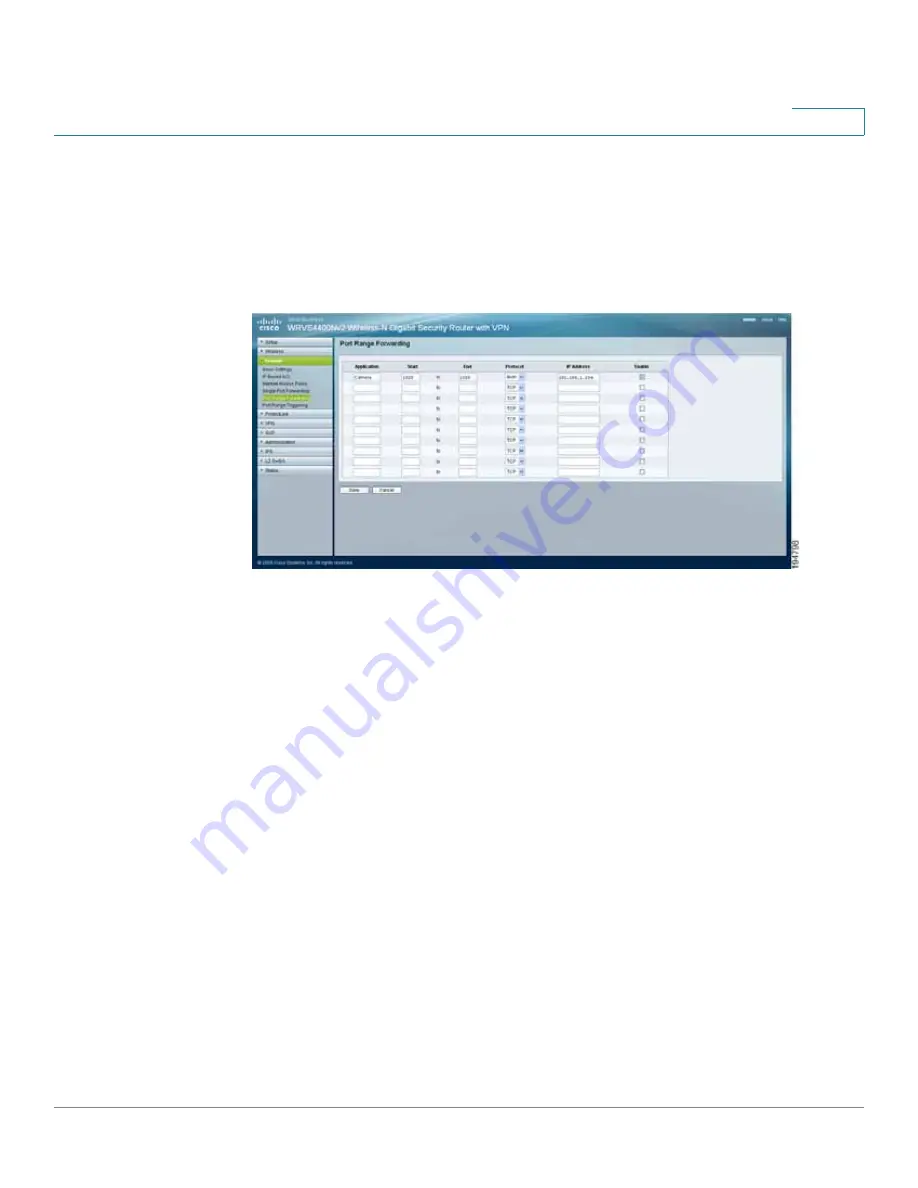
This example shows the Port Range Forwarding window of the Cisco
WRVS4400N router.
STEP 6
In the Port Range Forwarding window, configure the following:
a. Enter the Application name, such as Camera.
b. Enter the Start and End port. In this example,
1028
is used and this should
match the HTTP port configured on the camera in
Step 2 on page 67
.
c. Ensure that Protocol is set to
Both
(TCP and UDP).
d. Enter the IP address of the camera, in the IP Address field.
e. Check the
Enable
box to enable forwarding.
STEP 7
Click
Save
to save the configuration to the router.
STEP 8
Locate the WAN IP address for your router. Click
Setup > Summary
to view the
WAN IP address of the router. The WAN IP address is displayed in the Network
Status Setting section.


