S e n d d o c u m e n t c o m m e n t s t o n e x u s 7 k - d o c f e e d b a c k @ c i s c o . c o m
9-57
Cisco Nexus 7000 Series Hardware Installation and Reference Guide
OL-23069-06
Chapter 9 Replacement Procedures
Replacing the Cable Management Frame on the Cisco Nexus 7018 Chassis
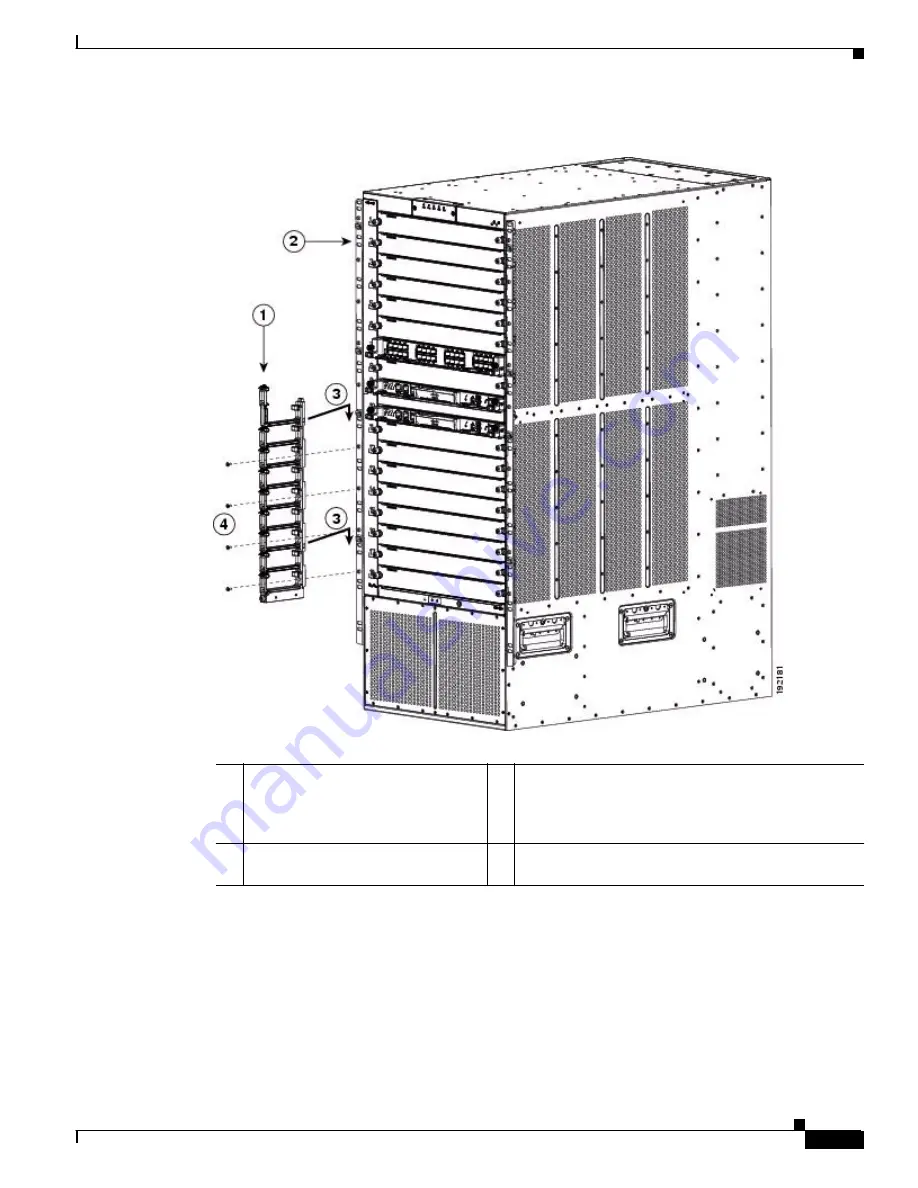
Figure 9-28
Attaching a Lower Cable Management Assembly to a Rack-Mount Bracket
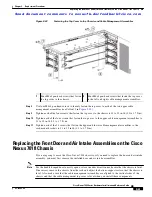
Step 3
Repeat Step 1 to attach a lower cable management assembly to the right side of the chassis.
Step 4
Attach an upper cable management assembly onto the two hooks that protrude from the upper half of the
left rack-mount bracket that is attached to the Cisco Nexus 7018 switch chassis, and loosely fasten the
assembly to the chassis with four flat-head M4x10 screws as shown in
.
1
Lower cable management assembly.
3
Position the assembly so that the two lower hooks on
the rack-mount bracket fit inside the two holes on the
assembly, and then slide the assembly down so that it
is held by the hooks.
2
Rack-mount bracket.
4
Loosely fasten the assembly to the rack-mount bracket
with four M4x10 screws. Do not tighten these screws.


