OPERATION
3-20
DLV 1280 User's Manual
To return to the main menu, press
.
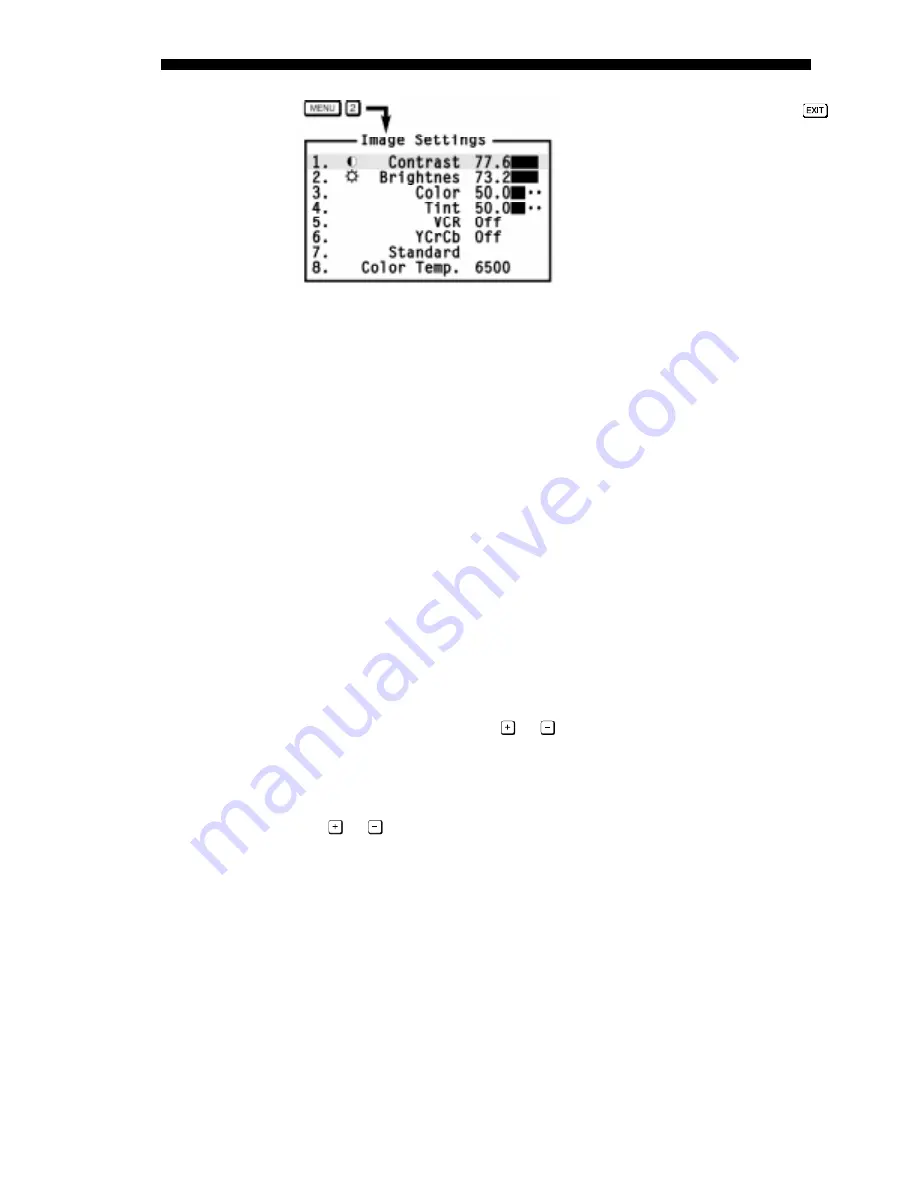
Contrast
CONTRAST
increases or decreases the perceived difference between light and
dark areas of your image (0-100). Adjust so that whites remain bright but not
distorted or tinted. If contrast is set too high, the light parts of the image lose
detail and clarity. If set too low, the light areas will not be as bright as they could
be and it may be difficult to distinguish between foreground and background
information.
NOTES: 1) For best results, adjust contrast AFTER brightness. 2) If room
lighting changes, it may be necessary to re-adjust both.
Brightness
BRIGHTNESS
increases or decreases the amount of perceived light in the image
(0-100). If video or data is displayed with a black background, adjust until the
background just changes from black to very dark gray.
Color
COLOR
increases or decreases the amount of color in a video image—i.e., its
color saturation level. For example, setting Color to "0" produces a black and
white image. If Color is set too high, the color levels in the picture will be over-
powering and unrealistic. Use
or
until the desired color saturation level is
displayed.
Tint
TINT
adjusts color hue to obtain true color reproduction of NTSC video signals.
Use
or
until the you reach optimum balance of red-to-green in your image.
For best results, adjust tint while displaying a proper test pattern—otherwise, tint
should remain at its default setting.
VCR
VCR
should be “
On
” if you are using a VCR or if you need to reduce flag-waving
(bending) in your image. The projector will have more tolerance for poor signals,
thus it will more easily recognize and lock onto your VCR signal without
jumping to another channel. Set to “
Off
” for non-VCR sources, or if the option
creates an objectionable amount of noise in the image.
YCrCb
Turn
YCrCb
“
On
” only if the input video signal is 3-wire component video (also
known as “YUV” or “Y, R-Y, B-Y” video). Laser disks are common sources of
YCrCb video. Keep this option off for other signals.
Figure 3-11. Image Settings Menu


