User’s Manual
18
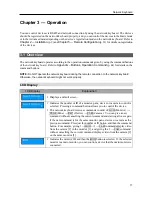
y
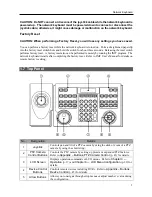
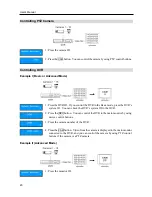
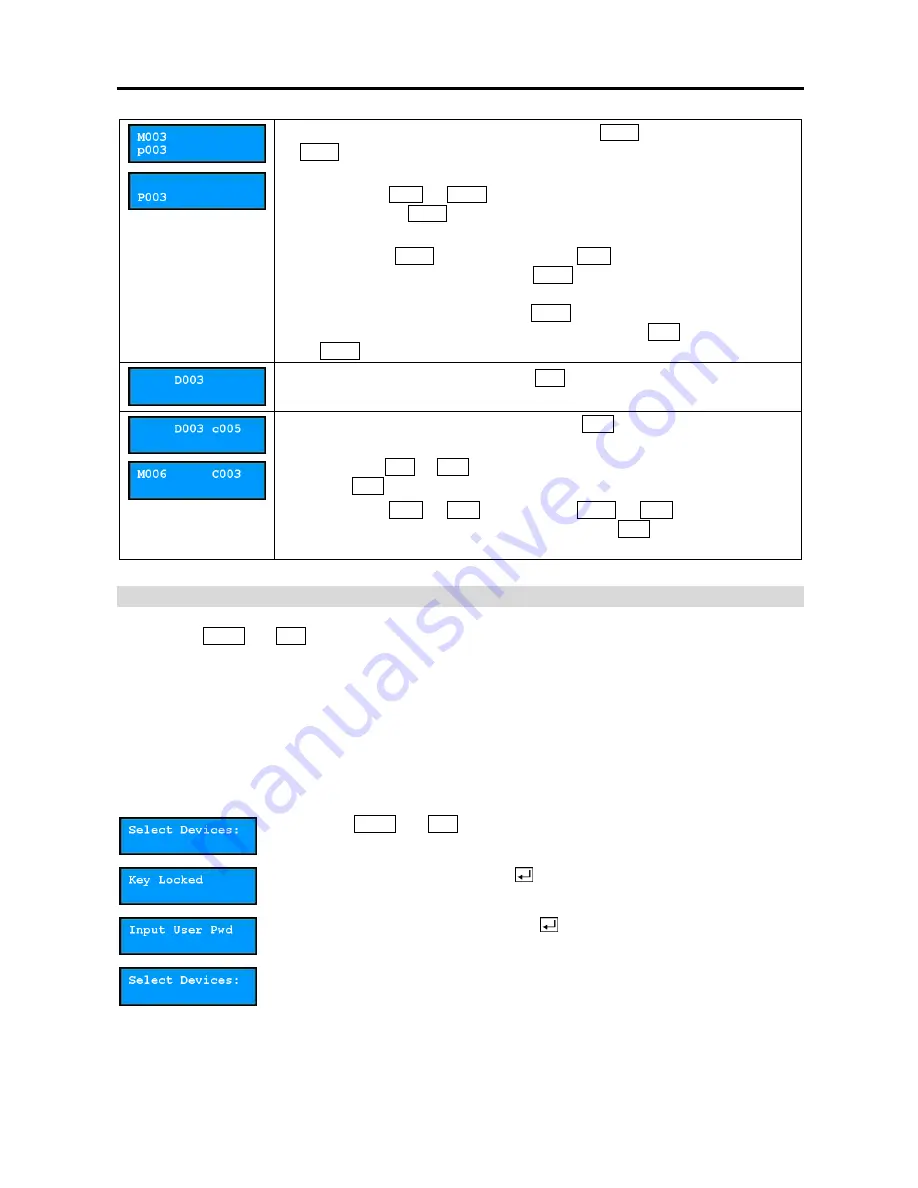
Indicates the pane number or ID, and then the
PANE
button is selected. The
PANE
command is supported only for a main monitor, and you can control a
device that a main monitor is connected.
y
When giving
MON
→
PANE
commands, press the pane number of a main
monitor, and the
PANE
command is displayed as a small letter,
p
, on the LCD
screen.
y
When giving a
PANE
command without the
MON
command, press the pane ID
set in the network keyboard, and the
PANE
command is displayed as a capital
letter,
P
, on the LCD screen. The pane ID provides a shortcut to a specific
pane. When giving a ‘pane ID’
→
PANE
command, the network keyboard
functions the same as when giving ‘main monitor ID’
→
MON
→
‘pane number’
→
PANE
commands.
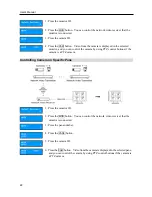
y
Indicates the device ID, and then the
DEV
button is selected. You can control
the selected device.
y
Indicates the camera number or ID, then the
CAM
button is selected. You can
control the selected camera.
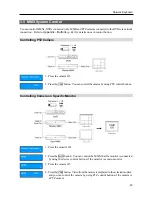
y
When giving
DEV
→
CAM
commands, press the camera number of the device,
and the
CAM
command is displayed as a small letter,
c
, on the LCD screen.
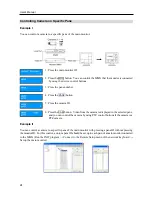
y
When giving
MON
→
CAM
commands or
PANE
→
CAM
commands, press
the camera ID set in the network keyboard, and the
CAM
command is displayed
as a capital letter,
C
, on the LCD screen.
Locking Buttons
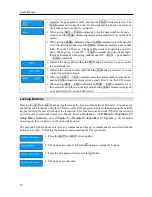
Pressing the
SHIFT
and
ESC
buttons together locks the buttons of the network keyboard. You can set up
the buttons to be locked by using the LCD menu or the INIT program when there is no action on the network
keyboard during the preset time since the last action. This function does not work if the User password is
not set up or the button lock time is set to
Never
. Refer to
Chapter 4 — LCD Menu Configuration, 4.3
Setup Menu, System
(p. 30) or
Chapter 5 — Remote Configuration, 5.1 System
(p. 33) for details
on setting up the user password or button lock function.
The network keyboard does not receive any commands and any given commands are cancelled when the
buttons are locked. Unlocking the buttons requires entering the User password.
1.
Press the
SHIFT
and
ESC
button together.
2.
The buttons are locked. Press the button to unlock the buttons.
3.
Press the user password and press the button.
4.
The buttons are unlocked.
Summary of Contents for Intelligent Network Keyboard
Page 1: ......
Page 2: ......
Page 34: ...User s Manual 28 ...
Page 38: ...User s Manual 32 ...
Page 48: ...User s Manual 42 ...

