Addressing a network of controllers using the controller setup Local Network tab
TruVu™ VVTBP
-E2
©2022 Carrier.
Installation and Start-up Guide
All rights reserved.
19
Method 2: To address when you do not know the serial numbers
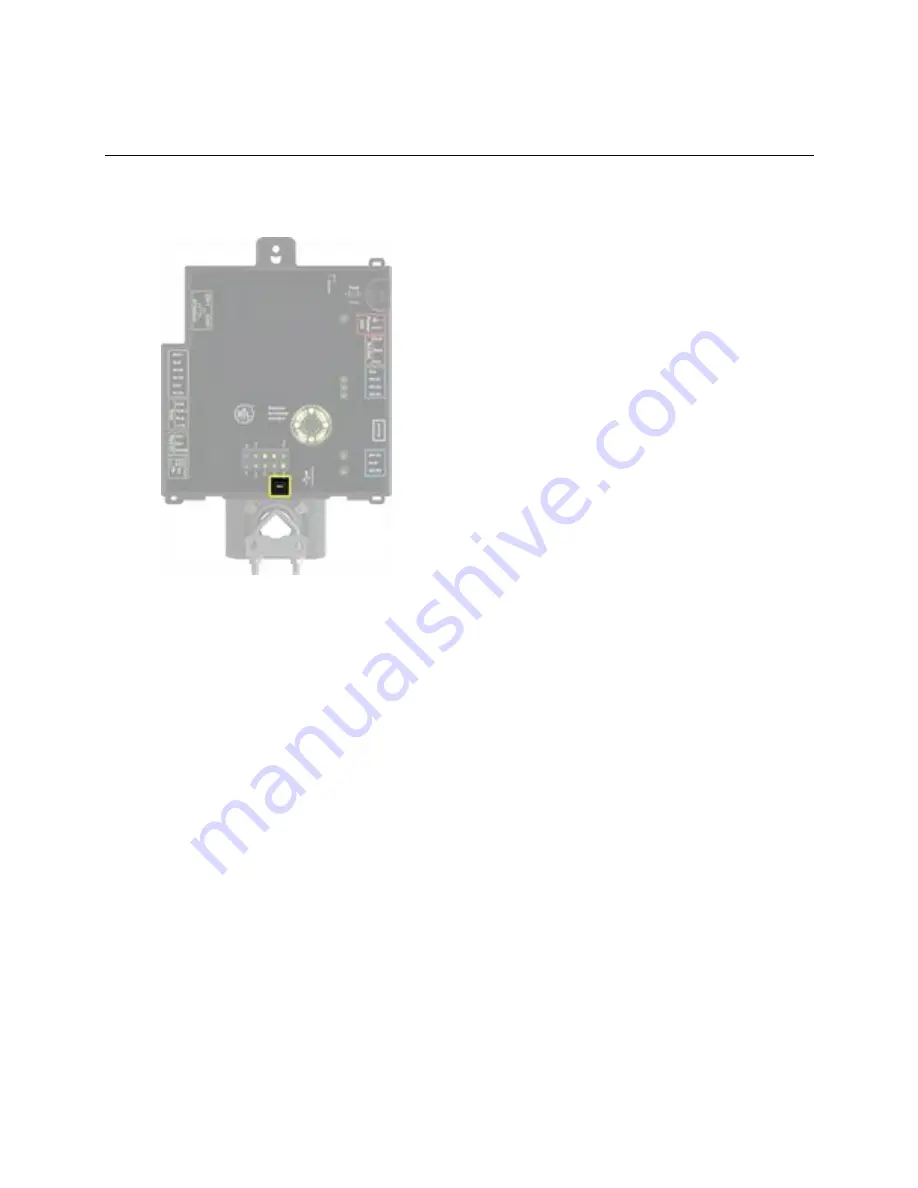
You will need physical access to each device so that you can press the DSC button on the side of the TV-VVTBP-E2.
This allows you to identify the device on the controller setup
Local Network
page.
1
Connect to the Service port of one i-
Vu® XT or TruVu™ IP device on the net
work. For details, see
Addressing
the TV-VVTBP-E2 through the Comm/Service ports
(page 15).
2
Browse to the Service port address (http://local.access or http://169.254.1.1).
3
On the
Ports
tab, set the device's
IP Address
,
Subnet Mask
, and
Default Gateway
.
NOTE
The other devices that you configure inherit this device's subnet mask and default gateway.
4
On the
Local Network
tab, click the
Clear
All
button to erase any pre-existing data in the
Local Devices
table.
5
On the controller you want to address, press the DSC button on the bottom right. When pressed, a row
appears in the
Local Devices
table on the
Local Network
tab. The row has a blue dot to indicate which
controller has just had the button pressed.
6
In the row for the identified controller, enter the
Address
and
Location
(optional).
7
Repeat steps 3 and 4 for each controller that you want to address.
8
For more details about discovering and configuring your devices, see
Local Network
tab
(page 59).
NOTE
To physically identify a device that is displayed on the
Local Devices
table, you can click the
Blink
button,
which lights up the Locator LED in the actuator release button.
Summary of Contents for TruVu VVTBP-E2
Page 5: ...Document revision history 84...
Page 6: ......
Page 91: ......
Page 92: ...Carrier 2022 Catalog No 11 808 875 01 7 22 2022...


