TRITON SYSTEMS, INC.
SECTION 5 - MANAGEMENT FUNCTIONS
O
PERATION
M
ANUAL
- M
ODEL
97XX-Series
5-112
9700-S
ERIES
9705-S
ERIES
9710-S
ERIES
9750-S
ERIES
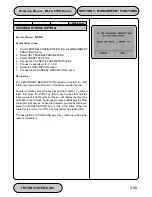
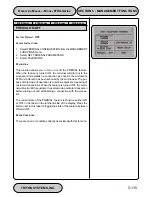
PRIMARY NUMBER
F
ACTORY
D
EFAULT
: NONE
A
CCESS
I
NSTRUCTIONS
:
1.
Select TERMINAL CONFIGURATION from the MANAGEMENT
FUNCTIONS menu.
2.
Select SET TERMINAL PARAMETERS.
3.
Select TELEPHONE.
4.
Select the PRIMARY NUMBER option.
D
ESCRIPTION
:
The Cash Dispenser communicates to your host processor over a
dial up phone line. The phone number of the processor must be
entered before live transactions can be done.
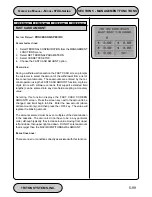
When this function is selected, the current phone number is dis-
played (if nothing appears on the screen, no number is set). Se-
lect CHANGE to blank the current entry, and then enter the de-
sired phone number. The phone number may be up to 15 digits
long. It can also contain a dialing prefix, such as a ‘9’ for an out-
side line, if necessary. If you need to pause after the prefix, place
a comma in the number for a two-second delay at that point. Press-
ing the <CTRL> key first, then the <0> key, followed by the <RIGHT
ARROW> key will select the comma character. Make sure to en-
ter the long distance prefix ‘1’ if you are dialing an 800 number or a
toll long distance number. Do not enter dashes in the number.
E
RROR
C
ONDITIONS
:
The Cash Dispenser will not process transactions if the phone num-
ber has not been entered or has been entered incorrectly. In such
cases error code “185 - Phone Number Not Configured”, will be
received.
Summary of Contents for Triton 9700
Page 1: ...Owner s manual Triton Owner s Manual 9700...
Page 12: ...SECTION 1 INTRODUCTION...
Page 22: ...SECTION 2 BASIC OPERATION...
Page 28: ...SECTION 3 INITIAL SETUP...
Page 36: ...SECTION 4 CURRENCY HANDLING...
Page 55: ......
Page 56: ...SECTION 5 MANAGEMENT FUNCTIONS...
Page 213: ......
Page 214: ...SECTION 6 MAINTENANCE...
Page 220: ...SECTION 7 JOURNAL ENTRIES...
Page 223: ......
Page 224: ...SECTION 8 ERROR RECOVERY...
Page 246: ...SECTION 9 CUSTOMER TRANSACTIONS...
Page 251: ......
Page 252: ...APPENDIX A MECHANICAL LOCK...
Page 255: ......
Page 256: ...APPENDIX B ELECTRONIC LOCK...
Page 259: ......
Page 260: ...APPENDIX C WARRANTY POLICY...

