17
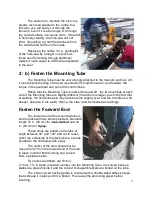
The secret is to maintain the tool very
steady, level and parallel to the centre line;
this way, you will easily cut through the
transom, even if it is at an angle. Or through
the curved surface of a canoe stern. If the drill
is held very steadily, the hole-saw will not
bind. If possible, cut half the thickness from
the outside and half from the inside.
Replacing the centre 1/4 in. guiding bit
of the hole-saw by a longer one (such as
those used for drilling through partitions)
makes it much easier to drill level and parallel
to the keel.
2 : b) Fasten the Mounting Tube
The Mounting Tube must be very strongly attached to the transom and hull. Aft,
it must absorb the drag of the servo-pendulum through the water, and forward, the
torque of the quadrant and pull of the control lines.
Notice that the Mounting Tube is marked fore and aft : the two bushings at each
end of the Mounting tube are slightly different (the aft one is larger, due to the fact that
at welding, the horizontal axle may have become slightly oval, and the chamfer is a bit
deeper, due also to the weld); Hence, the tube must be inserted accordingly.
Fasten the Forward End
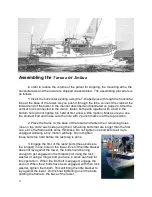
The forward end of the mounting tube is
held in place with two struts provided - standard
length 18 in. (45 cm) for
Jean-du-Sud
and 24
in. (60 cm) for
Spray-
.
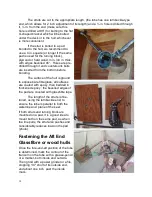
These struts are bolted on the tube at
angle between 90° and 120° and cut to reach
either the underside of the deck above, or pads
bonded to the hull below with epoxy.
The center of the strut should not be
closer than 2” from the forward end of the tube,
to leave room for both bushing and curved
back-up plates inside.
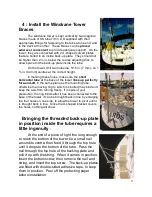
Two holes are drilled, dia 5/16 in.
(7 mm), 1 ¾ in. apart (centre-to-centre) into the Mounting Tube; the curved back-up
plates are placed inside it and the curved U-shaped brackets are bolted on the tube.
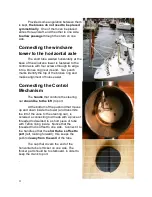
The inside curved back-up plate is covered with a double-sided adhesive tape,
that will keep it in place until it is bolted. Peel away the protecting paper before
inserting.

