Output recovery in case of an error (IPDS)
Introduction
The printer is equipped with an efficient, reliable output recovery in case of an error. By factory
default, the output recovery is set to [Normal]. After the error is solved, the job continues at the
page where the error occurred automatically.
However, some printing environments require that multiple copies must be avoided. For
example, in transactions involving the printing of valuable documents such as cheques. In such
an environment, the [Output recovery] setting of your IPDS setup must be set to [Suppressed].
When the output recovery is suppressed, the printer will not automatically make sure that the
output is corrected after a recovery. All pending pages in the printer will be deleted and the stack
will be ejected. The host system and the operator are responsible for the recovery. The operator
must restart the job manually on the correct page.
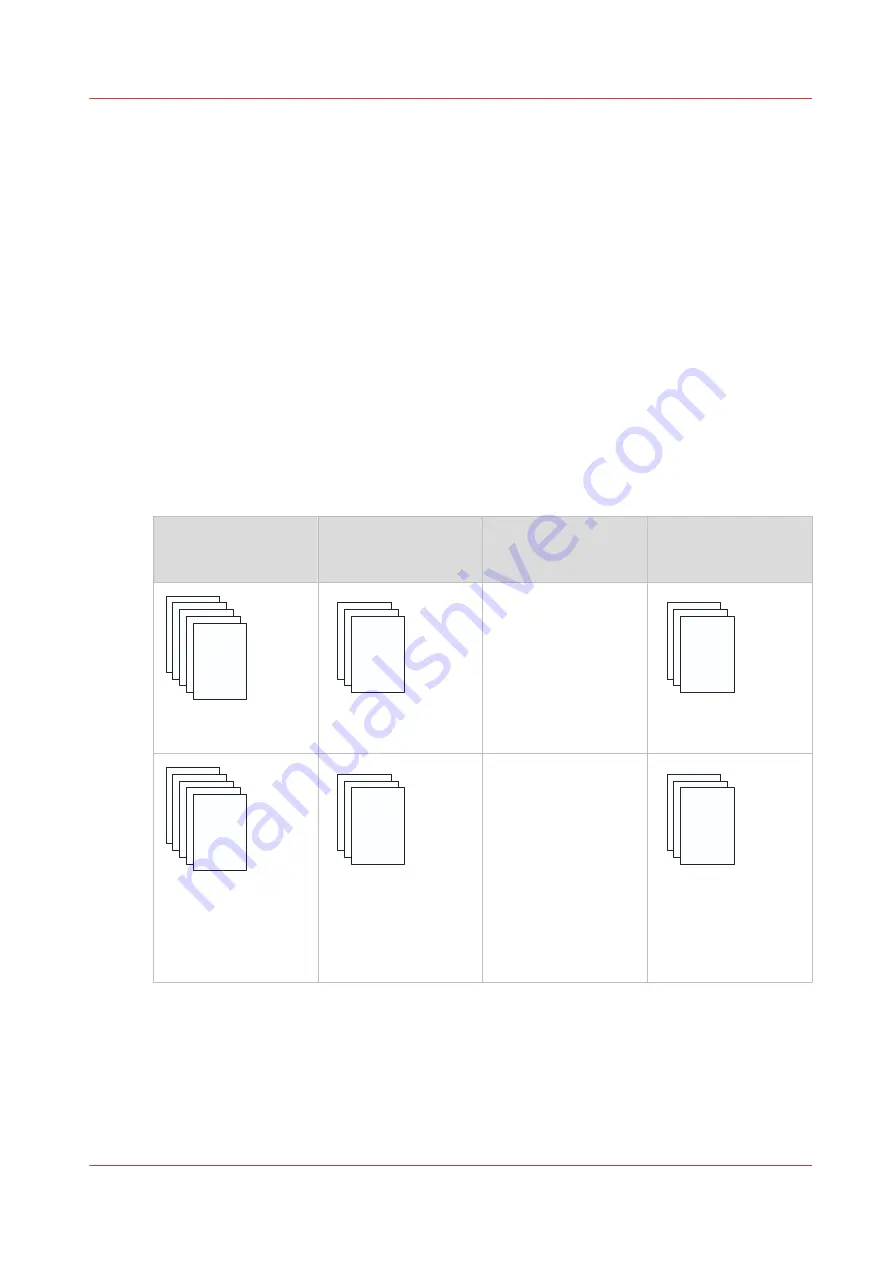
The tables below describe what happens when either the normal output recovery or the
suppressed output recovery is selected.
Normal output recovery in IPDS
Job
Job progress states
Normal output recov‐
ery
End up in the output
location after error re‐
covery
Sheets printed suc-
cessfully.
Are stacked at one of
the output locations.
Sheets are in output
location
Sheets copied to con-
troller memory (in-
cluding error pages).
Remain in controller
memory.
Once the error is re-
solved, the printer re-
starts by printing the
first page in the con-
troller memory.
4
Output recovery in case of an error (IPDS)
Chapter 9 - Carry out print jobs
225
VarioPrint 6000 line
Summary of Contents for VarioPrint 6000 Series
Page 8: ...Contents 8 VarioPrint 6000 line ...
Page 9: ...Chapter 1 Introduction ...
Page 14: ...Information in this operation guide 14 Chapter 1 Introduction VarioPrint 6000 line ...
Page 15: ...Chapter 2 Explore the print system ...
Page 31: ...Chapter 3 Explore the ease of operation ...
Page 46: ...Transaction printing workflow 46 Chapter 3 Explore the ease of operation VarioPrint 6000 line ...
Page 47: ...Chapter 4 Start the print system ...
Page 56: ...Log in to the printer 56 Chapter 4 Start the print system VarioPrint 6000 line ...
Page 63: ...Chapter 5 Prepare the print system ...
Page 101: ...Chapter 6 Prepare the print jobs ...
Page 110: ...Print a page number via PRISMAsync 110 Chapter 6 Prepare the print jobs VarioPrint 6000 line ...
Page 111: ...Chapter 7 Plan the workload remotely ...
Page 115: ...Chapter 8 Plan the jobs ...
Page 127: ...6 Touch OK Move jobs to another destination Chapter 8 Plan the jobs 127 VarioPrint 6000 line ...
Page 139: ...5 Touch OK Create a note for the operator Chapter 8 Plan the jobs 139 VarioPrint 6000 line ...
Page 165: ...Chapter 9 Carry out print jobs ...
Page 232: ...Make an intermediate check print 232 Chapter 9 Carry out print jobs VarioPrint 6000 line ...
Page 233: ...Chapter 10 Keep the system printing ...
Page 246: ...Status indicators 246 Chapter 10 Keep the system printing VarioPrint 6000 line ...
Page 247: ...Chapter 11 Media handling ...
Page 289: ...Chapter 12 Maintain the print system ...
Page 316: ...Close the doors and covers 316 Chapter 12 Maintain the print system VarioPrint 6000 line ...
Page 317: ...Chapter 13 PRISMAlytics Dashboard ...
Page 319: ...Chapter 14 Troubleshooting ...
Page 334: ...Create and download a log file 334 Chapter 14 Troubleshooting VarioPrint 6000 line ...
Page 335: ...Chapter 15 Specifications ...
Page 353: ......


