


Using Face ID
65
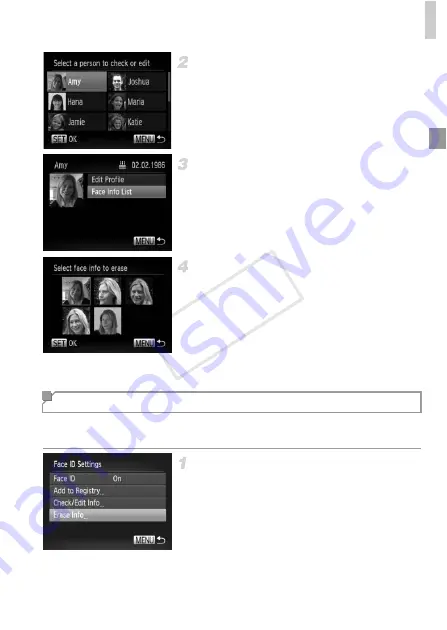
Choose the name of the person
whose face info you want to erase.
z
Press the
opqr
buttons to choose the
name of the person whose face info you want
to erase, and then press the
m
button.
Access the [Face Info List] screen.
z
Press the
op
buttons to choose [Face Info
List], and then press the
m
button.
Choose the face info to erase.
z
Press the
m
button, press the
opqr
buttons to choose the face info you want to
erase, and then press the
m
button.
z
After [Erase?] is displayed, press the
qr
buttons to choose [OK], and then press the
m
button.
z
The selected face info will be erased.
You can erase information (face info, name, birthday) registered to Face ID.
However, names recorded in previously shot images will not be erased.
Access the [Erase Info] screen.
z
Follow step 1 on p. 57 and choose [Erase
Info].
Erasing Registered Information
COP
Y
Summary of Contents for PowerShot ELPH 110 HS
Page 33: ...33 Camera Basics Basic camera operations and features 1 COPY...
Page 40: ...40 COPY...
Page 41: ...41 Smart Auto Mode Convenient mode for easy shots with greater control over shooting 2 COPY...
Page 155: ...155 Setting Menu Customize or adjust basic camera functions for greater convenience 6 COPY...
Page 192: ...192 COPY...
Page 193: ...193 Appendix Helpful information when using the camera 8 COPY...
Page 215: ...215 MEMO COPY...


