1
2
3
4
5
6
7
8
9
10
11
Cover
Preliminary Notes
and Legal Information
Contents: Basic
Operations
Advanced Guide
Camera Basics
Using GPS
Function
Auto Mode/
Hybrid Auto Mode
Other Shooting
Modes
Tv, Av, and M
Mode
Playback Mode
Wi-Fi Functions
Setting Menu
Accessories
Appendix
Index
Basic Guide
P Mode
62
Erasing Registered Information
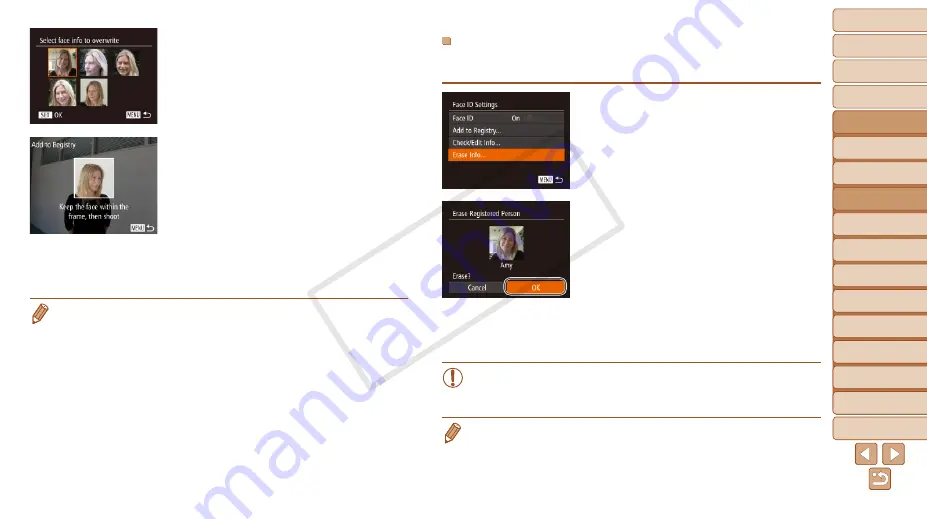
You can erase information (face info, name, birthday) registered to Face ID.
However, names recorded in previously shot images will not be erased.
1
Access the [Erase Info] screen.
z
z
Follow step 1 in “Registering Face ID
) and choose [Erase
Info].
2
Choose the name of the person
whose info you want to erase.
z
z
Press the <
o
><
p
><
q
><
r
> buttons or
turn the <
5
> dial to choose the name
of a person to erase, and then press the
<
m
> button.
z
z
After [Erase?] is displayed, press the
<
q
><
r
> buttons or turn the <
5
> dial to
choose [OK], and then press the <
m
>
button.
•
If you erase a registered person’s info, you will not be able to
display their name (
), or
search images for them (
•
You can also erase names in image information (
3
Choose the face info to
overwrite.
z
z
Press the <
o
><
p
><
q
><
r
> buttons or
turn the <
5
> dial to choose the face info
to overwrite, and then press the <
m
>
button.
4
Register face information.
z
z
Follow step 2 in “Registering Face ID
Information” (
) to shoot, and then
register the new face information.
z
z
Registered faces are more easily
recognized if you add a variety of face
information. In addition to a head-on
angle, add a slight side angle, a shot
when smiling, and shots inside and
outside.
•
You cannot add face information if all 5 information slots are filled. Follow the
steps above to overwrite face information.
•
You can follow the above steps to register new face info when there is at least
one slot open; however, you cannot overwrite any face information. Instead
of overwriting face info, first erase unwanted existing info (
register new face information (
) as needed.
COP
Y


