1
2
3
4
5
6
7
8
9
10
11
Cover
Preliminary Notes
and Legal Information
Contents: Basic
Operations
Advanced Guide
Camera Basics
Using GPS
Function
Auto Mode/
Hybrid Auto Mode
Other Shooting
Modes
Tv, Av, and M
Mode
Playback Mode
Wi-Fi Functions
Setting Menu
Accessories
Appendix
Index
Basic Guide
P Mode
56
Still Images
Adding a Date Stamp
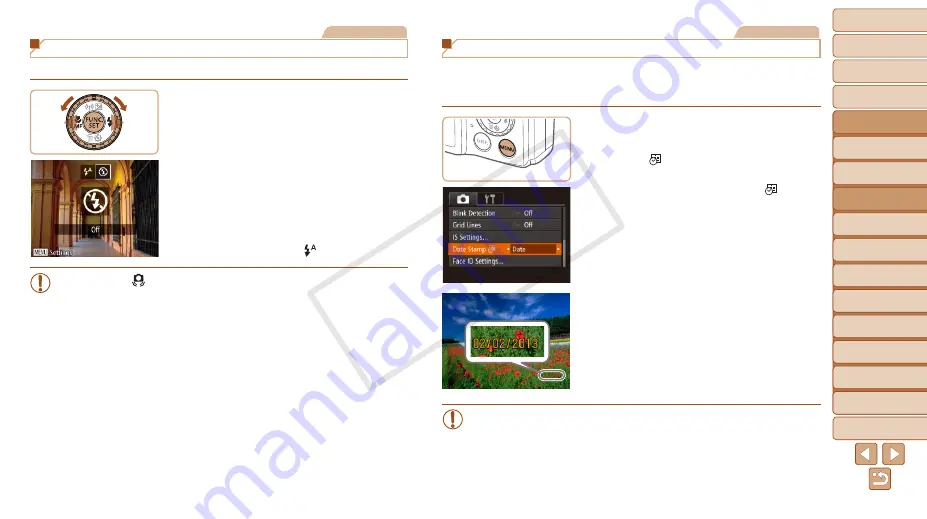
The camera can add the shooting date to images, in the lower-right corner.
However, note that date stamps cannot be edited or removed, so confirm
beforehand that the date and time are correct (
).
1
Configure the setting.
z
z
Press the <
n
> button, choose [Date
Stamp ] on the [
4
] tab, and then
choose the desired option (
X
X
Once the setting is complete, [ ] is
displayed.
2
Shoot.
X
X
As you take shots, the camera adds the
shooting date or time to the lower-right
corner of images.
z
z
To restore the original setting, choose
[Off] in step 1.
•
Date stamps cannot be edited or removed.
Still Images
Deactivating the Flash
Prepare the camera for shooting without the flash as follows.
Configure the setting.
z
z
Press the <
r
> button, choose [
!
] (either
press the <
q
><
r
> buttons or turn the
<
5
> dial), and then press the <
m
>
button.
X
X
If the flash is already up, it will be lowered
automatically.
X
X
Once the setting is complete, [
!
] is
displayed.
z
z
To restore the original setting, repeat this
process but choose [ ].
•
If a flashing [
] icon is displayed when you press the shutter button
halfway in low-light conditions, mount the camera on a tripod or take
other measures to keep it still.
COP
Y


