Advanced Guide
>
Printing from a Computer
>
Printing with the Bundled Application Software
>
Printing Photos
> Printing
Printing
1.
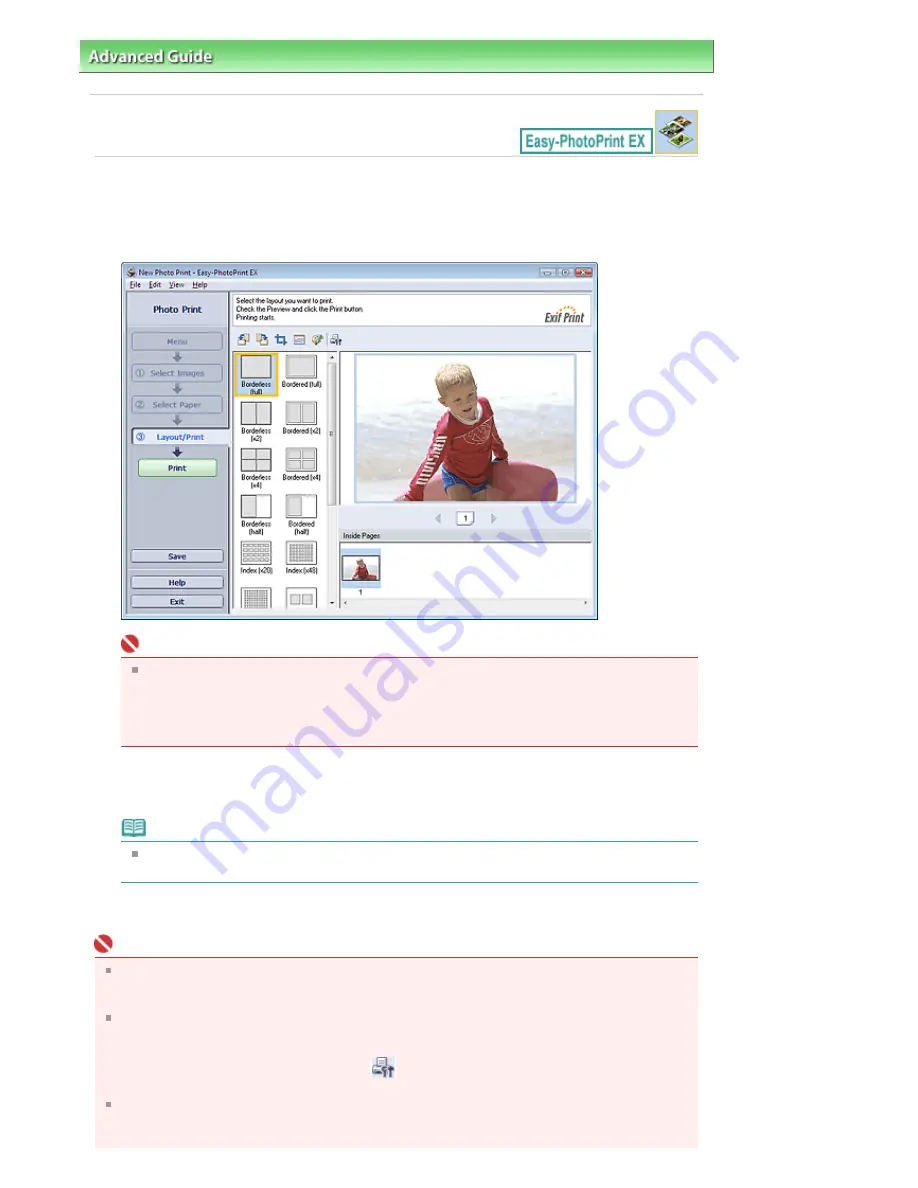
Click Layout/Print.
The Layout/Print screen appears.
Important
The thumbnails (reduced images) displayed in the screen may appear as follows:
- A black line appears along an edge of the image.
- An edge of the image appears cropped.
However, such images will be displayed normally when enlarged or previewed, and print
results will not be affected.
2.
Select a layout you want to use.
Click a borderless layout to print borderless photos.
Note
The layouts that can be selected may vary depending on the printer, paper size, and media
type.
3.
Click Print.
Important
When you print on large size paper such as A3/A3+, some computers cannot print properly if you
print more than one page or copy at a time. It is recommended that you print page by page when
you print on such paper.
While printing on paper larger than A4 or printing high-resolution images, data may be printed only
to the middle if many images are printed at one time. In such cases, select the Spool print job page
by page checkbox in the Preferences dialog box, and then print again.
To display the Preferences dialog box, click
(Settings) or select Preferences... from the File
menu.
When Fine Art is selected for Paper Size, a 1.38 inch (35 mm) margin is automatically left at the top
and bottom of the paper.
It is recommended that you check the print range with the image shown in Preview before printing.
Pagina 192 din 1009 pagini
Printing
Summary of Contents for PIXMA MX860 series
Page 29: ...În partea superioară a paginii Pagina 29 din 1009 pagini Introducerea datei şi orei ...
Page 112: ...În partea superioară a paginii Pagina 112 din 1009 pagini Încărcarea hârtiei ...
Page 128: ...În partea superioară a paginii Pagina 128 din 1009 pagini Aşezarea unui document în ADF ...
Page 151: ...În partea superioară a paginii Pagina 151 din 1009 pagini Alinierea capului de imprimare ...
Page 201: ...Note See Help for details on the Edit screen Page top Pagina 201 din 1009 pagini Editing ...
Page 203: ...Page top Pagina 203 din 1009 pagini Printing ...
Page 207: ...Page top Pagina 207 din 1009 pagini Selecting the Paper and Layout ...
Page 210: ...Page top Pagina 210 din 1009 pagini Editing ...
Page 212: ...Page top Pagina 212 din 1009 pagini Printing ...
Page 219: ...Page top Pagina 219 din 1009 pagini Printing ...
Page 226: ...Page top Pagina 226 din 1009 pagini Printing ...
Page 259: ...Page top Pagina 259 din 1009 pagini Cropping Photos Photo Print ...
Page 315: ...Page top Pagina 315 din 1009 pagini Stamp Background Printing ...
Page 357: ...Page top Pagina 357 din 1009 pagini Reducing Photo Noise ...
Page 514: ...Page top Pagina 514 din 1009 pagini Stack of Documents ADF Screen Scan Import Window ...
Page 519: ...Page top Pagina 519 din 1009 pagini Save Dialog Box ...
Page 574: ...Page top Pagina 574 din 1009 pagini General Tab ...
Page 601: ...Auto Scan Mode Tab Page top Pagina 601 din 1009 pagini Scanning in Auto Scan Mode ...
Page 727: ...Page top Pagina 727 din 1009 pagini Creating an Address Book ...
Page 787: ...Text LCD Page top Pagina 787 din 1009 pagini Bluetooth Settings Screen ...
Page 827: ...În partea superioară a paginii Pagina 827 din 1009 pagini Dacă apare o eroare ...
Page 876: ...În partea superioară a paginii Pagina 876 din 1009 pagini Documentul se blochează în ADF ...


