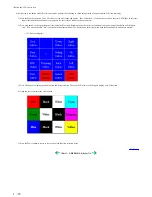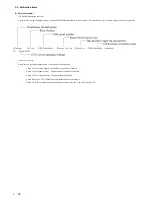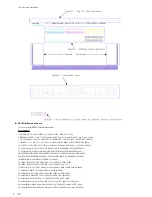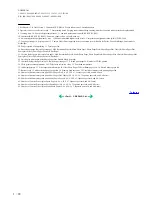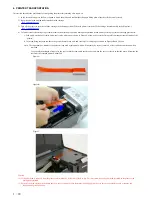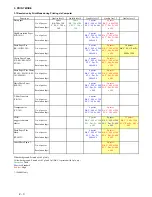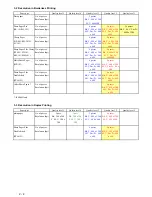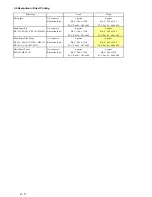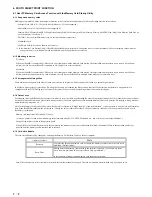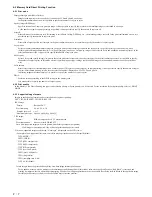
<Standalone printer operation>
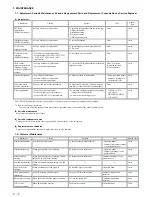
1) Turn on the printer.
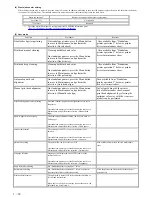
2) Press and hold the Resume/Cancel button until the LED blinks the specified number of times listed in the table below, and release it. The operation starts.
(6) Service mode
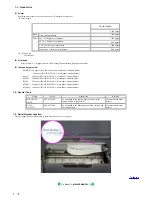
Note: At the end of the service mode, press the Power button. At that time, the paper lifting plate of the sheet feeder unit will be raised.
LED blinking
Operation
Remarks
1 time
Print head manual cleaning
2 times
Nozzle check pattern printing
Set a sheet of plain paper (A4 or letter) in the sheet feeder or the cassette
(according to the Paper Feed switch setting).
3 times
Paper feed roller cleaning
4 times
Automatic print head alignment
Set a sheet of plain paper (A4 or letter) in the sheet feeder.
5 times
Bottom plate cleaning
Fold a sheet of plain paper (A4 or letter) in half crosswise, then unfold and set it
in the sheet feeder with the folded ridge facing down.
6 times
Unspecified
7 times
Set the widest head-to-paper distance
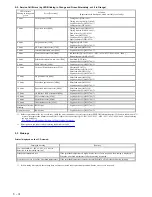
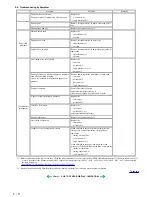
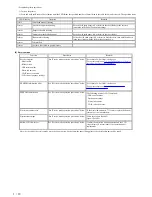
Function
Procedures
Remarks
Service test print
- Model name
- ROM version
- USB serial number
- Waste ink amount
- CD-R sensor correction
- LCD viewer language settings
See "Service mode operation procedures" below. Set a sheet of A4 or letter- sized paper.
For a print sample, see
3-4. Verification Items, (1) Service
test print, <Service test print sample>.
EEPROM information print
See "Service mode operation procedures" below. Set a sheet of A4 or letter- sized paper.
For a print sample, see
3-4. Verification Items, (2)
EEPROM information print
EEPROM initialization
See "Service mode operation procedures" below. The following items are NOT initialized:
- USB serial number
- Destination settings
- Waste ink counter
- CD-R correction value
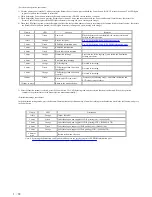
Waste ink counter reset
See "Service mode operation procedures" below. If the waste ink amount is 7% or more, replace the bottom
case unit, or the ink absorbers.
Destination settings
See "Service mode operation procedures" below. Other than Japan: iP6000D
Japan: iP6100D
Button/LCD viewer test
See "Service mode operation procedures" below. Confirm the operation button operation and the LCD
viewer display. Perform them at the operation panel
replacement.
1 - 13
Summary of Contents for PIXMA iP6000D
Page 7: ...Part 1 MAINTENANCE ...
Page 17: ... 3 Grease application 1 10 ...
Page 27: ...Part 2 TECHNICAL REFERENCE ...

