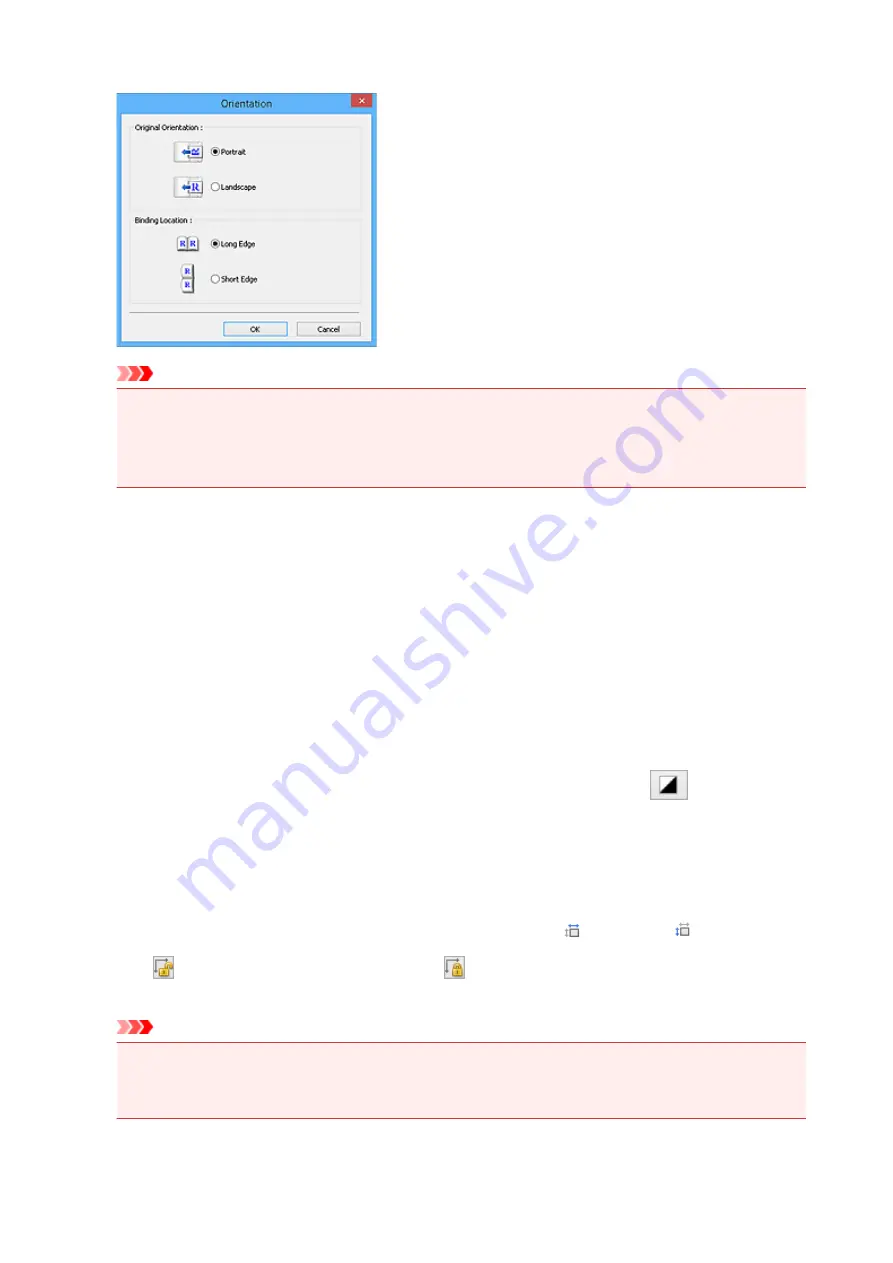
Click
Settings...
to open the
Orientation
dialog box.
Important
• The
Orientation
dialog box can only be opened when
Select Source
is
Document (ADF
Simplex)
or
Document (ADF Duplex)
.
•
Binding Location
is displayed when using a model supporting ADF duplex scanning.
•
Binding Location
cannot be specified when
Select Source
is
Document (ADF Simplex)
.
Color Mode
Select how to scan the document.
Color
Select this mode to scan color documents or to create color images. This mode renders the image
in 256 levels (8 bit) of R(ed), G(reen), and B(lue).
Grayscale
Select this mode to scan black and white photos or to create black and white images. This mode
renders the image in 256 levels (8 bit) of black and white.
Black and White
Select this mode to scan photos and documents in black and white. This mode renders the image
in black and white. The contrast in the image is divided at certain levels (threshold level) into black
and white and is rendered in two colors. The threshold level can be set with
(Threshold).
Input Size
In thumbnail view, the cropped document size is displayed after preview.
In whole image view, the
Paper Size
is displayed before preview, and the cropping frame (scan area)
size is displayed after preview.
You can adjust the cropping frame size by entering the values into
(Width) and
(Height).
Click
(Change Aspect Ratio) and change it to
(Keep Aspect Ratio) to maintain the aspect ratio
when you specify the cropping frame size.
Important
• Input size settings are available only when
Output Size
in
Output Settings
is
Flexible
. If you
select a size other than
Flexible
, a cropping frame calculated from
Output Size
and
Output
Resolution
is displayed, and its aspect ratio is fixed.
809
Summary of Contents for MG7700 series
Page 19: ...C000 1169 19 ...
Page 57: ... Appears in a new window 57 ...
Page 171: ...171 ...
Page 205: ...Replacing Ink Replacing Ink Checking Ink Status 205 ...
Page 250: ...250 ...
Page 254: ...Safety Safety Precautions Regulatory Information 254 ...
Page 259: ...Main Components and Their Use Main Components Power Supply Using the Operation Panel 259 ...
Page 260: ...Main Components Front View Rear View Inside View Operation Panel 260 ...
Page 277: ...This opens another list of items Drag it in the same manner and tap a setting 277 ...
Page 286: ...Note The effects of the quiet mode may be less depending on the print quality settings 286 ...
Page 303: ...Language selection Changes the language for the messages and menus on the touch screen 303 ...
Page 314: ...Network Connection Network Connection Tips 314 ...
Page 363: ...5 Delete Deletes the selected IP address from the list 363 ...
Page 400: ...400 ...
Page 414: ...414 ...
Page 420: ...B 1 38 inches 35 0 mm C 0 25 inch 6 4 mm D 0 25 inch 6 3 mm 420 ...
Page 449: ...Note Selecting Scaled changes the printable area of the document 449 ...
Page 482: ...Adjusting Color Balance Adjusting Brightness Adjusting Intensity Adjusting Contrast 482 ...
Page 484: ...Related Topic Adjusting Tone 484 ...
Page 491: ...Adjusting Intensity Adjusting Contrast 491 ...
Page 572: ...Printing Using Canon Application Software My Image Garden Guide Easy PhotoPrint Guide 572 ...
Page 602: ...Troubleshooting Cannot Print Scan from NFC Compliant Device 602 ...
Page 761: ...761 ...
Page 779: ...779 ...
Page 818: ...Adjusting Cropping Frames ScanGear 818 ...
Page 846: ...Scanning starts then the scanned image appears in the application 846 ...
Page 853: ...Scanning Tips Resolution Data Formats Color Matching 853 ...
Page 892: ...If icon is displayed Go to check 4 Cannot Find Machine During Wireless LAN Setup Check 4 892 ...
Page 1077: ...1660 Cause A ink tank is not installed What to Do Install the ink tank 1077 ...


