Printing a Document Secured by a PIN (Secured Print)
167A-029
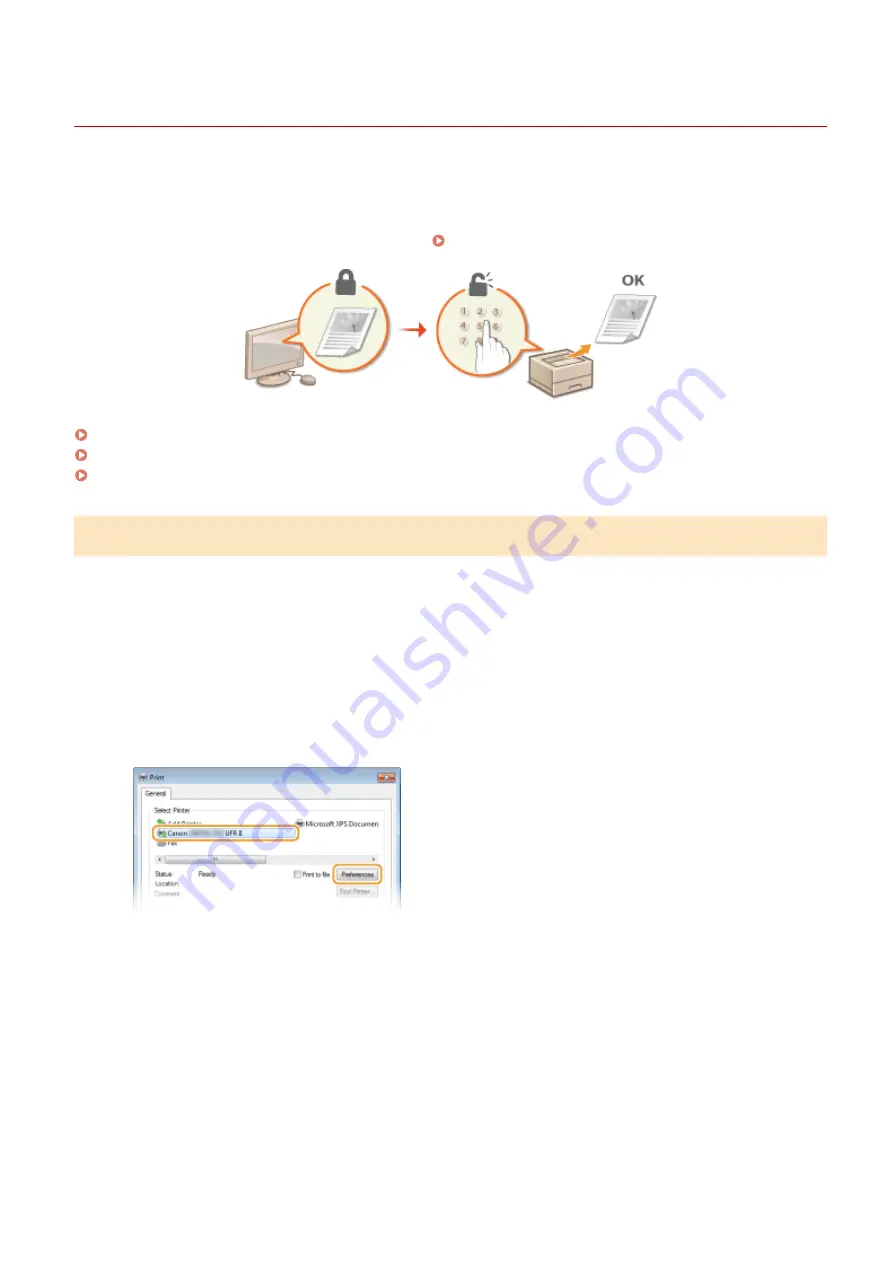
By setting a PIN to a document when printing from a computer, the document is held in an optional SD card installed
on the machine, and is not printed until the correct PIN is entered on the operation panel of the machine. This
function is called "Secured Print," and the document that is protected by a PIN is called a "secured document." Using
Secured Print keeps printouts of confidential documents from being left unattended. Before you can use this function,
you need to install an optional SD card on the machine ( Installing an SD Card(P. 569) ).
Sending a Secured Document from a Computer to the Machine(P. 127)
Printing Out Secured Documents(P. 129)
Changing the Valid Time Period for Secured Documents(P. 130)
Sending a Secured Document from a Computer to the Machine
Follow the procedure below. You can send a document protected by a PIN.
1
Open a document in an application and display the print dialog box.
●
How to display the print dialog box differs for each application. For more information, see the instruction
manual for the application you are using.
2
Select this machine, and click [Preferences] or [Properties].
●
The screen that is displayed differs depending on the application you are using.
3
Select [Secured Print] in [Output Method].
●
Click [Yes] or [No] on the [Information] pop-up screen.
●
If you want to use the same user name and PIN every time, click [Yes]. To change the user name and PIN
every time, click [No].
Printing a Document
127
Summary of Contents for LBP312 SERIES
Page 1: ...LBP312x User s Guide USRMA 1622 00 2017 01 en Copyright CANON INC 2016 ...
Page 51: ...LINKS Paper P 558 Basic Operations 45 ...
Page 58: ...4 on 1 Postcard Insert the postcard with the upper end toward the machine Basic Operations 52 ...
Page 78: ...Printing a Document 72 ...
Page 93: ...LINKS Basic Printing Operations P 73 Printing a Document 87 ...
Page 97: ...LINKS Basic Printing Operations P 73 Enlarging or Reducing P 82 Printing a Document 91 ...
Page 106: ...LINKS Basic Printing Operations P 73 Printing a Document 100 ...
Page 158: ...LINKS Printing without Opening a File Direct Print P 142 Printing a Document 152 ...
Page 188: ...LINKS Connecting to a Network P 179 Network 182 ...
Page 240: ...LINKS Entering Sleep Mode P 63 Network 234 ...
Page 280: ...Printing a Document Stored in the Machine Stored Job Print P 133 Security 274 ...
Page 286: ... Functions of the Keys Operation Panel P 24 Security 280 ...
Page 324: ...Using TLS for Encrypted Communications P 287 Configuring IPSec Settings P 291 Security 318 ...
Page 334: ...Using Remote UI 328 ...
Page 347: ...LINKS Remote UI Screens P 329 Using Remote UI 341 ...
Page 350: ...LINKS Remote UI Screens P 329 Using Remote UI 344 ...
Page 374: ...Paper Source 167A 05E See Select Feeder Menu P 450 Setting Menu List 368 ...
Page 465: ...Troubleshooting 459 ...
Page 550: ...Third Party Software 167A 07F Appendix 544 ...
Page 559: ...For more information about this function see Collating Printouts by Page P 86 Appendix 553 ...
Page 611: ...Scalable Fonts PCL Appendix 605 ...
Page 612: ...Appendix 606 ...
Page 613: ...Appendix 607 ...
Page 614: ...OCR Code Scalable Fonts PCL Bitmapped Fonts PCL Appendix 608 ...
Page 637: ... 17 MD4 RSA Data Security Inc MD4 Message Digest Algorithm ...
Page 651: ... 31 Department s Table of Denial Orders ...
Page 667: ... 47 signature of Ty Coon 1 April 1990 Ty Coon President of Vice That s all there is to it ...
Page 688: ...Search Enter keyword s here 1 ...
Page 691: ...Procedure Necessary Steps Reference Page Start the MEAP applications from SMS 2 ...
Page 701: ...12 ...
Page 707: ...3 Click Delivered Update 4 Click Apply Firmware 5 Confirm the firmware to apply click Yes 5 ...
Page 709: ...3 Click Delivered Update 4 Click Delete Firmware 7 ...
Page 728: ...Search Enter keyword s here 1 ...
Page 749: ...Starting MEAP Applications Stopping MEAP Applications Starting Stopping MEAP Applications 10 ...
Page 757: ...4 Click License Management 18 ...
Page 760: ...4 Click License Management 21 ...
Page 761: ...5 Click Disable 6 Click Yes The license file is disabled 22 ...
Page 763: ...4 Click License Management 24 ...
Page 766: ...4 Click License Management 27 ...
Page 767: ...5 Click Delete 6 Click Yes The license file is deleted 28 ...
Page 768: ...29 ...
Page 770: ...4 Click Authentication Information Settings 31 ...
Page 772: ...IMPORTANT When cancelling authentication information Click Delete 33 ...
Page 777: ...5 ...
Page 786: ...14 ...
Page 789: ...17 ...
Page 795: ...4 Click Yes The setting information of the application is deleted 23 ...


