Chapter 1
11
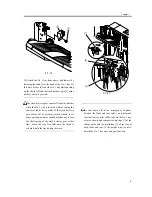
F-1-23
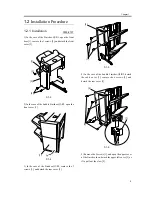
25) Mount the upper left cover, rear cover, and front
cover (in the case of the Finisher-Q1/R1) of the
finisher.
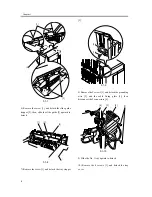
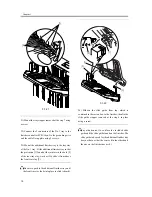
26) Free the latch of the No. 1 tray and move it down
so that the additional finisher tray [1] is as shown in
the figure.
Push up the shutter, and check to make sure that
the stack delivery gate at the delivery outlet is
covered when lowering the No. 1 tray to near the
delivery outlet. (Refer to the fig. in step 20)
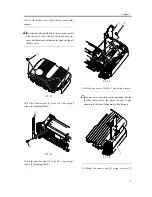
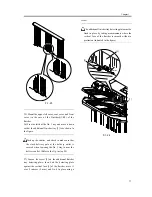
27) Loosen the screw [2] on the additional finisher
tray detecting plate; then, butt the detecting plate
against the vertical face [3] of the finisher, move it
over 2 indexes (2 mm), and fix it in place using a
screw.
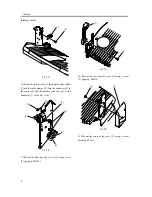
The additional finisher tray detecting plate must be
fixed in place by taking measurements where the
vertical face of the finisher is smooth without a
protrusion (indicated in the figure).
F-1-24
2mm
[3]
[2]
[1]
Summary of Contents for Inner Finisher Additional Tray-A1
Page 1: ...Dec 10 2003 Installation Procedure Finisher Sorter DeliveryTray Additional Finisher Tray A1 ...
Page 2: ......
Page 6: ......
Page 8: ...Contents ...
Page 9: ...Chapter 1 Installation Procedure ...
Page 12: ...Chapter 1 4 3 Disconnect the host machine s power plug from the power outlet ...
Page 21: ...Dec 10 2003 ...
Page 22: ......

