Chapter 1
7
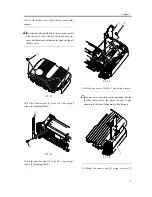
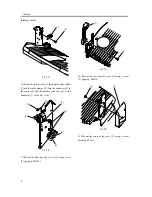
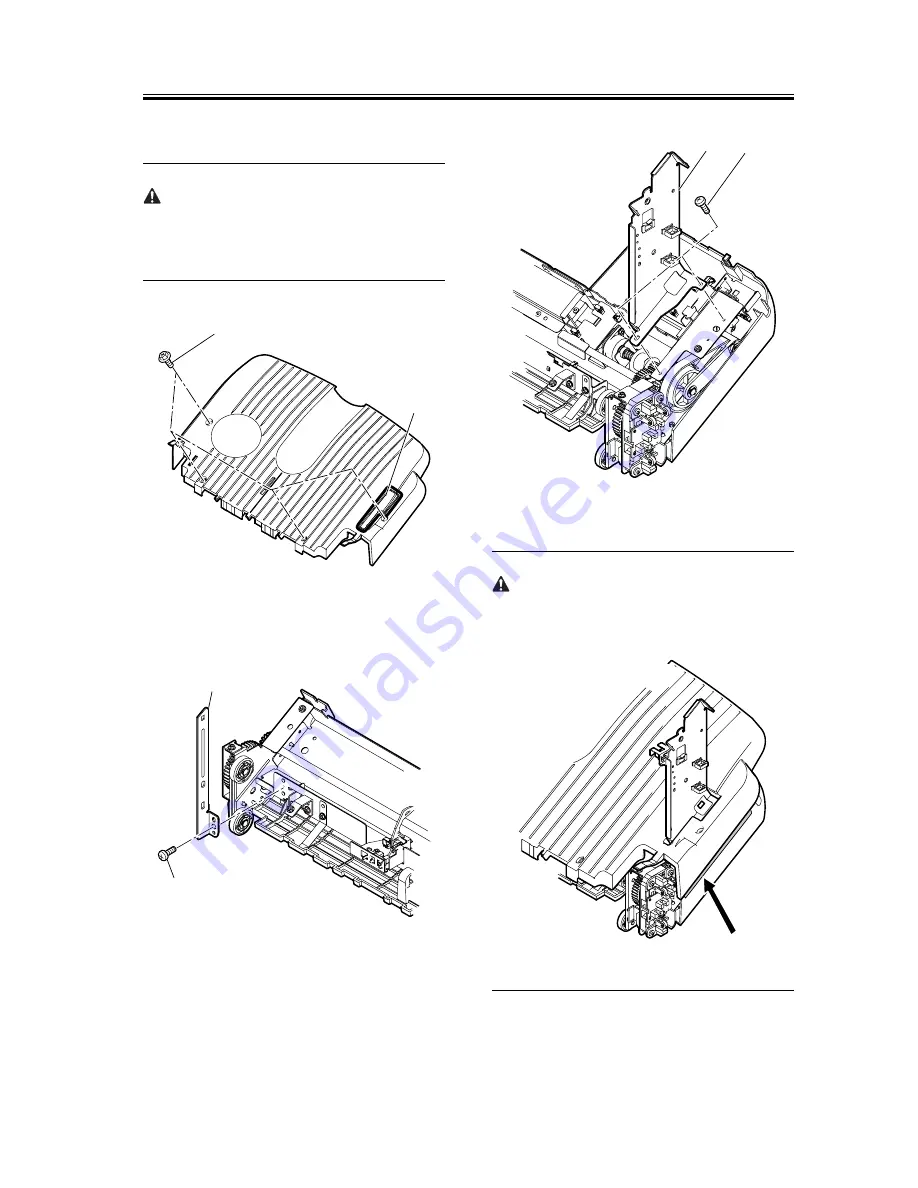
11) Cut off the face cover [2] of the tray cover using
nippers.
To eliminate the possibility of injury upon contact
with the tray, be sure that the cut edge on the tray
cover will be smooth without burrs when cutting off
the face cover.
F-1-11
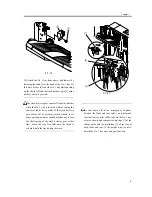
12) Fit the front tray stay [1] to the No. 1 tray using 2
screws [2] (binding; M4x6).
F-1-12
13) Fit the rear tray stay [1] to the No. 1 tray using 2
screws [2] (binding; M4x6).
F-1-13
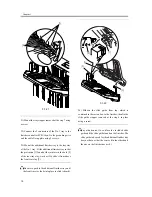
14) Fit the tray cover of the No. 1 tray using 4 screws.
The tray cover can ride over the part under it at the
location indicated by the arrow; be sure to pay
attention to the line of alignment when fitting it.
F-1-14
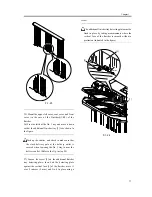
15) Mount the sensor unit [1] using a screw [2]
[1]
[2]
[2]
[1]
[2]
[1]
Summary of Contents for Inner Finisher Additional Tray-A1
Page 1: ...Dec 10 2003 Installation Procedure Finisher Sorter DeliveryTray Additional Finisher Tray A1 ...
Page 2: ......
Page 6: ......
Page 8: ...Contents ...
Page 9: ...Chapter 1 Installation Procedure ...
Page 12: ...Chapter 1 4 3 Disconnect the host machine s power plug from the power outlet ...
Page 21: ...Dec 10 2003 ...
Page 22: ......


