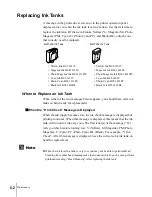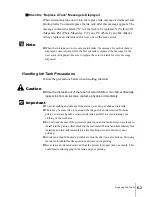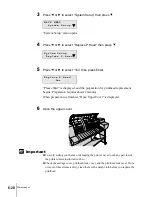
Replacing Ink Tanks
7
6-7
Note
9
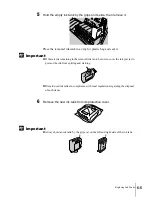
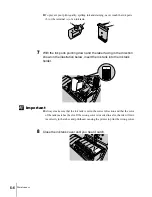
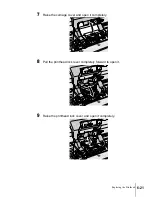
Repeat Step 4 to Step 8 to install all the other color ink tanks.
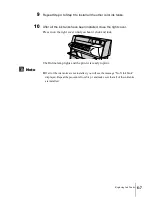
10
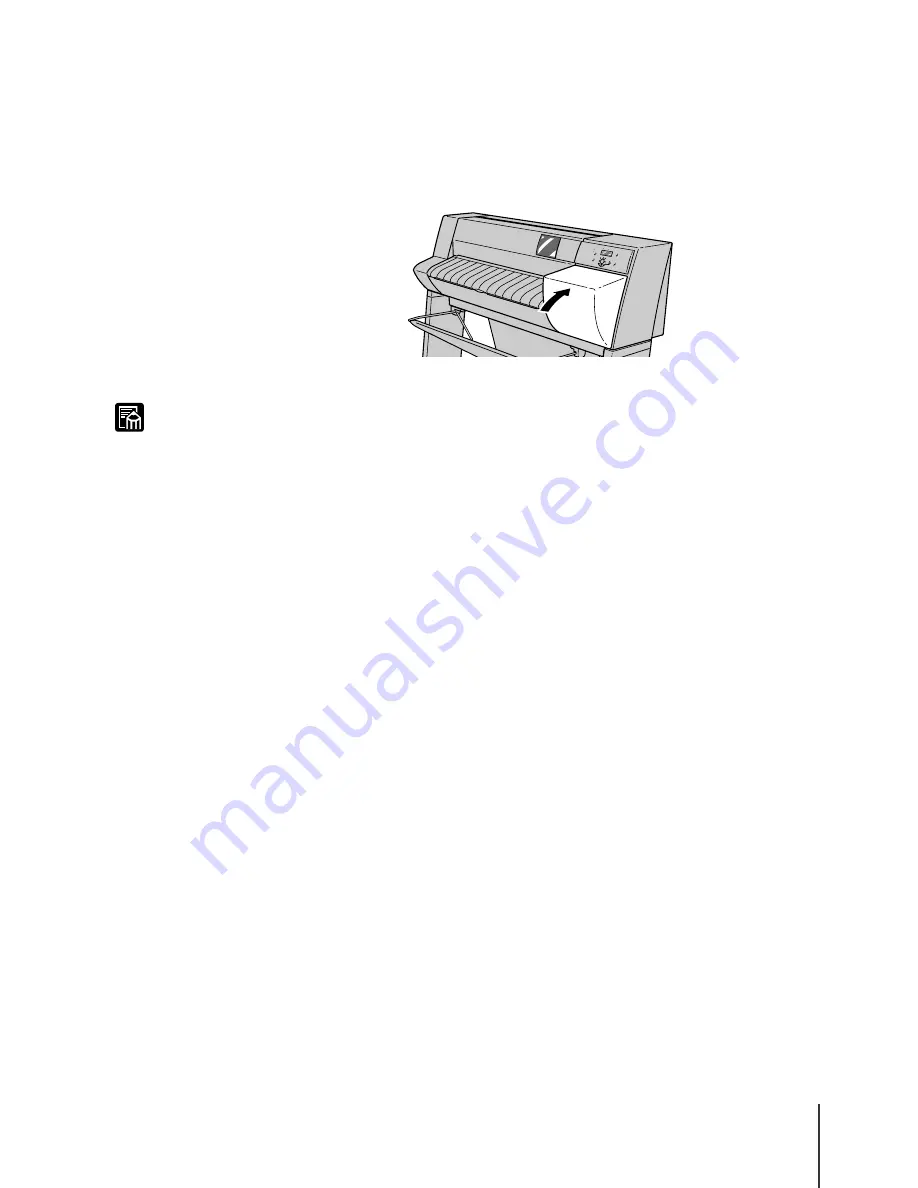
After all the ink tanks have been installed, close the right cover.
Press in on the right cover until you hear it click and lock.
The Online lamp lights and the printer is ready to print.
z
If all of the ink tanks are not installed, you will see the message “No X Ink Tank”
displayed. Repeat the procedure from Step 1 and make sure that all of the ink tanks
are installed.
Summary of Contents for imagePROGRAF W7200
Page 1: ......
Page 67: ...3 Printing from Windows This chapter describes the basic procedures for printing from Windows ...
Page 72: ...Printing from Windows 3 6 ...
Page 86: ...Printing from a Macintosh 4 14 ...
Page 99: ...6 Maintenance This chapter describes how to replace consumables and maintain the printer ...
Page 124: ...Maintenance 6 26 ...
Page 125: ...7 Troubleshooting This chapter describes how to solve problems with the printer ...
Page 168: ...Troubleshooting 7 44 ...


