1
2
3
4
5
6
7
8
9
10
11
Back
Next
Previous
TOP
6-12
Before Using the
Machine
Document and Paper
Copying
Sending and
Receiving
Printing and
Scanning
Network
Remote UI
System Manager
Settings
Maintenance
Troubleshooting
Appendix
Index
Table of Contents
1.
Open the printer properties dialog box.
For Windows Vista, click [Start] on the Windows task bar
→
[Control Panel]
→
[Printer] under [Hardware and Sound].
For Windows 2000, click [Start] on the Windows task bar
→
[Settings]
→
[Printers].
For Windows XP Professional/Server 2003, click [start] on the
Windows task bar
→
[Printers and Faxes].
For Windows XP Home Edition, click [start] on the Windows
task bar
→
[Control Panel]
→
[Printers and Other Hardware]
→
[Printers and Faxes].
2.
Right-click the icon of the printer you installed
→
select [Properties].
3.
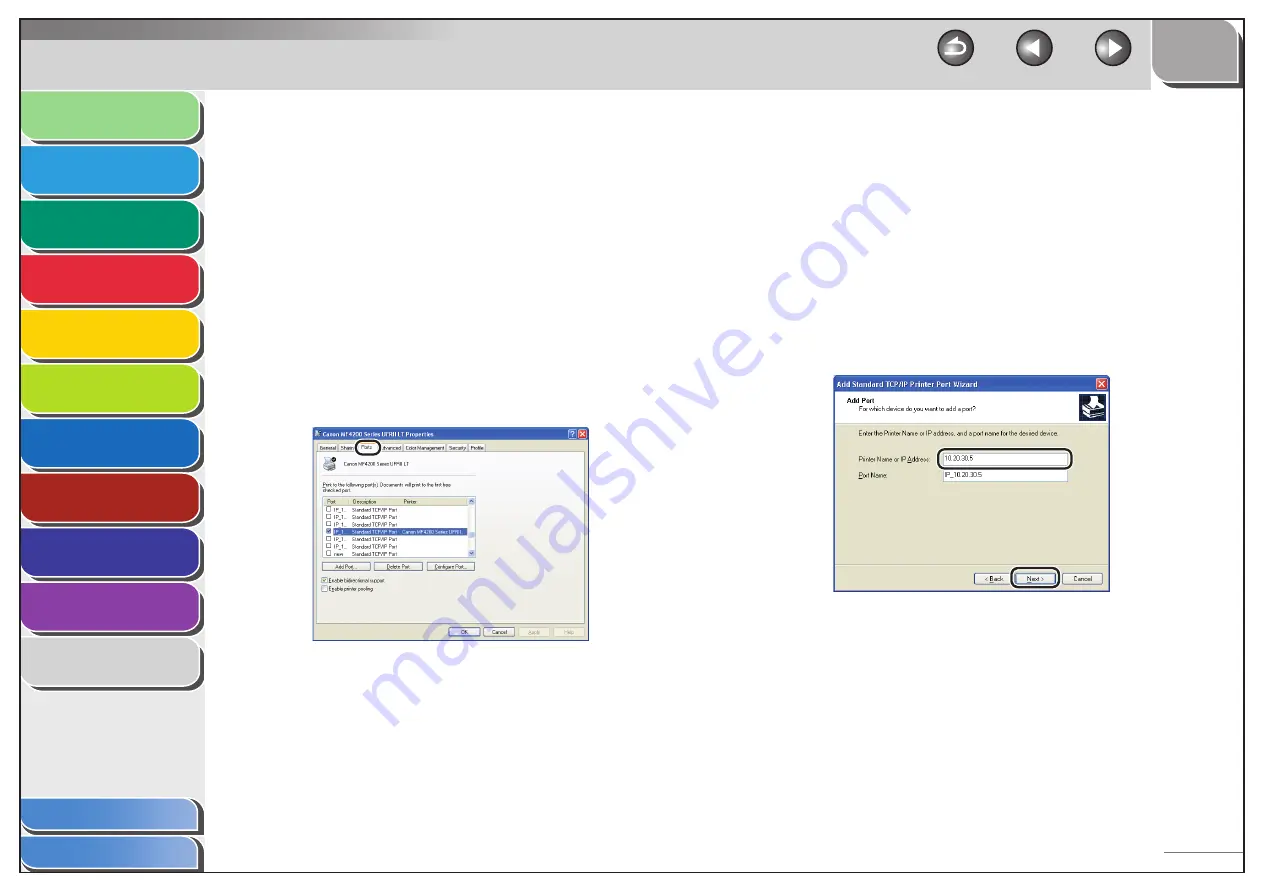
Display the [Ports] sheet by clicking the [Ports]
tab.
–
–
–
–
4.
Open the [Printer Ports] dialog box by clicking
[Add Port].
5.
From [Available ports types], select [Standard
TCP/IP Port]
→
click [New Port].
The Add Standard TCP/IP Printer Port Wizard starts.
6.
Click
[Next].
7.
In [Printer Name or IP Address], enter the
machine IP address or machine host name
→
click [Next].
After the computer has confirmed that there is a machine in
which the entered IP address is assigned, the [Completing the Add
Standard TCP/IP Printer Port Wizard] window appears.


