background image

3

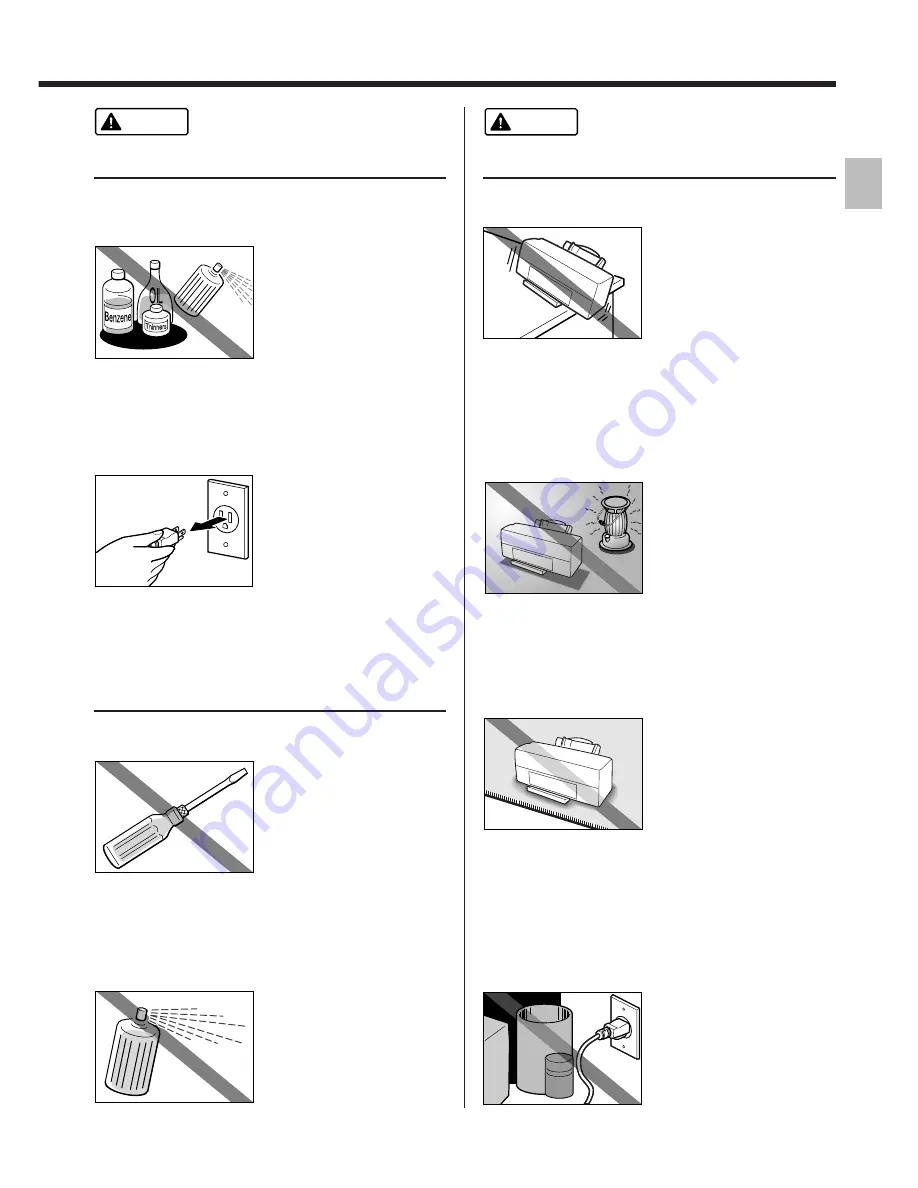
Cleaning the printer

Use a damp cloth to clean the printer. Never
use flammable solvents such as alcohol,
benzene or thinners.

If flammable solvents
come in contact with
electrical components
inside the printer, such
substances could cause a
fire or electric shock.

Choosing a location

Do not install the printer in a location that is
unstable or subject to excessive vibration.

The printer could tip over
or fall and cause injury.

Safety Precautions

Warning

Caution

Always unplug the printer from the power outlet
when you are cleaning the printer.

If you mistakenly switch
the printer on while
cleaning it, you could
touch moving internal
printer components and
suffer injury.

Other

Do not attempt to disassemble or modify the
printer.

The printer contains high-
voltage components that
could cause a fire or
electric shock

Do not use inflammable sprays near the printer.

Gases in the spray could
cause a fire or electric
shock if they come in
contact with electrical
components inside the
printer.

Do not install the printer in locations that are
very humid or dusty, in direct sunlight, or close
to a heating appliance or fireplace.

To avoid the risk of fires or
electric shocks, install the
printer in a location with
an ambient temperature
range of 41°F to 95°F and
humidity of 10% to 90%
(condensation free).

Do not place the printer on rugs or carpets with
a deep pile.

Fibres or dust entering the
printer could cause a fire.

Keep the power outlet for the printer free of all
obstacles so you can unplug the power cord at
any time.

Such obstacles could
prevent you from
unplugging the printer
when a printer fault occurs
and cause a fire or electric
shock.

Summary of Contents for BJC-8000

Page 1: ..._________________________________ Printer part names and functions 40 Specifications 43 1 Table of Contents Windows 98 and Windows 3 1 users All the Printer Properties dialog boxes shown in this Guide are for Windows 95 If you are using Windows 98 the screens are almost identical and are used in precisely the same way If you are running Windows 3 1 the design of the Printer Driver Setup window dif...

Page 2: ...nter faults or cause a fire or electric shock Warning Never plug the printer into a power socket that is shared with other equipment power board double adapter etc This could cause a fire or electric shock Never use the printer while the power cord is bundled or knotted This could cause a fire or electric shock If you detect smoke unusual odours or strange noises around the printer immediately pre...

Page 3: ...e printer The printer contains high voltage components that could cause a fire or electric shock Do not use inflammable sprays near the printer Gases in the spray could cause a fire or electric shock if they come in contact with electrical components inside the printer Do not install the printer in locations that are very humid or dusty in direct sunlight or close to a heating appliance or firepla...

Page 4: ...ock If any foreign object metal or liquid enters the printer switch the printer off unplug the power cord and call for service Continued use of the printer when a foreign object has fallen into the printer could cause a fire or electric shock Power supply Always grasp the plug when you unplug the power cord Unplugging the power cord by pulling on the cord can damage the cord and cause a fire or el...

Page 5: ... printer malfunctions Notes on switching the printer off To switch the printer off always press the POWER button on the printer and check that the POWER lamp has gone off Switching the printer off by simply unplugging the power cord from the power outlet may make further printing impossible Safety Precautions 5 Safety Precautions BJ Cartridges and ink tanks For safety reasons store BJ Cartridges a...

Page 6: ...f the POWER lamp is off press the POWER button to switch the printer on If no paper is loaded load some paper into the sheet feeder page 8 Make sure the printer is ready The printouts are fed out this way Read the Quick Start Guide and ensure that you have completed the printer setup before you try to print ...

Page 7: ...r details Select Print from the File menu in your application program and click Properties in the Print window Click to start printing Select the BJ Cartridge you are using page 10 Select the media to be used page 12 Select the appropriate icon for the type of document you are printing Reference Reference You should specify the paper size in the application software However the first time you prin...

Page 8: ...n paper For information on loading other media or any of the Canon special media see Compatible media page 12 Paper rest Paper output tray Paper Guide Print side Load limit mark Removing the printouts For plain paper remove the printed pages after about 20 pages have been output Take care not to touch the printed side of the paper until the ink is fully dry Note that the time required for the ink ...

Page 9: ... select the correct print settings in the printer driver Printer Properties dialog box This explanation describes how to specify the settings when you are printing on plain paper For even better print quality Use the media best suited to printing photos The media listed below give near photographic quality printouts with superb colour reproduction See Compatible media for more information on the f...

Page 10: ...r the print heads become soiled the nozzles can become blocked so that ink can no longer be ejected Reference The BJC 8000 always has 2 BJ Cartridges installed Select whichever combination of BJ Cartridges suits your needs It is recomended you use Canon Specialty Papers to ensure that you obtain the best possible print quality BC 60 Black BJ Cartridge and BC 62e Photo BJ Cartridge Best for printin...

Page 11: ...ks BC 62e Photo Ink tank BCI 62 Photo BC 62e Photo BJ Cartridge print head The BJ tank is separate from the print head and can be replaced when the ink runs out page 19 When the print head wears out replace the BJ Cartridge page 22 This BJ Cartridge contains the three normal colour inks cyan magenta and yellow and is the best choice for printing ordinary colour documents and business graphics BC 6...

Page 12: ...nclude large numbers of color illustrations and graphs Glossy Photo Paper A slightly heavier paper than High Resolution Paper made by applying a gloss coating to the print side of the paper Provides photo quality images with the gloss feel of a photographic print High Gloss Photo Film A film sheet with a higher gloss than Glossy Photo Paper To obtain the highest quality reproduction of photographs...

Page 13: ...t to high temperatures or humidity To avoid bending or wrinkling the paper store it in a level place Whenever possible hold the paper by the edges and avoid touching the print side Any scratching or soiling of the print side will adversely affect the print quality Do not touch the printed side of printouts until the ink is dry When you are printing on the following types of media remove each page ...

Page 14: ...ors are wrong Documents cannot be printed normally if the BJ Cartridge print head nozzles are blocked or the print heads are worn When the printed text is faint or the printed colors are wrong use the procedure below to check the status of the print heads and if necessary replace the BJ tank or BJ Cartridge Print a Nozzle Check Pattern page 16 Clean the print heads page 17 Replace BJ tanks page 19...

Page 15: ... RESUME button The BJ Printer Status Monitor appears on the screen A picture and message indicating that the ink has run out appear in the Status box on the Printer Status tab Click the Guide tab to view the appropriate response and proceed as directed by the instructions shown To install a new ink tank or BJ Cartridge refer to the following BC 60 Black BJ Cartridge Replacing BJ Cartridges page 22...

Page 16: ...when your printouts are faint or the color tones are incorrect 2 Select Nozzle Check Pattern in the printer driver 1 Open the Printer Properties dialog box and click the Maintenance tab 2 Click the Nozzle Check Pattern icon 3 Click OK 3 Look at the printed Nozzle Check Pattern and check the status of the BJ Cartridge nozzles Alignment of left and right BJ Cartridge print heads If the lines in thes...

Page 17: ...All Colors Cleans the print heads in both BJ Cartridges Black Cleans the print head in the BC 60 Black BJ Cartridge Color Cleans the print head in the BC 61 Color BJ Cartridge 4 Click OK The POWER lamp flashes and print head cleaning begins Cleaning takes one to two minutes after which the POWER lamp stops flashing and remains lit Only clean or deep clean the print heads when it is necessary as pr...

Page 18: ...was effective page 16 1 Open the Printer Properties dialog box and click the Maintenance tab 2 Click the print head deep cleaning icon 3 Click OK The POWER lamp flashes and print head deep cleaning begins Deep cleaning takes 2 to 3 minutes after which the POWER lamp stops flashing and remains lit If the cleaning had no effect perform print head cleaning and print head deep cleaning again If there ...

Page 19: ...idge runs out use the procedure below to replace the BJ tank When you are purchasing a replacement BJ tank specify the BCI 62 Photo BJ tank for the BC 62e Photo BJ Cartridge and the BCI 61 Color BJ tank for the BC 61 Color BJ Cartridge 1 Check that the printer is switched on and select Change Ink Tank in the printer driver 1 Open the Printer Properties dialog box and click the Maintenance tab 2 Cl...

Page 20: ...ions Do not reattach used protective caps Dispose of them in accordance with your local waste disposal regulations Restriction Reference Caution 3 Press the release button on the BJ tank and remove the BJ tank Leave the print head installed in the printer and remove only the BJ tank 4 Take the new BJ tank out of its box 5 Remove the orange protective cap Protective cap Photo BCI 62 Photo Color BCI...

Page 21: ...u hear a click 8 Press the blue REPLACE button The printer beeps once the cartridge holder moves to the right end of the printer and print head cleaning begins 9 Close the front cover The POWER lamp flashes during print head cleaning Head cleaning takes one to two minutes after which the POWER lamp stops flashing and remains lit This completes BJ tank replacement Replace button ...

Page 22: ... driver 1 Open the Printer Properties dialog box and click the Maintenance tab 2 Click the Change BJ Cartridge icon 3 Click OK When the ink in the Black BJ Cartridge runs out use the procedure described below to replace the BJ Cartridge If replacing the BJ tank in a BC 62e Photo or BC 61Color BJ Cartridge does not improve the printout quality the print head may be worn If this occurs replace the B...

Page 23: ...ou do not store the partly used BJ Cartridge in the Ink Cartridge Storage Box the ink will dry out and you will no longer be able to print using the BJ Cartridge Protective cap orange Protective tape white Print head Do not drop BJ Cartridges or subject them to excessive vibration This could cause the ink to leak out and stain your clothing or the surroundings The ink Cartridge Storage Box are des...

Page 24: ...r beeps once the cartridge holder moves to the right end of the printer and print head cleaning begins 9 Close the front cover The POWER lamp flashes during print head cleaning Head cleaning takes one to two minutes after which the POWER lamp stops flashing and remains lit A print head alignment message then appears 6 Place the new BJ Cartridge into the holder at an angle along the cartridge holde...

Page 25: ...o sheets of paper into the sheet feeder Aligning the print heads The BJC 8000 always uses two BJ Cartridges When you have replaced a BJ Cartridge align the print heads of the BJ Cartridges using the procedure described below 2 Read the message and click OK 3 To print the alignment pattern click Yes Paper Guide Print side Load limit mark ...

Page 26: ... page 16 Reference 4 Check the printout and type in the numbers of the patterns in which the lines in A B C and D are printed exactly over each other Then click OK 5 Check that there is paper loaded in the printer and click OK 6 Check the new printout and type in the numbers of the patterns in which the lines in E F G and H are printed exactly over each other in the same way as step 4 Then click O...

Page 27: ...the feed rollers inside the printer If you have been printing on Canon s High Resolution Paper clean the feed rollers 2 Check that the POWER lamp is off and unplug the printer from the power outlet 3 Wipe the paper outlet clean Never use flammable solvents such as thinners benzene or alcohol If such substances come in contact with electrical components inside the printer they could cause a fire or...

Page 28: ...ick the Guide tab and proceed as directed by the message shown Printing resumes once you have resolved the problem P29 Multiple sheets are fed in together P30 The paper jams P30 Error writing to LPT1 displayed P31 Application error or General Protection Fault displayed P32 P33 P34 Meaningless characters and symbols are printed P35 The printout is faint or the colors are wrong P36 The last part of ...

Page 29: ...and then BJ Printer from the Windows Start menu and click Uninstall Then follow the on screen instructions Quit any other application programs that are running and start the installation again Double click My Computer and then double click the CD ROM icon in the new window Refer to the Quick Start Guide and proceed with the rest of the installation Check that the Windows Explorer or the Windows 3 ...

Page 30: ...er page 8 When you load media other than envelopes into the sheet feeder you should pull out the paper rest If you do not pull out the paper rest the media will not slide fully into the paper feed slot and may not be fed into the printer correctly Refer to Notes on media page 13 and check that you are using appropriate media Paper that is folded curled or crumpled will not be fed into the printer ...

Page 31: ...en print normally the fault is probably in the switching device or external buffer Consult the switching device or external buffer supplier Change the print spool setting Open the printer driver Printer Properties window click Spool settings on the Details tab and select Send print data direct to the printer Check the status of the printer port Click on Start Settings and Control Panel Double clic...

Page 32: ...r to the user manual for your application software and check that the required amount of memory is allocated to the application If there is not enough memory installed install more memory Refer to the user manual for your PC for information on installing additional memory Delete any unneeded files to make more space available Rebuild the document and print it again If there is no problem with the ...

Page 33: ...61 Color BJ Cartridge on the right side page 10 22 Remove the BJ Cartridge and check that the contacts are clean and that the white protective tape has been removed Then reinstall the BJ Cartridge If you cannot resolve the error install a new BJ Cartridge page 22 Press the RESUME button to clear the error Pressing the RESUME button clears the error and allows you to continue printing for some time...

Page 34: ...arge amounts of data the data processing takes longer and the printer may appear to have stopped working Interrupt printing at a convenient point switch the printer off and wait until the print heads have cooled down at least 15 minutes To protect overheated print heads the printer may pause temporarily when the print heads reach the end of a pass Printing restarts after a short pause Never touch ...

Page 35: ... the power cord and printer cable are securely connected Use another printer cable Contact the cable supplier for more information on cable faults Make sure you are using an IEEE compatible parallel cable Disconnect the switching device or external buffer and print with the printer directly connected to the PC If you can then print normally the fault is probably in the switching device or external...

Page 36: ... round so that the image was printed on the wrong side of the media Solution Print a Nozzle Check Pattern and check the status of the print heads page 16 Remove the protective tape or cap reinstall the BJ Cartridge in the printer and then clean the print head Replacing BJ Cartridges page 22 Cleaning the print heads page 17 Check the print side of the media and load it so that printing is performed...

Page 37: ...cable Contact the cable supplier for more information on cable faults Make sure that you are using an IEEE compatible parallel cable Disconnect the switching device or external buffer and print with the printer directly connected to the PC If you can then print normally the fault is probably in the switching device or external buffer Consult the switching device or external buffer supplier Cancel ...

Page 38: ...or the document you are printing such as SuperPhoto Check also that the BJ Cartridge and Media Type settings match the BJ Cartridge and media you are actually using page 7 The paper comes out curled warped wrinkled Cause You are printing on very thin paper and excess ink is being absorbed by the paper The print quality is set to Fast The print density is set too high Solution Print on specially co...

Page 39: ...ct questions or for products no longer under warranty 1 800 423 2366 Or for a charge of 2 50 per minute to a maximum of 25 00 per call 1 900 246 1200 To find out about all Canon products and accessories to download the latest drivers and to explore all your technical support options including e mail support visit the Canon Computer Systems Inc Web site www ccsi canon com 24 hour toll free Fax Retr...

Page 40: ...e printer is ready to print Blinking The printer is warming up or receiving data from the PC POWER button Switches the printer on and off ERROR lamp On Printing is not possible because there is a problem with the printer Blinking Call the Canon Customer Care Center See page 39 RESUME button After you have resolved a printer problem press this button to resume printing Operation panel Paper rest Fr...

Page 41: ...ed slot Parallel interface connector Manual feed guide Rear View REPLACE button Press the REPLACE button to move the cartridge holders to the leftmost replace position when you are installing or replacing a BJ Cartridge The printer beeps once when you press the button After you finish installing the new or replacement BJ Cartridge press this button to move the cartridge holder to the right to get ...

Page 42: ...x The Printer Driver Setup dialog box opens 1 Select the command used for printing in your application software 2 Check that Canon BJC 8000 is displayed as the default printer in the Print Setup window and then click Options to open the Printer Driver Setup dialog box 3 Click Maintenance in the Printer Driver Setup dialog box The printer driver Maintenance dialog box opens 4 Select the icon for th...

Page 43: ...imensions inches 18 4 12 3 8 6 W D H With paper rest paper output tray retracted Weight Approx 14 lbs Feed method Continuous feed sheet feeder Plain paper High Resolution Paper envelopes Transparencies Glossy Photo Paper High Gloss Photo Film Back Print Film Fabric Sheet Glossy Photo Cards T shirt Transfers Manual feed Other paper Sheet feeder capacity Plain paper 130 sheets max 17 30 lb High Reso...

Page 44: ...space Approx 12MB to install on Windows 98 or Windows 95 approx 5MB to install on Windows 3 1 including temporary files To use the BJ Printer Status Monitor connect a Centronics cable that supports bidirectional communication to the LPT1 printer port Printable area To ensure the best print quality the printer allows a margin along each edge of the media The actual printable area is the portion of ...

Reviews: