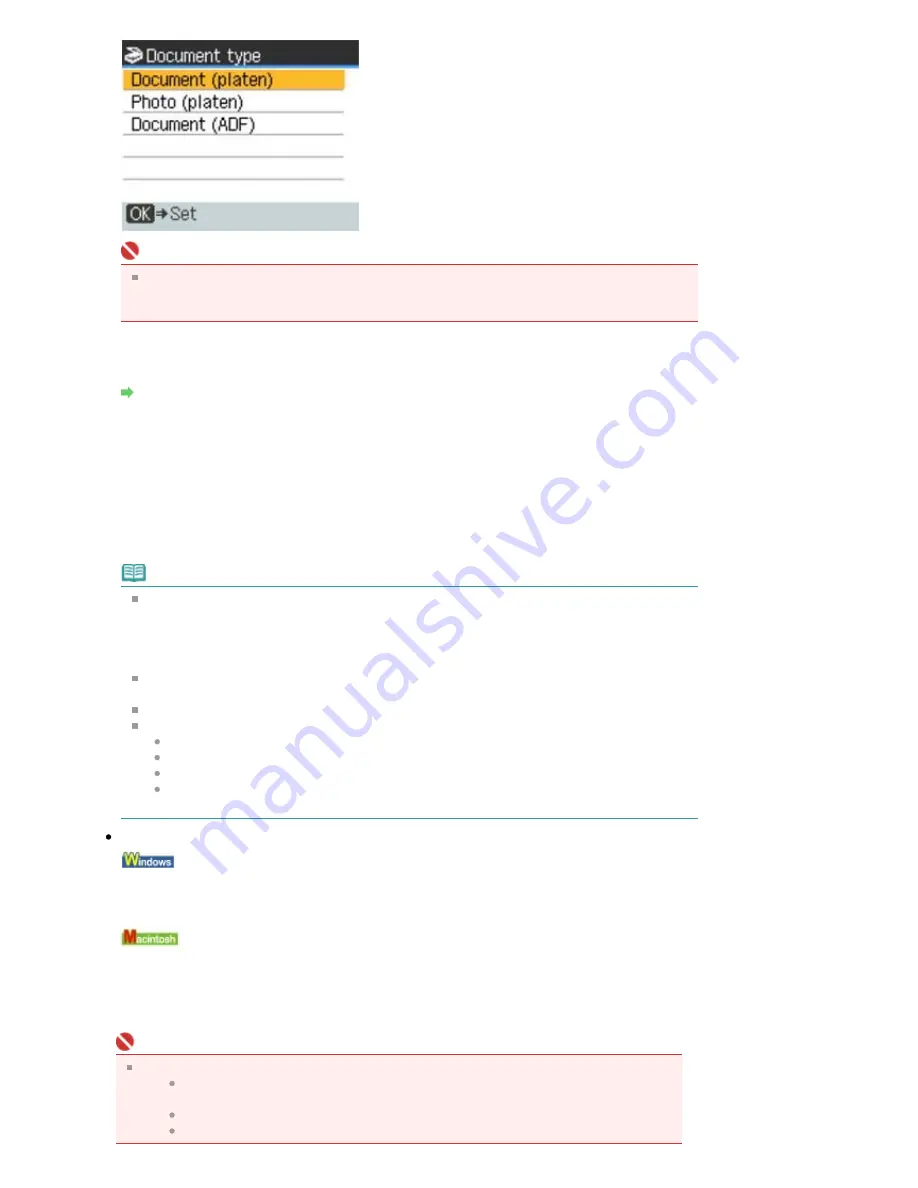
Important
Make sure that the document has been loaded correctly according to the document type that
you have selected. Refer to
Loading paper / Originals
for how to load the original on the Platen
Glass or in the ADF.
7.
Confirm the settings, then press the
OK
button.
Press the
Settings
button to adjust the settings as necessary.
Setting Items
8.
Confirm the message, then press the
OK
button.
9.
Press the
Color
button for color scanning, or the
Black
button for black & white
scanning.
The machine starts scanning and scanned data is saved on the USB flash drive.
Remove the original on the Platen Glass or the Document Output Slot after scanning is complete.
To remove the USB flash drive after scanning is completed, see
Removing the USB Flash Drive
.
Note
When you select PDF as the data format, you can scan documents from the Platen Glass
continuously. After scanning is complete, select Continue on the confirmation screen. Load the
next document on the Platen Glass, then press the
Color
button for color scanning, or the
Black
button for black & white scanning. You can save up to 100 pages of images in one PDF
file.
If the USB flash drive becomes full while scanning images is in progress, only the images
already scanned can be saved.
You can save up to 999 files of scanned data in both JPEG and PDF data format.
The folder and file name of scanned data saved on the USB flash drive is as follows:
Folder name: (file extension: PDF): CANON_SC\DOCUMENT\0001
Folder name: (file extension: JPG): CANON_SC\IMAGE\0001
File name: Running numbers, starting from SCN_0001
File date: Saving on the date and time registered in the machine. For information on how to
register the date and time, refer to
Setting Up the Machine
.
Importing the Scanned Data Saved on the USB Flash Drive to the Computer
You can import the scanned data saved on the USB flash drive to the computer.
After scanning the data, connect the USB flash drive to the computer, then import the data using
Windows Explorer.
You can import the scanned data saved on the USB flash drive to the computer.
After scanning the data, connect the USB flash drive to the computer, then import the data.
Inserting the USB Flash Drive
Important
Before inserting the USB flash drive:
You may need an extension cable if the USB flash drive cannot be inserted into the
Direct Print Port of the machine. For details, ask an electronics store.
Depending on the type of USB flash drive, the operation may not be guaranteed.
Some USB flash drives with security settings may not be used.
Page 362 of 853 pages
Saving Scanned Data on the USB Flash Drive Using the Operation Panel of...
Summary of Contents for 3300B002
Page 12: ...Page top Page 12 of 853 pages Main Components ...
Page 27: ...Page top Page 27 of 853 pages Entering the Date and Time ...
Page 79: ...Page top Page 79 of 853 pages Using Useful Fax Functions ...
Page 96: ...Page top Page 96 of 853 pages Loading Envelopes ...
Page 105: ...Page top Page 105 of 853 pages Loading a Document in the ADF ...
Page 111: ...Page top Page 111 of 853 pages Printing the Nozzle Check Pattern ...
Page 113: ...Page top Page 113 of 853 pages Examining the Nozzle Check Pattern ...
Page 120: ...Page top Page 120 of 853 pages Aligning the Print Head ...
Page 127: ...Page top Page 127 of 853 pages Cleaning the Paper Feed Roller ...
Page 142: ...About Solution Menu Page 142 of 853 pages MX330 series Advanced Guide ...
Page 172: ...Note See Help for details on the Edit screen Page top Page 172 of 853 pages Editing ...
Page 174: ...Page top Page 174 of 853 pages Printing ...
Page 178: ...Page top Page 178 of 853 pages Selecting the Paper and Layout ...
Page 181: ...Page top Page 181 of 853 pages Editing ...
Page 183: ...Page top Page 183 of 853 pages Printing ...
Page 190: ...Page top Page 190 of 853 pages Printing ...
Page 197: ...Page top Page 197 of 853 pages Printing ...
Page 230: ...Page top Page 230 of 853 pages Cropping Photos Photo Print ...
Page 285: ...Page top Page 285 of 853 pages Stamp Background Printing ...
Page 325: ...Page top Page 325 of 853 pages Reducing Photo Noise ...
Page 645: ...Page top Page 645 of 853 pages Creating an Address Book ...
Page 704: ...Text LCD Page top Page 704 of 853 pages Bluetooth Settings Screen ...
Page 751: ...Colors Are Uneven or Streaked Page top Page 751 of 853 pages Print Results Not Satisfactory ...
Page 757: ...Page top Page 757 of 853 pages Colors Are Unclear ...
Page 768: ...Page top Page 768 of 853 pages Printing Does Not Start ...
Page 774: ...Page top Page 774 of 853 pages Paper Does Not Feed Properly ...


