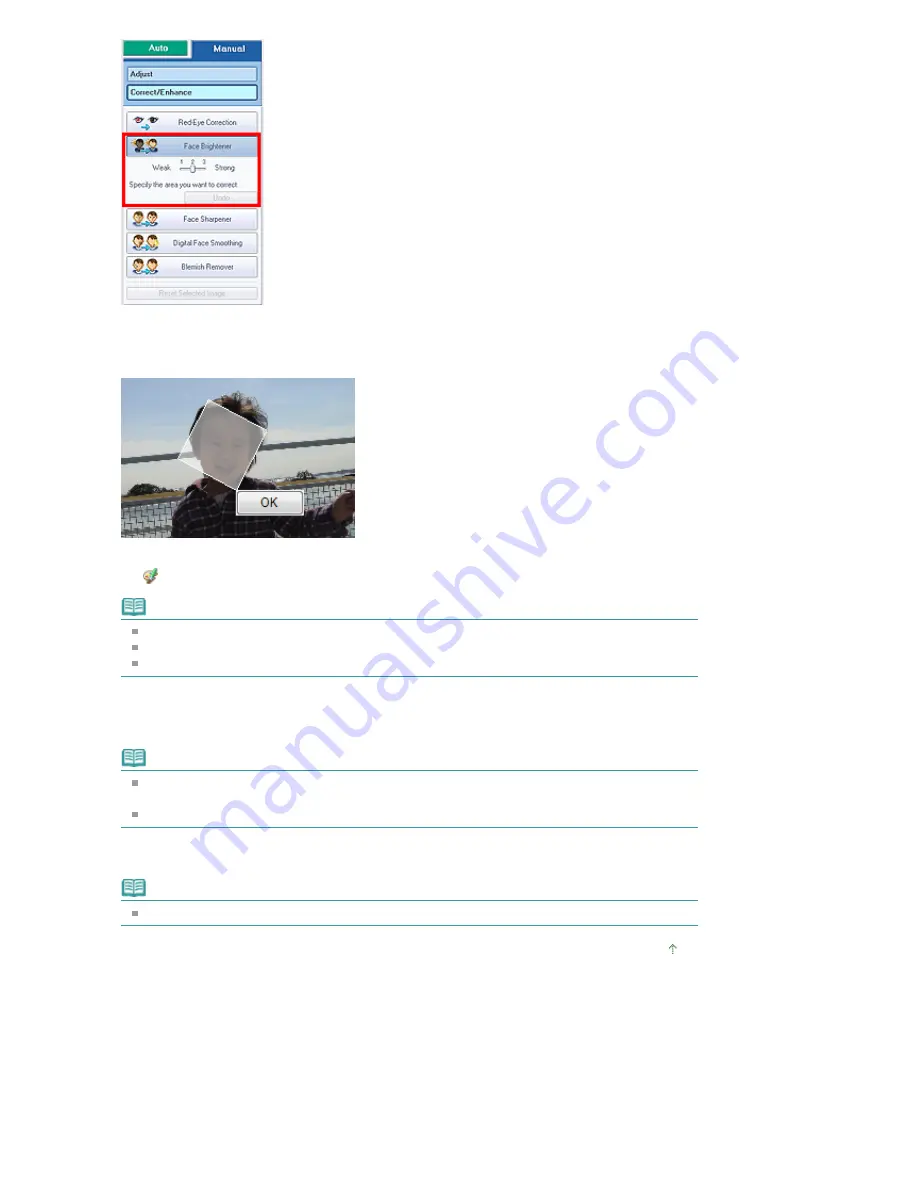
5.
Drag to select the area you want to correct, then click OK that appears over the
image.
The entire image is corrected so that the selected area containing the face becomes brighter, and
the
(Correction/Enhancement) mark appears on the upper left of the image.
Note
You can also drag to rotate the rectangle.
Click Undo to undo the preceding correction operation.
Effect levels can be changed using the slider below Face Brightener.
6.
Click Save Selected Image or Save All Corrected Images.
You can save corrected images as new files.
Note
To save only the image you like, click Save Selected Image. To save all images, click Save All
Corrected Images.
Only JPEG/Exif file format is available for corrected images.
7.
Click Exit.
Note
The corrections will be lost if you exit before saving corrected images.
Page top
Стр
. 140
из
396
стр
.
Using the Face Brightener Function
Summary of Contents for 2909B002
Page 7: ...Page top Стр 7 из 396 стр Main Components ...
Page 21: ...Page top Стр 21 из 396 стр Printing Documents Macintosh ...
Page 28: ...Page top Стр 28 из 396 стр Loading Paper ...
Page 56: ...Page top Стр 56 из 396 стр Cleaning the Print Head ...
Page 109: ...Page top Стр 109 из 396 стр Selecting a Photo ...
Page 111: ...Page top Стр 111 из 396 стр Editing ...
Page 113: ...Page top Стр 113 из 396 стр Printing ...
Page 188: ...Page top Стр 188 из 396 стр Attaching Comments to Photos ...
Page 192: ...See Help for details on each dialog box Page top Стр 192 из 396 стр Setting Holidays ...
Page 231: ...Page top Стр 231 из 396 стр Setting Paper Dimensions Custom Size ...
Page 244: ...Page top Стр 244 из 396 стр Printing with ICC Profiles ...
Page 289: ...Page top Стр 289 из 396 стр About PictBridge Print Settings ...
Page 321: ...Page top Стр 321 из 396 стр If an Error Occurs ...


