Monitoring and Controlling the Machine with SNMP
1X57-01E
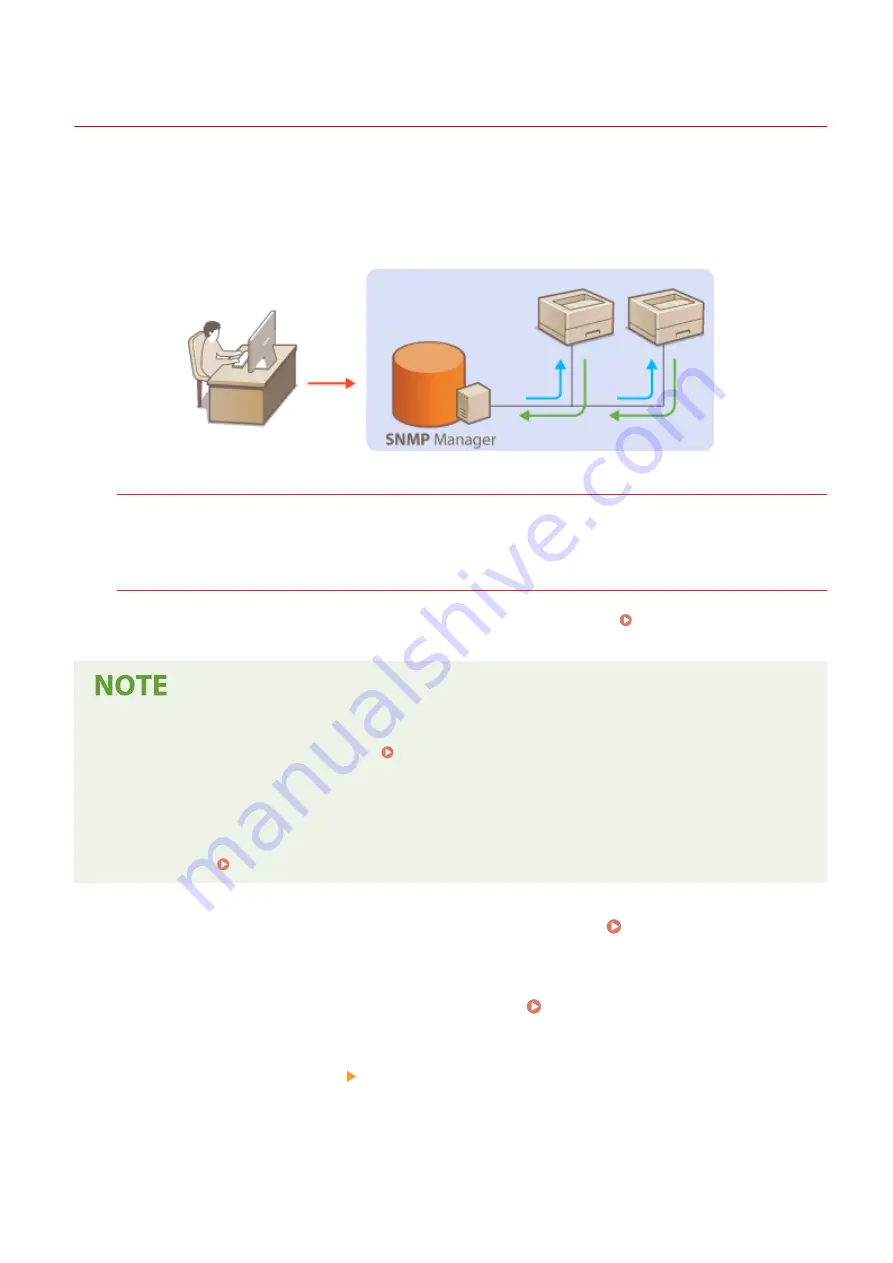
Simple Network Management Protocol (SNMP) is a protocol for monitoring and controlling communication devices in a
network by using Management Information Base (MIB). The machine supports SNMPv1 and security-enhanced
SNMPv3. You can check the status of the machine from a computer when you print documents or use the Remote UI.
You can enable either SNMPv1 or SNMPv3, or both at the same time. Specify the settings for each version to suit your
network environment and the purpose of use.
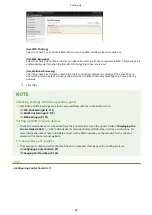
SNMPv1
SNMPv1 uses information called "community" to define the scope of SNMP communication. Because this
information is exposed to the network in plain text, your network will be vulnerable to attacks. If you want to
ensure network security, disable SNMPv1 and use SNMPv3.
SNMPv3
With SNMPv3, you can implement network device management that is protected by robust security features.
Note that TLS must be enabled for the Remote UI before configuring SNMPv3 ( Configuring the Key and
Certificate for TLS(P. 143) ).
●
The machine does not support the trap notification feature of SNMP.
●
To change the port number of SNMP, see Changing Port Numbers(P. 140) .
●
SNMP management software, when installed on a computer on the network, enables you to configure,
monitor, and control the machine remotely from the computer. For more information, see the instruction
manuals for your management software.
●
For more information about the basic operations to be performed when setting the machine from the
Remote UI, see Setting Up Menu Options from Remote UI(P. 165) .
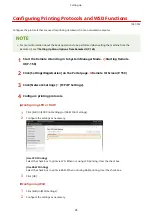
1
Start the Remote UI and log in to System Manager mode. Starting Remote
UI(P. 158)
2
Click [Settings/Registration] on the Portal page. Remote UI Screen(P. 159)
3
Select [Network Settings] [SNMP Settings].
4
Click [Edit].
Setting Up
59
Summary of Contents for 2207C004
Page 1: ...imageCLASS LBP113w User s Guide USRMA 2442 00 2018 08 en Copyright CANON INC 2018 ...
Page 43: ...LINKS Setting IPv6 Addresses P 39 Viewing Network Settings P 42 Setting Up 38 ...
Page 58: ...Printing from a Computer P 101 Setting Up 53 ...
Page 86: ...Basic Operations 81 ...
Page 140: ...Managing the Machine 135 ...
Page 214: ...7 Close the toner cover 8 Replace the output cover LINKS Consumables P 220 Maintenance 209 ...
Page 218: ...8 Close the toner cover 9 Replace the output cover LINKS Consumables P 220 Maintenance 213 ...
Page 227: ... When replacing drum cartridges see Replacing the Drum Cartridge P 210 Maintenance 222 ...
Page 230: ...Troubleshooting 225 ...
Page 318: ... 12 JPEG this software is based in part on the work of the Independent JPEG Group ...

