


© CamRanger – Patent Pending
9
Advanced Tabs
There are four tabs providing advanced information or controls: Data, Focus, Timer, and HDR. A
Tripod or StackShot tab will appear as a fifth tap if the CamRanger is being used with the CamRanger
PT Hub and a supported tripod head (the MP-‐360, Bescor, or Hague) or StackShot.
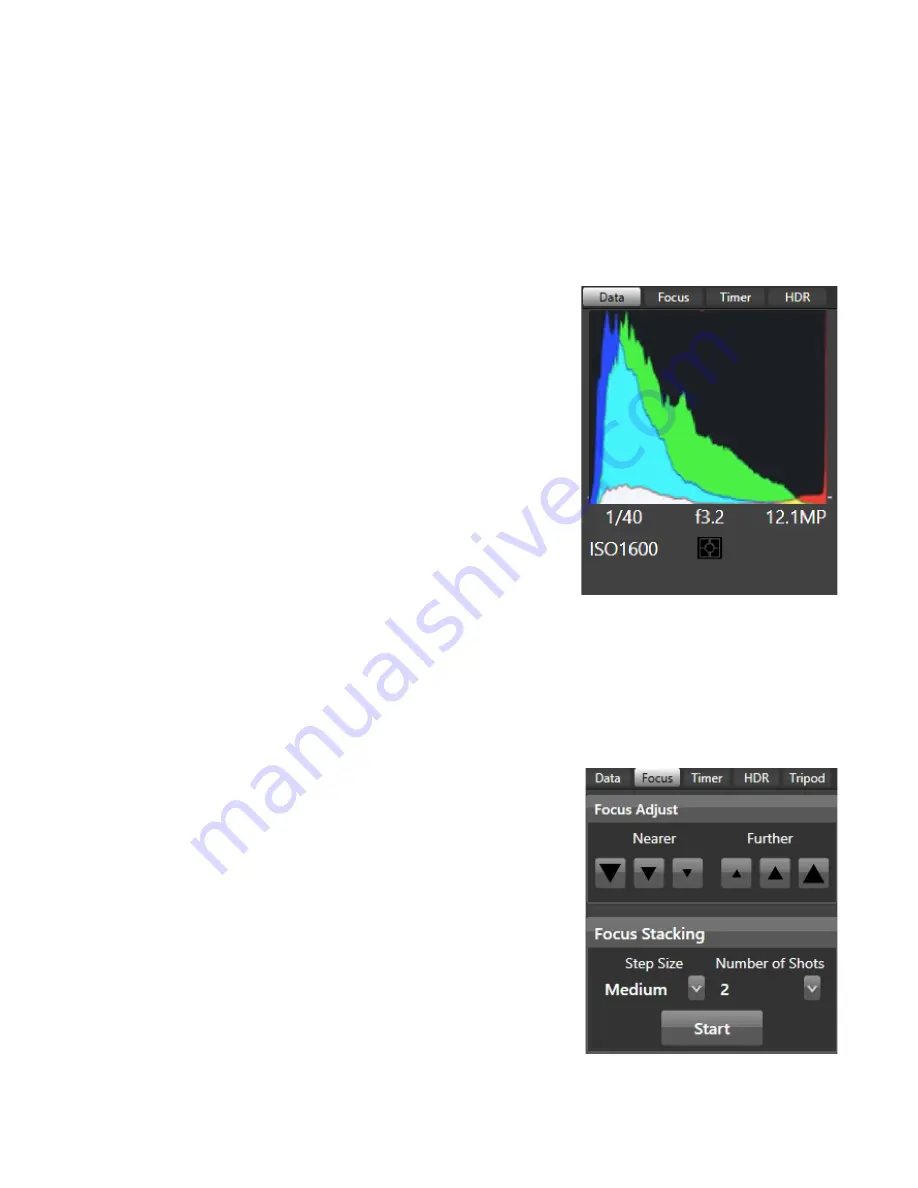
Data
The data tab shows an RGB histogram and meta-‐data
associated with the captured image in the main image view.
The following meta-‐data is provided:
•
Shutter Speed
•
Aperture
•
MegaPixels (Note this is not file size, but image
resolution)
•
ISO
•
Metering Mode
•
Exposure Compensation Value
Within live view the histogram can be toggled on or off. Of
note, the histogram will reduce the live view frame rate.
Focus
The focus tab is only enabled during live view and provides advanced focusing controls.
Focus Adjust
There are two sets of buttons to move the lens’ focal
plane nearer or further from the camera. Each set has
three buttons with different sized arrows to specify a
large, medium, or small step in focus. Tap the button to
move the focus by a single increment, holding down the
button will have no affect.
Focus Stacking
Focus stacking is a process of taking multiple captures
with slight changes in focus and then post processing
them to enhance the depth of field. This control allows
the user to set the focus step size to take between in
each shot and the number of shots to take. Each focus
step will move the focal plane further from the camera.
So the user will want to set the focus to the nearest


