Actiheart Guide to Getting Started 5.1.11 (Feb 2020)
10
3.0
Charging the Actiheart
Before the Actiheart can be used, the user must ensure that it is charged. This is
performed simply by plugging the device into an available USB port of a PC
which is running, or by connecting it to a mains powered USB supply such as a
phone or tablet charger.
It is also possible to check the current battery level by beginning any setup
process and connecting the Actiheart. A small graphic will indicate battery level
and a specific warning will be given if the charge is considered low for the mode
chosen. Care should still be taken to charge fully for any particularly long
recording, but the automatic check will be sufficient for short ones.
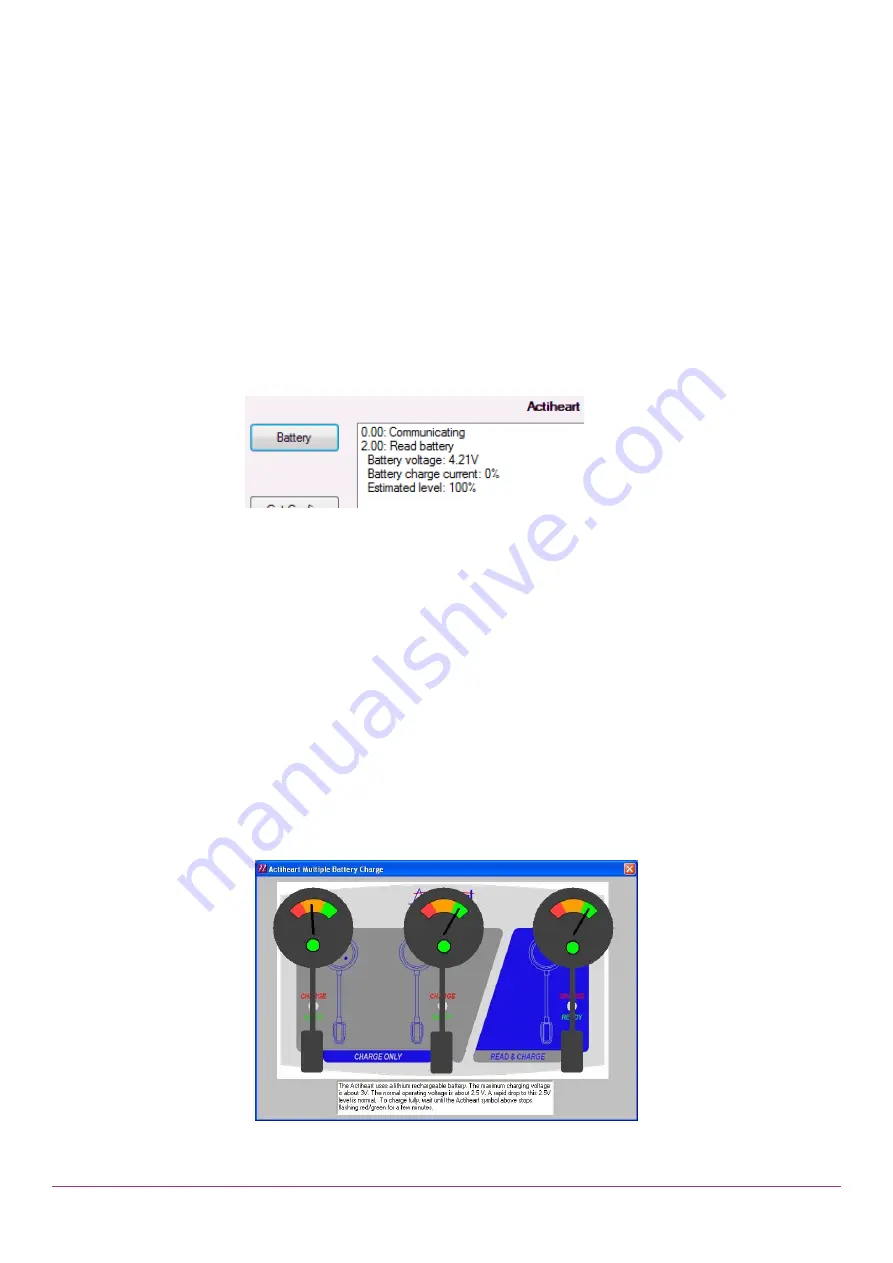
Furthermore, full battery charge information can be checked using the Utilities ->
Actiheart 5 -
> Test Window function and then the “Battery” button. If charged, this
will show a result similar to:
If you experiencing any battery charge issues, leave the Actiheart connected to a
mains powered USB supply for at least three hours. Then connect to a PC and
perform the check described above, noting the result values for CamNtech
technical support.
It is very important that you DO NOT attempt to charge any Actiheart 4, 5 or
Cardio after setting up the device. You must charge before setup, or after the end
of a recording. Attempting to charge after setting up a device will result in a
shutdown of the device instead of a recording.
3.1 Charging
Actiheart 4 from
the PC
When Actiheart 4
are to be charged from the PC, select ‘Utilities’ from the main
screen then select the ‘Recharge Actiheart’ button. A screen similar to that
shown below will be displayed:
If no Actiheart 4 are placed on the Reader/charger the display will show
–
‘Searching for Actihearts’. As an Actiheart 4 is placed in each location, it will be


