Callaway uPro Go
User Guide V 1.2
© 2009 Callaway Golf Company
Page 6 of 37
1.4.1 Home Course
Once you are on the course the first course that you play is the course that will be marked as your home course and you
will receive GoMode free of charge for as long as you own your uPro Go for that course.
1.5 Connecting your Callaway uPro Go
In order to receive course updates and software updates you will need to register your uPro Go online. To begin the regis-
tration process you will need to connect your uPro Go and launch the sync program. The sync program is a program that
allows our website to communicate with your device to update courses. Below are instructions on connecting your uPro
Go and launching the sync program.
Step 1: Power on the uPro Go
Press and hold the power button for 3 seconds to power on the uPro Go. The device is powered on when the boot up
screen appears. After the device is done booting up, the Main Menu will be displayed.
Step 2: Connect to a Computer
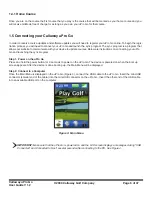
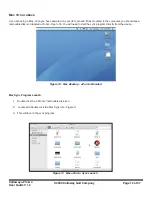
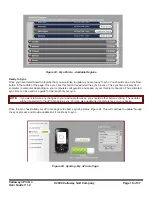
Once the Main Menu is displayed on the uPro Go (Figure 3), connect the USB cable to the uPro Go. Insert the mini-USB
connector (smaller end of the cable) into the mini-USB connector on the uPro Go. Insert the other end of the USB cable
into an available USB port on the computer.
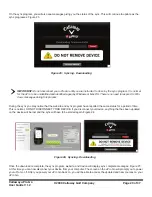
IMPORTANT:
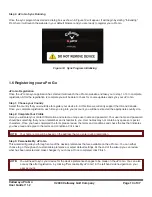
Make sure that the uPro Go is powered on and the LCD screen displays a messages stating “USB
Connected” and Connected to Host” several seconds after connecting to the PC. See Figure 4.
Figure 3: Main Menu


