background image

Callaway uPro Go    


User Guide V 1.2 

© 2009 Callaway Golf Company

Page 23 of 37

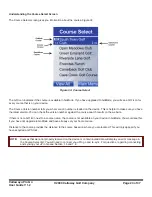
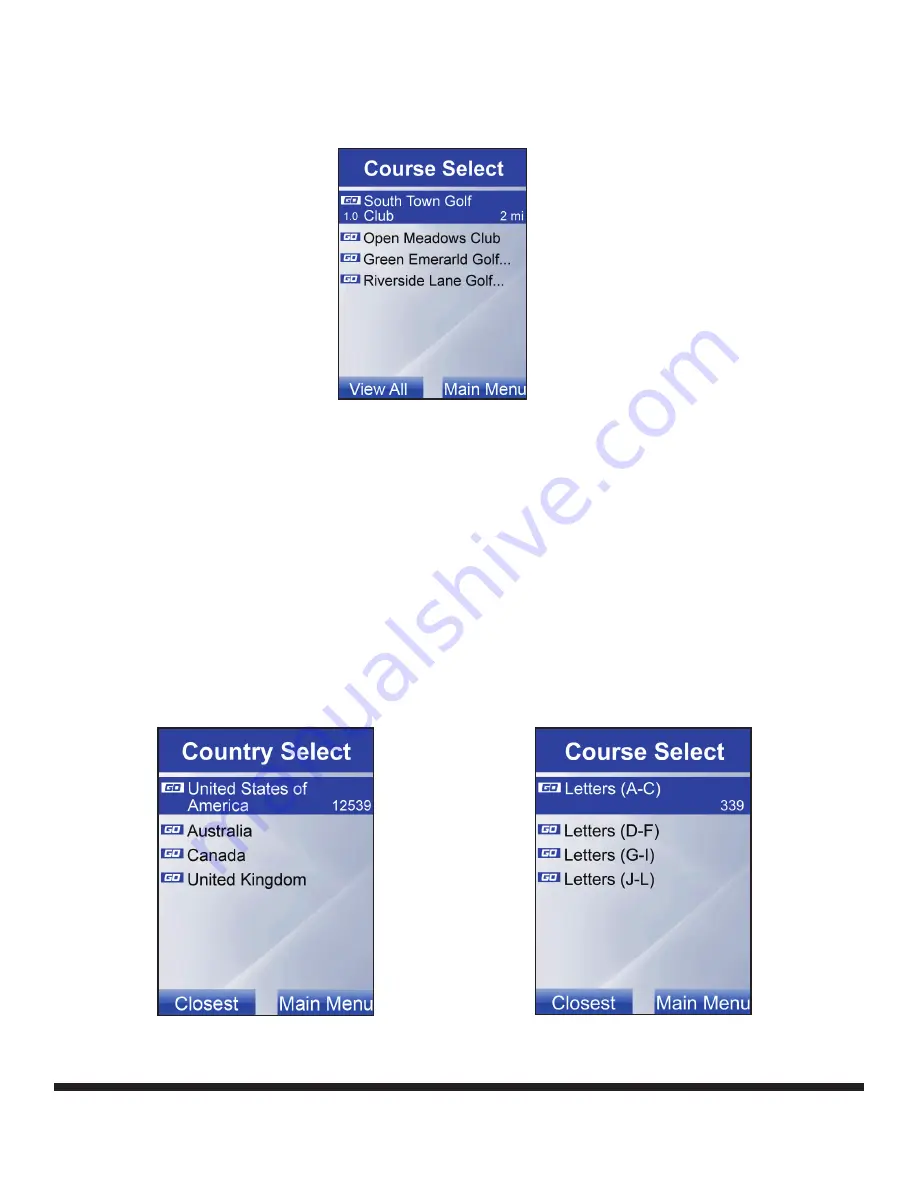
Course List with GPS Lock

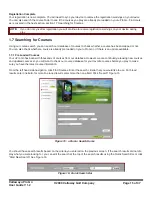
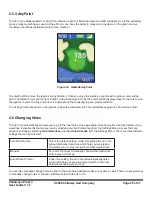
If you have obtained a GPS lock the course list will be based on your current location. The course that is closest to you 

will be displayed at the top of the list. Figure 30

Using the joystick to navigate the course list, locate the course that you would like to play. Press enter on the selected 

course The course will now load and you’re ready to play! The uPro Go will go directly to the first hole. If you are starting 

on a different hole, you can change holes manually. For instructions on changing holes, see section 2.7.

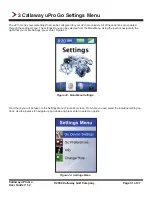
While in the course list, the Left LCD select “View All” will allow you to view all the courses that are loaded on the uPro Go. 

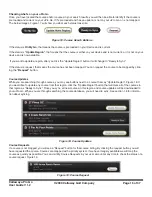
It will take you to the Country listing, Figure 31. The Right LCD select “Main Menu” will take you back to the Main Menu. 

Course List without a GPS Lock

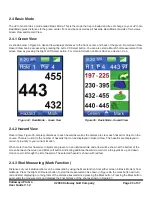
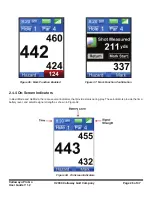
If you have not obtained a GPS lock, the course list will be displayed by country, Figure 31. Using the joystick to navigate 

the country list, select the country that you would like to play in. From there select All Regions. This will now take you into 

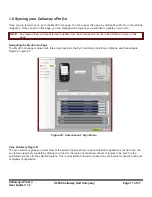
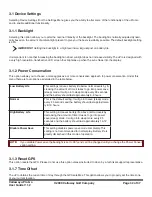
a letter breakdown of each course. Select the letter range for the first letter of the course name, Figure 32. From there you 

will be given a course list of all the courses in that country that start with that letter. Using the joystick to navigate locate 

the course, press select/enter. The course will now load and you’re ready to play!

Figure 30:  Course Select - GPS Locked

Figure 31:  Course Select - Country Select

Figure 32:  Course Select Alphabet Listing

Summary of Contents for UPRO GO

Page 1: ...CALLAWAY UPRO GO GOLF GPS USER GUIDE V1 2 2010 CALLAWAY GOLF COMPANY...

Page 2: ...RSES 15 1 8 SYNCING YOUR CALLAWAY UPRO GO 17 1 9 WATCHING THE INTRODUCTORY VIDEO 21 2 PLAYING GOLF WITH YOUR CALLAWAY UPRO GO 23 2 1 POWERING ON OFF 23 2 2 MAIN MENU 23 2 3 SELECTING A COURSE TO PLAY...

Page 3: ...of 37 1 Getting Started with the Callaway uPro Go 1 1 Callaway uPro Go Overview This section provides a brief overview of the location and functionality of the inputs and outputs you will use to enabl...

Page 4: ...ger tighten the screw in a clockwise direction Do not over tighten the screw The battery cover should fit snuggly on the de vice 4 Insert the mini USB connector of the included USB cable into the USB...

Page 5: ...his LED light provides status indications The blue LED flashes when the uPro Go is in normal operation The red LED indicates that the device is charging A flashing red LCD indicates that charging is c...

Page 6: ...update courses Below are instructions on connecting your uPro Go and launching the sync program Step 1 Power on the uPro Go Press and hold the power button for 3 seconds to power on the uPro Go The de...

Page 7: ...system Please see section 1 2 for system requirements Windows XP and Vista Option 1 Auto Launcher Once connected the program launcher will automatically start The uPro sync program should already be...

Page 8: ...ktop to launch the sync program If you don t want to save the uPro Finder to your desktop click Run Save Instructions 1 Click Save 2 At the top of the Save As Window there will be a drop down box labe...

Page 9: ...the other option to launch the sync program is manually from the uPro Go See Figure 7 1 Go the Windows Start Menu click My Computer 2 Locate the uPro Go icon in your My Computer folder 3 Right click...

Page 10: ...uPro Finder to your desktop click Run Save Instructions 1 Click Save 2 At the top of the Save As Window there will be a drop down box labeled Save In Select your desktop Click Save in the bottom right...

Page 11: ...ou can launch the sync program directly from the device Sync Launch From Device 1 From your desktop double click the My Computer icon 2 Locate the Removable Disk icon and double click Figure 8 this wi...

Page 12: ...the computer you should see a removable disk icon labeled uPro Go Figure 10 You will need to start the sync program directly from the device Mac Sync Program Launch 1 Double click the uPro Go removab...

Page 13: ...Here you will enter your contact information and select a unique user name and password Your user name and password should be something that you can remember and is familiar to you User names may not...

Page 14: ...In Select your desktop Click Save in the bottom right hand corner 3 Go to your desktop and confirm the uPro icon is on your desktop If you don t want to download the uPro Go Finder click Continue Step...

Page 15: ...e loaded on your uPro Go or if there is an update available 1 7 1 Pre Loaded Courses Your uPro Go has been with thousands of courses from our database However we are continually releasing new courses...

Page 16: ...equest the course to be mapped by click ing the Request button Course Updates While you are searching through courses you may see buttons next to a course that say Update Region Figure 18 If you would...

Page 17: ...Sync Summary Quick Sync Options and the Available Regions Figure 20 Sync Summary Figure 21 The sync summary gives you a summary of the selected regions that you have selected to update on your uPro G...

Page 18: ...st of all regions that are available for your uPro Go You have the ability to pick and choose which regions you would like up to update The United States has all 50 states plus the District of Columbi...

Page 19: ...tion and speed of your Internet connection The estimated sync time can be used as a guide for the length of your sync Once the sync has started your uPro Go page will reflect a syncing status Figure 2...

Page 20: ...notice that the website and sync program have reported the same status for a period of time This is normal DO NOT DISCONNECT YOUR DEVICE If you disconnect your device anything that has been updated on...

Page 21: ...the joystick to navigate to the right to the Introductory Video Figure 28 Step 3 Watch the Video The video is broken into different segments Press the Select Enter button to begin watching the video I...

Page 22: ...ll force the device to power off without any confirmation 2 2 Main Menu After powering on the uPro Go will display the Main Menu screen From this menu you can select Play Golf Settings Preview or Intr...

Page 23: ...iew all the courses that are loaded on the uPro Go It will take you to the Country listing Figure 31 The Right LCD select Main Menu will take you back to the Main Menu Course List without a GPS Lock I...

Page 24: ...version number against the course search results on the website If there is not a GO icon next to a course name the course is not available on your device in GoMode You would see this if you have not...

Page 25: ...the course There is no limit to the number of hazards that can be displayed in Hazard View The hazards are displayed in order of proximity to your current location When more than four hazards or obje...

Page 26: ...dicators In BasicMode and GoMode there are several indicators that provide status during play These indicators provide the time battery level and satellite signal strength as shown in Figure 38 Figure...

Page 27: ...is enabled on every course before you select your home course See section 1 4 1 for more information on your home course selection To access GoMode press the side Mode button The Mode button will allo...

Page 28: ...e time superimposed on the rendering The uPro Go s software dynamically determines what distances will be displayed and which ones will be hidden A colored dot or reading point located next to the dis...

Page 29: ...ing Holes The uPro Go automatically prompts you to go to the next hole at the appropriate times during the round by default If you would like to disable this feature you can by modifying your Go Prefe...

Page 30: ...Basic Mode or GoMode you can use the hole change buttons to manually change holes Pressing the Up button will move you forward one hole Pressing the Down button will move you back one hole Pressing ei...

Page 31: ...through the settings menu The settings menu can be selected from the Main Menu Using the joystick navigate to the right until you locate Settings press enter Figure 43 From there you will be taken to...

Page 32: ...Low Battery Life This settings reduces battery life below normal levels by in creasing the amount of time it takes to go into power save sleep mode It will go into sleep mode every 90 seconds and the...

Page 33: ...when you connect your uPro Go to a computer it will give you an option to either connect to PC or Charge Only Figure 45 This option is useful if you want to still use the device while it is charging...

Page 34: ...ce functionality can be achieved through this menu item See sec tion 2 6 for the different hole advance options Hole Entry Mode Normally the uPro Go takes you into BasicMode first at the start of each...

Page 35: ...ttom right corner of the display 4 Preview Mode The uPro Go contains a mode of operation that allows you to simulate playing any pre loaded course while away from the course This mode enables all of t...

Page 36: ...rference to radio communications However there is no guaran tee that interference will not occur in a particular installation If this equipment does cause harmful interference to radio or television r...

Page 37: ...ard or poisoning Consult a doctor immediately if battery or battery materials are swallowed Always dispose of battery in a special recycle bin according to local regulations Never dispose of battery i...

Reviews: