ITC 220 Base Station Transceiver Installation Guide PN 133991 Rev. A
| Page 11
6
INSTALLATION
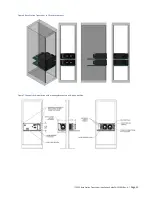
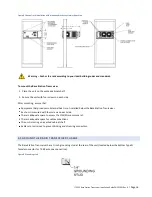
The Base Station Transceiver is housed in a sheet metal enclosure that is designed to be mounted in a 19-inch rack that
conforms to EIA standards. It has a-design height of four rack units (4 U) and together with a vented shelf, which is
recommended for mounting, will occupy 5 U max. It weighs approximately 27 lbs. (12 kg), which together with the
vented shelf, required mounting hardware, termination, and cabling, will add less than 40 lbs. (18 kg) rack weight, total.
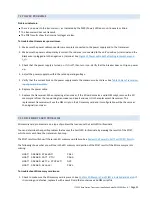
Installation of the Base Station Transceiver consists of these steps:
1.
Unpack and inspect the unit (section 6.2).
2.
Confirm the SD memory card (CIM) is installed and seated (section 6.3).
3.
Mount the unit (section 6.4).
4.
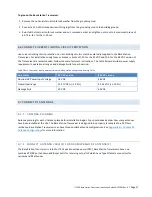
Ground the unit (section 6.5).
5.
Install current-limiting protection (section 6.6).
6.
Connect the narrowband RF antennas (section 6.7).
7.
Connect the GPS antenna (section 6.8).
8.
Connect the Ethernet cable (section 6.9).
9.
Connect the power cable (section 6.10).
10.
Power on the unit (section 6.11).
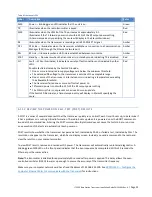
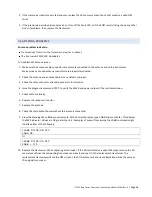
At the conclusion of installation, you will verify that the Base Station Transceiver is operational by doing the following:
1.
Observe the operation of the LEDs in the transceiver front panel (section 6.11.1).
2.
Review the power on self-test (POST) results (section 6.11.2).
3.
Verify that the radio transceiver is commissioned (section 6.11.3).
4.
Verify that the LAN Ethernet port is operational (section 6.11.4).
Following sections describe each of the above steps in detail. This guide also contains a brief
Troubleshooting
chapter
for help with common problems that may occur when installing a Base Station Transceiver.


