SET UP 3 - CONNECT & LAUNCH
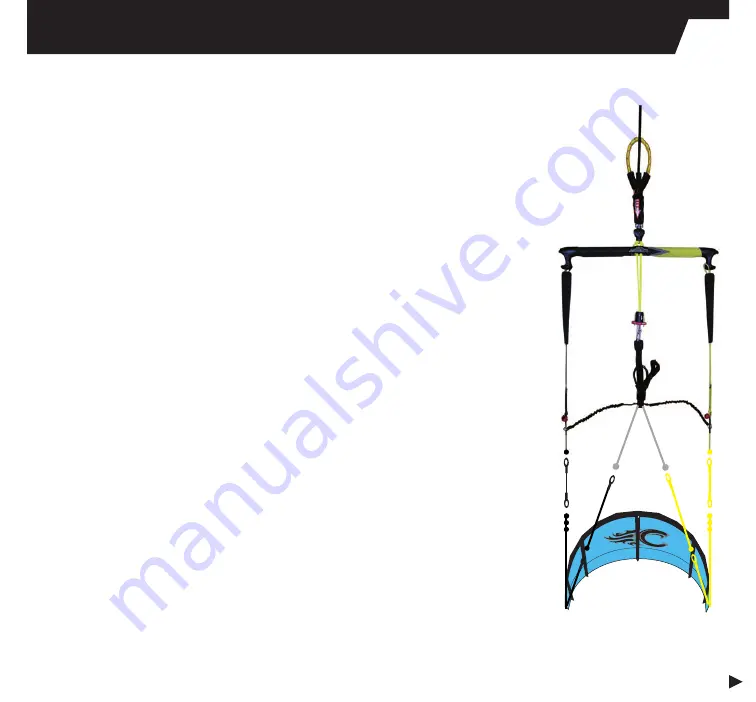
STEP 3.3 - UPWIND LAUNCH SETUP
UPWIND LAUNCH SETUP
Your kite is now ready to fly
Please see the sections of this manual that relate to safety and make sure you are
familiar with the conditions before getting on the water. Kite tuning tips are located in
this manual under Tuning.
This is the necessary set up when performing a self-launch.
*diagram not to scale
1. Lay the bar 30 meters upwind of the kite. The leading edge will be pointed toward
the bar and into the wind. The wing tips of the kite will be facing away from the bar.
The control bar should be right side up.
2. Walk out the steering (outside) lines and place them parallel to each other on the
ground about 4 feet apart near the kite (remember, yellow-sheathed lines on the left
and black-sheathed lines on the right).
3. Place the steering lines far apart, so the kite will lie between them.
4. Walk out the de-power (center) lines and place them in between the steering lines,
parallel to each other, so that all four lines are lined up as follows (left to right):
yellow-sheathed yellow line, yellow-sheathed white line, black-sheathed white line,
black-sheathed black line. The lines should not cross each other or be twisted.
5. Place the kite on top of the de-power lines so the wing tips of the kite are pointing
downwind and are near the ends of your steering lines.
6. Make sure the kite is still secured with sand or sand bags.
7. From outside of the kite, attach the steering lines to the corresponding back bridles
on the wing tips (remember, yellow-to-yellow; black-to-black). Using larks head
knots, attach the steering lines to the middle knots on the bridles. Give each knot a
tug to secure.
8. From inside the kite, slip the knots on each of the de-power lines into the larks head
loops on the corresponding leading edge bridles (remember, yellow-to-yellow; black-
to-black). Give each knot a tug to secure.
9. Again, double check to make sure that your lines do not cross each other, and are
not twisted.


