III-59
[ 12 ]
Final Check
1.
Inspection Mode Starting Procedure
The Inspection Mode is initiated by holding down the “Code”, “K” and “ON/OFF” keys
simultaneously when the internal RAM is cleared while electrical power is OFF. (The display
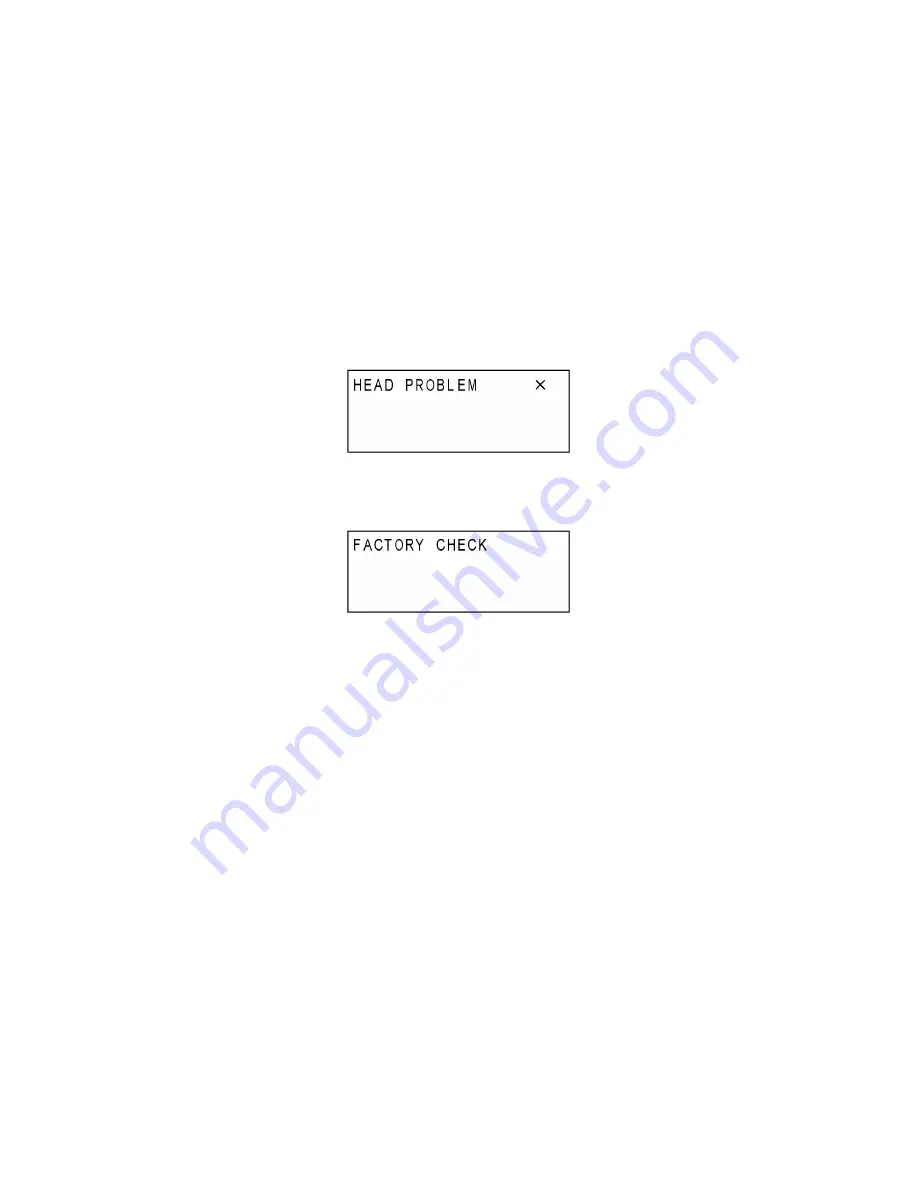
shifts to one as shown in Fig.2 when shifting to the Inspection Mode.)
However, the error processing will be started when the solder point error occurred, and the
display shifts to one as shown in Fig.1.
Note: First, release the “ON/OFF” key and then release the “Code” and “K” keys.
1.1.
Solder Point Check
This mode checks the solder points. Operation finishes with displaying as shown in Fig.1, if
the same type of solder points is ON for more than 2 points, or no solder point is ON.
Fig. 1
2.
Modes for Inspection
Fig. 2
These Modes are used to perform the final inspection for the repaired products. The list
below shows the inspection modes. Make good use of these modes in classifying into the
modes to be applied and not to be applied according to the details of repairs.
Note 1: Depression of the mode selection key allows shifting to the other mode when you are
in the initial level of every mode.
Note 2: The modes, the latter half of Note 2, are also provided in addition to the modes listed
below, but are not applied for the inspection: Cut Mode ( “ U ” key ), Print Mode 2 ( “ I
” key ), Avery Control Value Display Mode ( “ O ” key ), Information Mode ( “ P ” key ),
Factory Set Mode 1 ( “ T ” key ), and Factory Set Mode 2 ( “ Y ” key ). Details of
these modes are left out as not used for the inspection operation.
Note 3: The following modes are used only at the replacement of main PCB: Specification
Change Mode ( “ 1 ” key ), AC Adapter Rank Adjustment Mode ( “ 2 ” key ), RS I/F
Port Check Mode ( “ 0 ” key ), Clock Display Mode ( “ Q ” key ), Charge Check Mode (
“ W ” key ), and USB Mode ( “ A ” key ).
Note 4: Full Cutter Adjustment Mode ( “ F ” key) and Tape Control Motor Excitation-Phase
Check Mode ( “ G ” key) are used at the replacement of main PCB and the parts of
the cutter mechanism.
Summary of Contents for P-touch PT-3600
Page 1: ...SERVICE MANUAL MODEL PT 9600 3600 ...
Page 2: ...SERVICE MANUAL MODEL PT 9600 3600 ...
Page 11: ...I 5 PT 9600 U S A CANADA PT 9600 U K Fig 1 1 2 Key Arrangement 1 ...
Page 12: ...I 6 PT 9600 German PT 9600 French Fig 1 1 2 Key Arrangement 2 ...
Page 13: ...I 7 PT 9600 Belgium PT 3600 U S A Fig 1 1 2 Key Arrangement 3 ...
Page 14: ...I 8 PT 3600 U K PT 3600 German Fig 1 1 2 Key Arrangement 4 ...
Page 15: ...I 9 PT 3600 French PT 3600 Belgium Fig 1 1 2 Key Arrangement 5 ...
Page 31: ...II 15 Fig 2 2 2 Block Diagram of Main PCB ...
Page 150: ...IV 40 4 4 TROUBLESHOOTING FLOWS 1 Printing is performed with specific dots omitted ...
Page 151: ...IV 41 2 The tape cassette type is not detected correctly ...
Page 152: ...IV 42 3 No printing is performed 4 The interface malfunctions RS 232C PT 9600 only ...
Page 153: ...IV 43 5 The Interface malfunctions USB ...
Page 154: ...IV 44 6 The tape is not fed correctly ...
Page 155: ...IV 45 ...
Page 156: ...IV 46 7 The tape is not cut A Control plate ...
Page 157: ...IV 47 8 Half cut failure Control plate A ...
Page 158: ...IV 48 9 Forced tape eject failure ...
Page 159: ......
Page 160: ......
Page 161: ......
Page 162: ......
Page 163: ......
Page 164: ......


