


Printing a Label Using the P-touch Labelling Machine Keyboard
23
2
c
For the first serialised text, select [
Type
], [
Format
], [
From
], [
To
] and [
Increased by
] using the or
key, set the values using the
or
key, and then press the
OK
or
Enter
key.
Note
You can also set [
From
], [
To
] and [
Increased by
] by typing in the numbers you want.
Example
: [
Type
]:
Normal
, [
Format
]:
000-999
, [
From
]:
1
, [
To
]:
4
, and [
Increased by
]:
1
See the Serialize Settings table in step
for more information.
d
Position the cursor where you want to insert the second serialised text (to the left of "0"), and then press
the
OK
or
Enter
key.
e
For the second serialised text, select [
Type
], [
Format
], [
From
], and [
Increased by
] using the or
key, set the values using the
or
key, and then press the
OK
or
Enter
key.
Example
: [
Type
]:
Alphabet
, [
Format
]:
A-Z
, [
From
]:
A
, and [
Increased by
]:
1
See the Serialize Settings table in step
for more information.
Note
Because the serialised number count is the same for the first serialised text and second serialised text,
the value for [
To
] is set automatically.
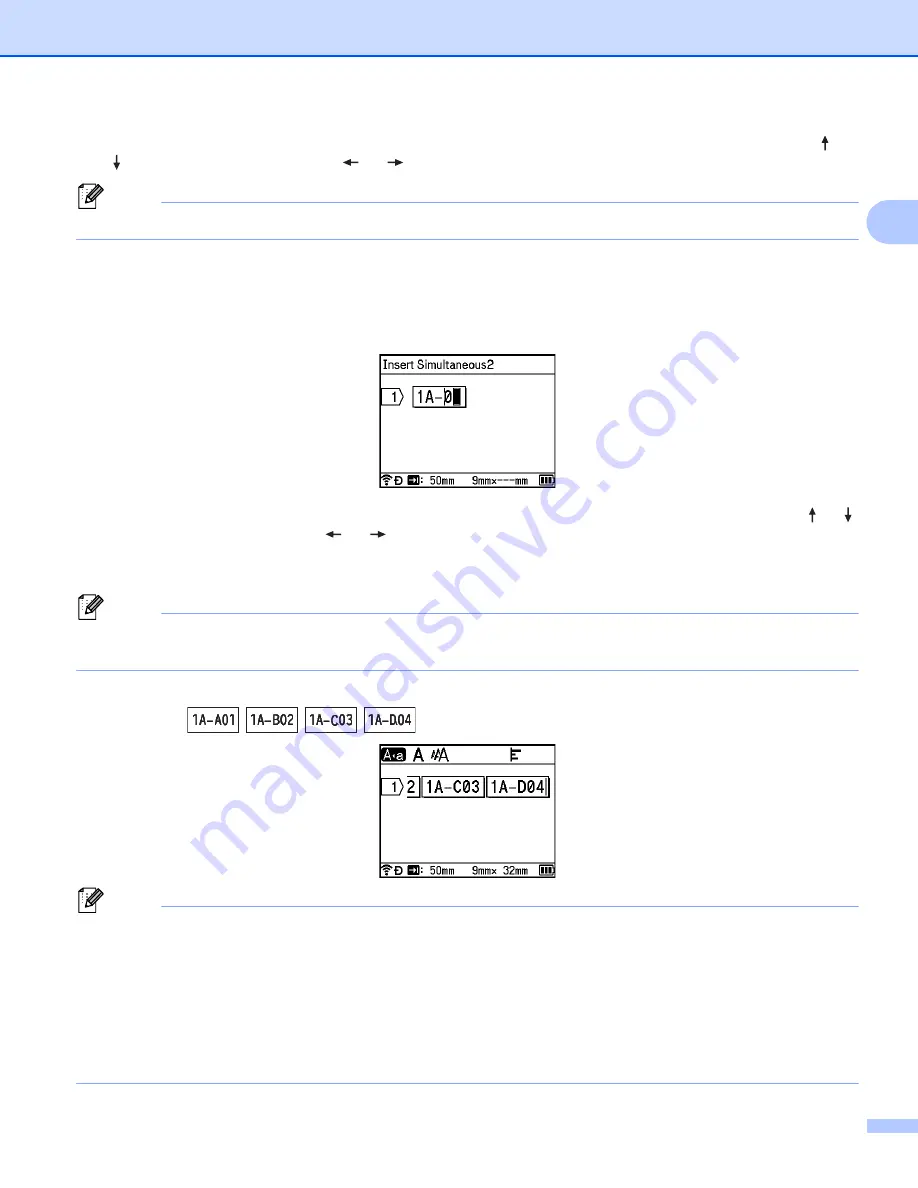
f
Press the
OK
or
Enter
key to display an image of the labels on the screen.
Example
:
Note
• Although the machine creates multiple pages of labels after you complete the serialise settings, you can
select the pages and print only the pages you want. See
• When you want to print multiple copies of the serialised labels, you can select [
Serialize
] or [
Copy
] for
the printing order in [
Settings
] - [
Print Order
] in the Home screen.
• When creating labels with a serialised barcode, select the entered barcode, and then press the
Serialize
key. For more information about barcodes, see
• To return to the previous step, press the
Esc
key.
Summary of Contents for p-touch D800W
Page 250: ......


