g. Hold the rod tip in the molten puddle which forms (approximately 4- 5 seconds). Sparkling indicates
rod ignition.
h. Keeping the oxygen control lever depressed, fully open the plug valve. Raise the cutting rod to the
work piece/target material and commence cutting.
3-4. OPERATING TECHNIQUES.
Never let the cutting rod burn down into the torch.
Always release the torch oxygen control lever to extinguish the torch while there is at least two
inches of rod remaining.
3-4-1. Piercing.
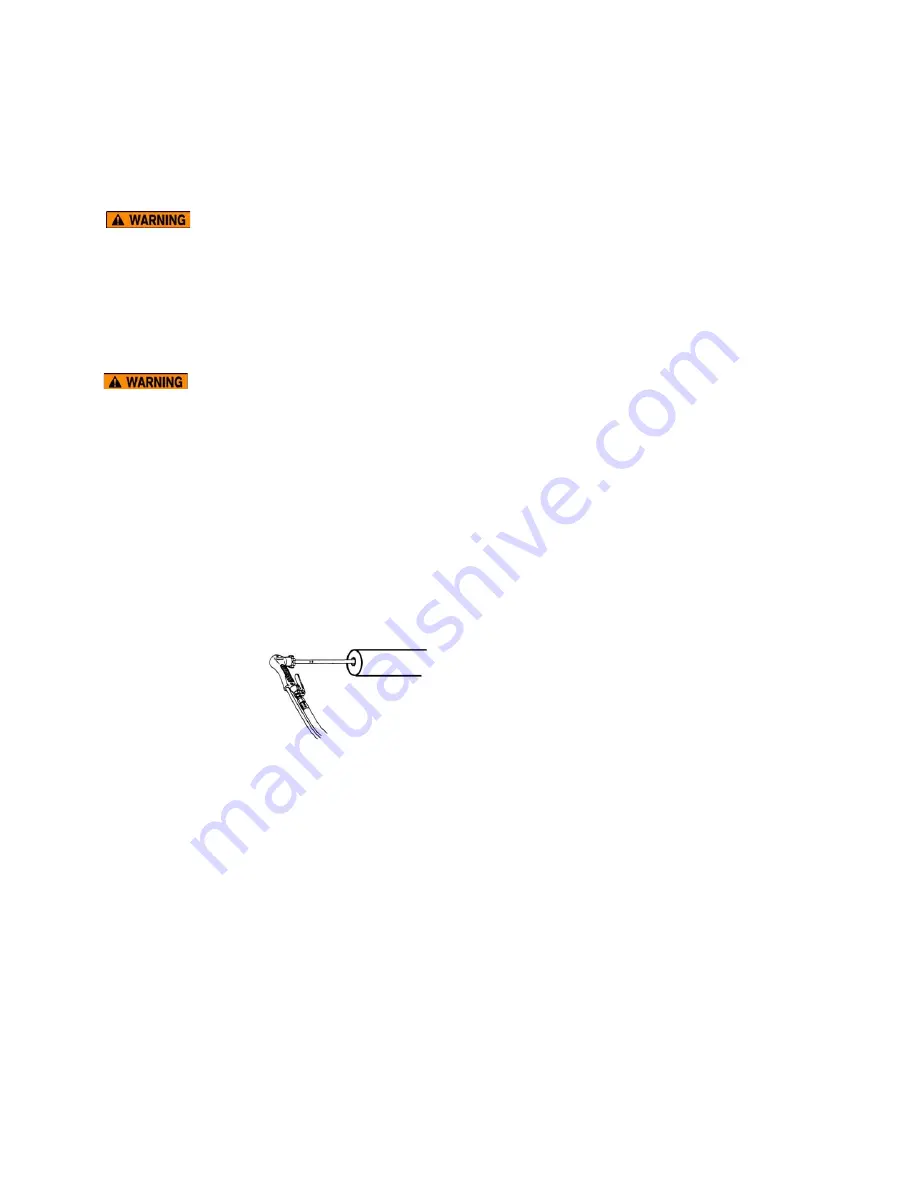
A pierce is accomplished by holding the torch with the rod at a 90 degree angle
(perpendicular) to the pierce point. The burning rod is slowly pushed into the point and a swirling
motion is applied to widen the hole. The pushing and swirling motions are continued until the
proper depth or burn-through is achieved. Comply with the following steps.
Always wear adequate protective clothing and full face shield. Always use the leather shield during
piercing operations. Blowback is greater when piercing. Exercise extreme caution.
Never touch a used rod, the target material, or the work surface with a bare hand until it has cooled.
Always wear welding gloves.
a. With the oxygen control lever slightly depressed (light flow of oxygen), press the burning tip of the
rod against the target material at a 90 degree angle, allowing it to melt a 1/4 inch deep hole.
b. Insert the rod tip into the depression.
c. Keeping the tip of the rod in the hole, increase the oxygen flow to increase penetration by slowly
depressing the oxygen control lever.
d. As the target material melts and flows back out of the hole, move the rod in and out and around to
enlarge the hole and to allow the oxygen pressure to wash away molten material. Continue to push
the rod into the hole, applying low to moderate force for about two seconds, then pull back. Repeat
this process until target material is pierced.
PRESS TO PIERCE.


