5.
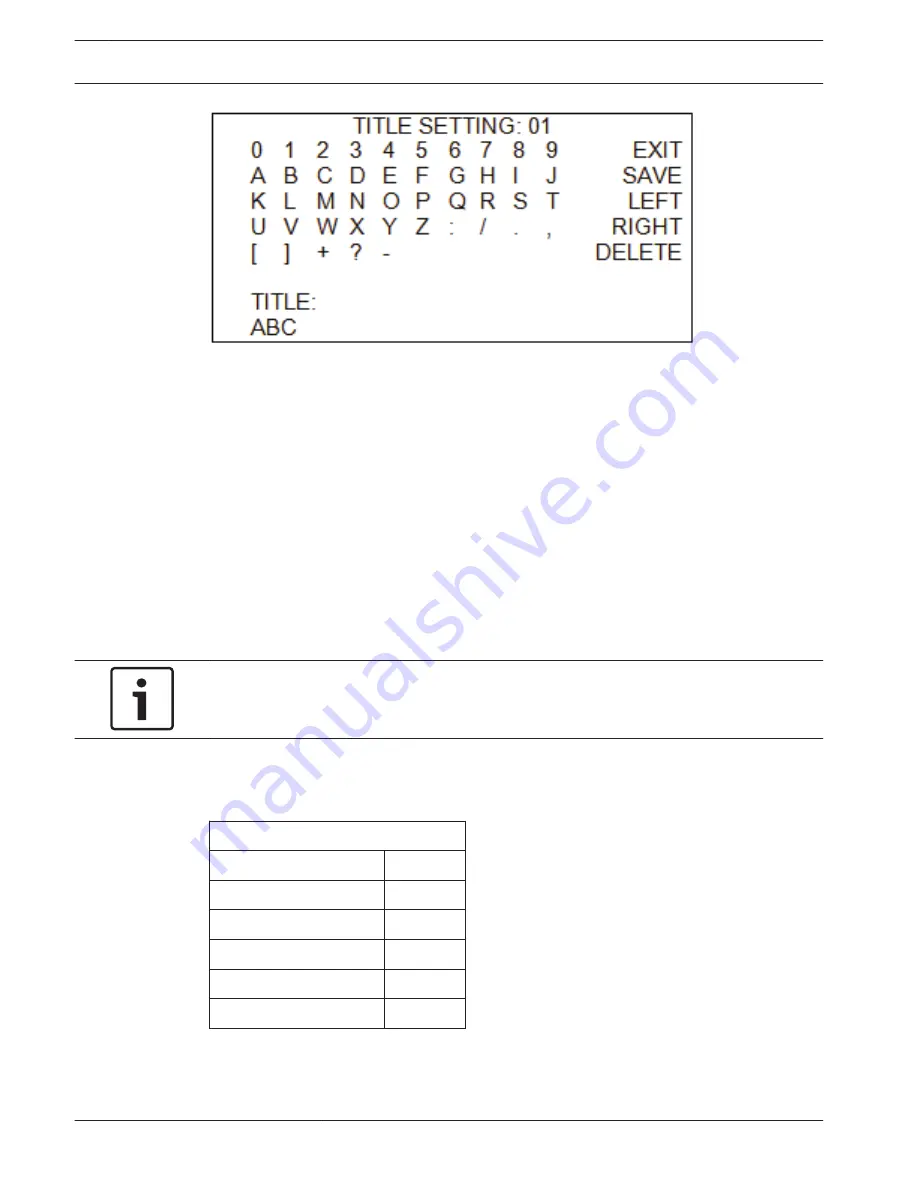
Choose a character with direction keys and then press the <CAMERA MENU> key to
input. For example: <A> <CAMERA MENU>, <B> <CAMERA MENU>, <C> <CAMERA
MENU>. The title is ABC.
6.
To delete input characters, move the cursor to <LEFT> or <RIGHT> and press <CAMERA
MENU> to select a character in the entry field. Then move the cursor to <DELETE> and
press <CAMERA MENU> to delete the selected character.
7.
When the setting is completed, move the cursor to <SAVE> and press <CAMERA MENU>
to save.
Privacy Masking
The Privacy Masking function aims to avoid any intrusive monitoring. You can adjust the
camera position by the joystick, and adjust the masking size and area via the direction keys.
When setting a mask, it is best to set it at least twice as large (height and width) as the
masked object. The camera will assume the center of the selected view as a starting point,
and the joystick will be locked as you enter the <SET MASKING> menu.
Notice!
The Image Flip function and the Image Inverse function will be disabled automatically while
the Privacy Masking function is enabled. Refer to the section System Setup, page 57.
The available area for setting a privacy mask is restricted within tilt angle 70°. Maximum 20
masks can be displayed in one scene. When Motion Detection function is enabled, only 16
masks zones can be displayed.
PRIVACY MASKING
Privacy Switch
Off
Transparency
Off
Color
Black
Set Masking
01
Clear Masking
01
Exit
YES
Privacy Switch
You can enable or disable the Privacy Masking function through this item. Set this item to
<ON> before configuring mask zones.
6.13.3
50
en | On-Screen Display (OSD) Menu
AUTODOME 5000 Analog PTZ Camera
2013.07 | 1.3 |
Operations Manual
Bosch Security Systems, Inc.
Summary of Contents for AUTODOME 5000
Page 1: ...AUTODOME 5000 Analog PTZ Camera VEZ 5000 en Operations Manual ...
Page 2: ......
Page 73: ......


