Preset Set
A total of 99 preset points can be set. Follow the steps below.
1.
Press the LEFT/RIGHT direction keys to select a number (01 represents preset point 1, 02
represents preset point 2, etc.).
2.
Press the <CAMERA MENU> key and then move the camera to a targeted shooting area/
point.
3.
Press the <CAMERA MENU> key again to save the defined preset point.
4.
Once the preset point is saved, access the <CAMERA MENU> again to choose one of the
following options: <PRESET TITLE> (name the preset point), <OVERWRITE> (overwrite
the preset number with the current point), <CLEAR> (clear the saved preset point) and
<EXIT> (exit without change).
5.
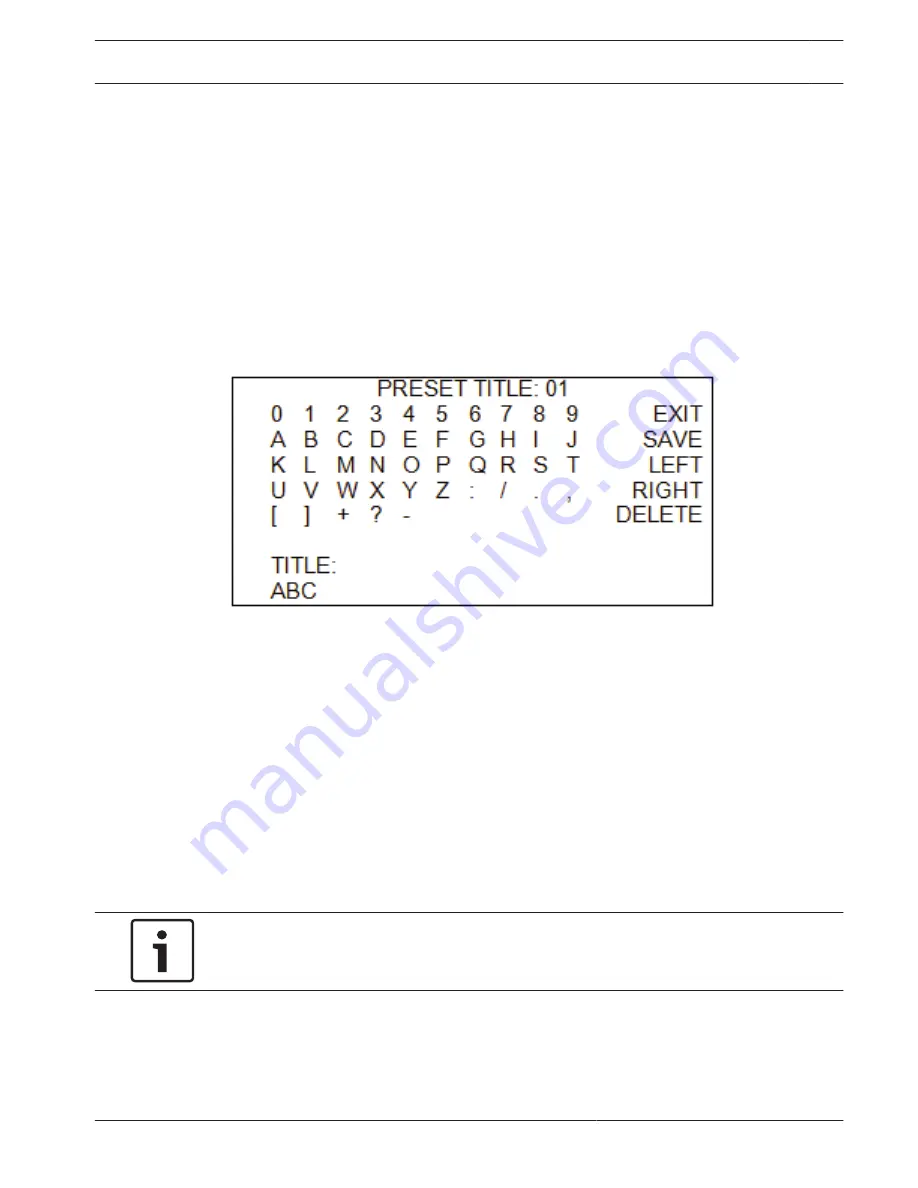
Select <PRESET TITLE> to name the preset point, up to 20 characters. The camera
displays a keyboard similar to the illustration below.
Choose a character with the direction keys and press the <CAMERA MENU> key to
choose the character.
To delete characters in a title, move the cursor to the <LEFT> or the <RIGHT> and press
<CAMERA MENU> to select a character in the entry field. Then move the cursor to
<DELETE> and press <CAMERA MENU> to delete the selected character.
Move the cursor to <SAVE> and press <CAMERA MENU> to accept and save the title.
6.
To overwrite a previous position, move to the new position and choose <OVERWRITE>
from the submenu.
7.
To clear the saved preset point, enter the submenu and select <CLEAR> (clears both
preset point).
Preset Run
Press the <CAMERA MENU> key, and the camera will go to the selected point. To run other
defined preset points, press the LEFT/RIGHT direction keys, select the preset point that you
want to go, and press the <CAMERA MENU> key again.
Notice!
You can set preset points through a control keyboard. Refer to the control keyboard’s quick
guide for further information.
AUTODOME 5000 Analog PTZ Camera
On-Screen Display (OSD) Menu | en
45
Bosch Security Systems, Inc.
Operations Manual
2013.07 | 1.3 |
Summary of Contents for AUTODOME 5000
Page 1: ...AUTODOME 5000 Analog PTZ Camera VEZ 5000 en Operations Manual ...
Page 2: ......
Page 73: ......


