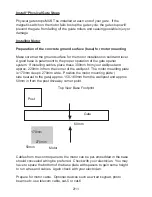
Release the auto gate to emergency release so that the gear wheel rotates
freely for the alignment and installation of the gear-rack. (see picture below)
Starting with your gate in the open position, align your first section of racking to
sit flush with the start of your gate. (See picture below)
Emergency Release
Rack installation start
Rest the first gear-rack on the gear wheel, ensure that the gear rack is level
and secure the gear-rack onto the gate using the fastenings provided. Move
the gate 1m and repeat as above until all gear-rack has been installed. Do
not fasten where
w
heels may be contacted as this will increase gate moving
resistance dramatically.
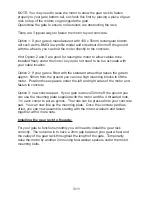
We strongly recommend you leave your gear rack over hanging (approx.
100mm) until after you have fitted your “magnet brackets” and only then cut off
any extra with a steel hacksaw. The gear rack has a steel rod inserted in the
nylon casting for strength.
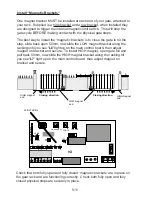
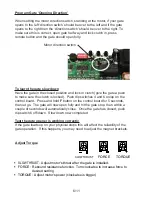
Remove the washer/spacer from the motor and the gap of 2mm between the
gear wheel and the gear-rack is automatically achieved. Check to ensure
consistent meshing between the gear-rack with the gear wheel over the entire
length of the gate. Loosen the scre
w
on the gear-rack to adjust the position of
the gear rack if necessary.
2mm gap
Important Note: Gear wheel and gear rackings life depends almost
entirely on their correct meshsing
4/1
1


