ComCenter II User Guide v1.3
Page
15
of
32
© 2022 Blue Sky Network, All Rights Reserved
Changing the Ethernet Connection Mode
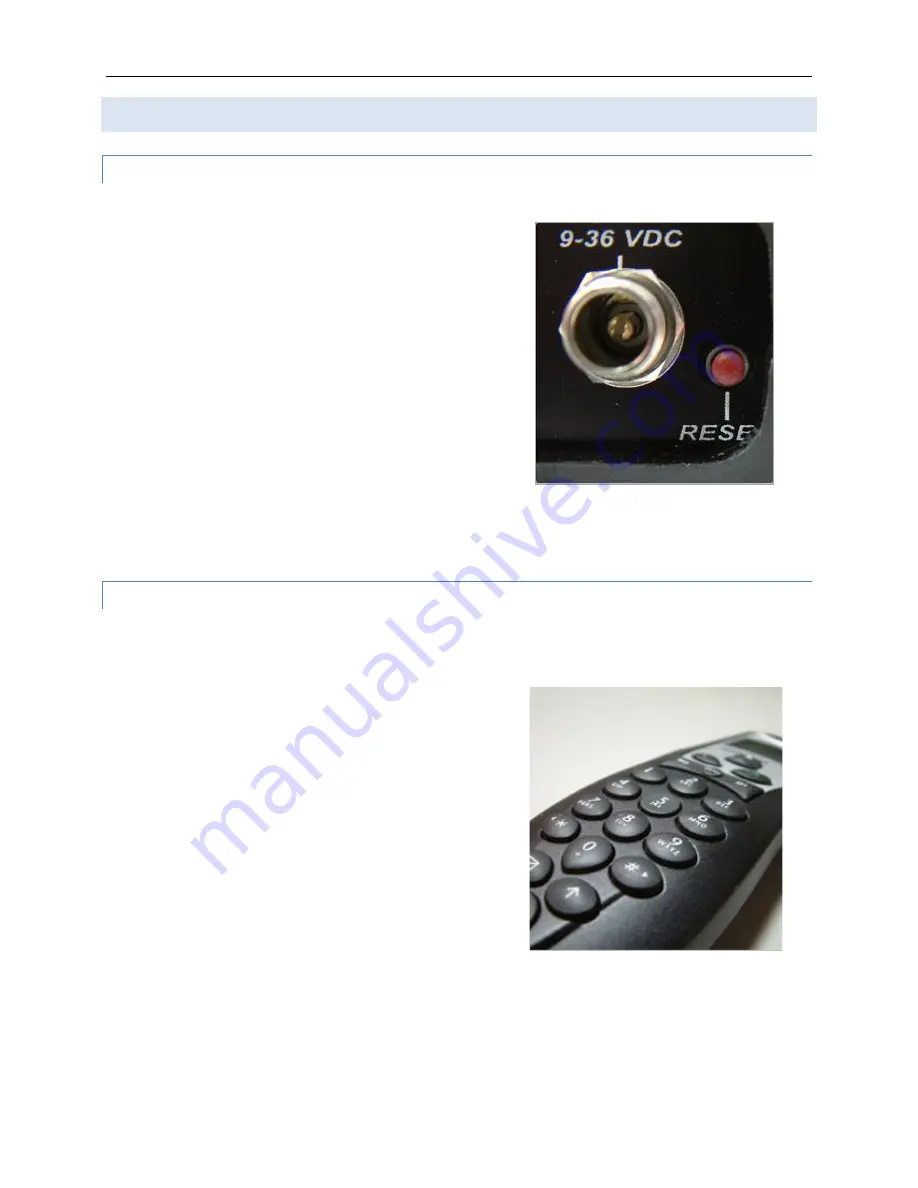
Via the Panel Button
Initial press of the panel button will display the current
mode by blinking all 4 status LEDs on the ComCenter II to
indicate the mode setting.
1 Blink = Direct (ComCenter uses fixed IP address
192.168.1.100)
2 Blinks = DHCP Client (factory default; your network
assigns IP address)
3 Blinks = DHCP Server (ComCenter assigns IP address to
clients and sets self to 192.168.1.100)
Press and release the button to indicate and retain the
current mode setting. To sequence through each mode,
press and hold the button, then release it when the blink
pattern matches the desired mode. The unit will reboot
with this new setting. Press and release the button to confirm your mode setting.
Via the Privacy Handset
Remove handset from the hang-up cup and press the following keys (each command begins with
the asterisk (*) character):
*610 = Direct (1 blink)
*611 = DHCP Client (2 blinks)
*612 DHCP Server (3 blinks)
When changing modes with the Privacy Handset, the
display on the Handset will show the mode setting and
the status LEDs will blink to indicate the setting.
Additional useful commands using the privacy handset:
*994 displays current mode setting and blinks the status
LEDs accordingly.
*995 displays current IP address setting.


