-
-
6.9 USB
6.9.1 Connecting the Player to Computer
Please refer to 4.2.1 for the steps of connecting the player to a computer. After
the connection, the player will automatically enter the USB interface, as shown
in the picture:
Notice:
The system will have a different response time with a different hard disk, so
after using USB to connect to computer, the computer may take 10 seconds to 1
minute before it can find the hard disk, please be patient.
Different operating systems will have different responses:
Windows ™ ME, 2000, XP
After the connection, the player will be recognized as a Mass Storage Device
and will appear as a new drive within a few seconds. Same as Windows Explorer,
you can drag/drop files to/from the hard disk of the player through the method of
cut, paste, copy and delete. If your computer cannot automatically recognize the
player, please refer to the Troubleshooting section in this manual.
Windows® 98SE
You need to install the USB driver first. Please refer to the instructions in the
supplied driver CD. After the computer restarts, you can use windows explorer
to cut, copy, delete and paste to put the files in or out from the player. Please
note there is also a user manual included in the USB driver CD.
CAUTION: If the player shuts down when connected to the computer, catalog
destruction or data loss might occur.
6.9.2 Disconnecting the Player from Computer
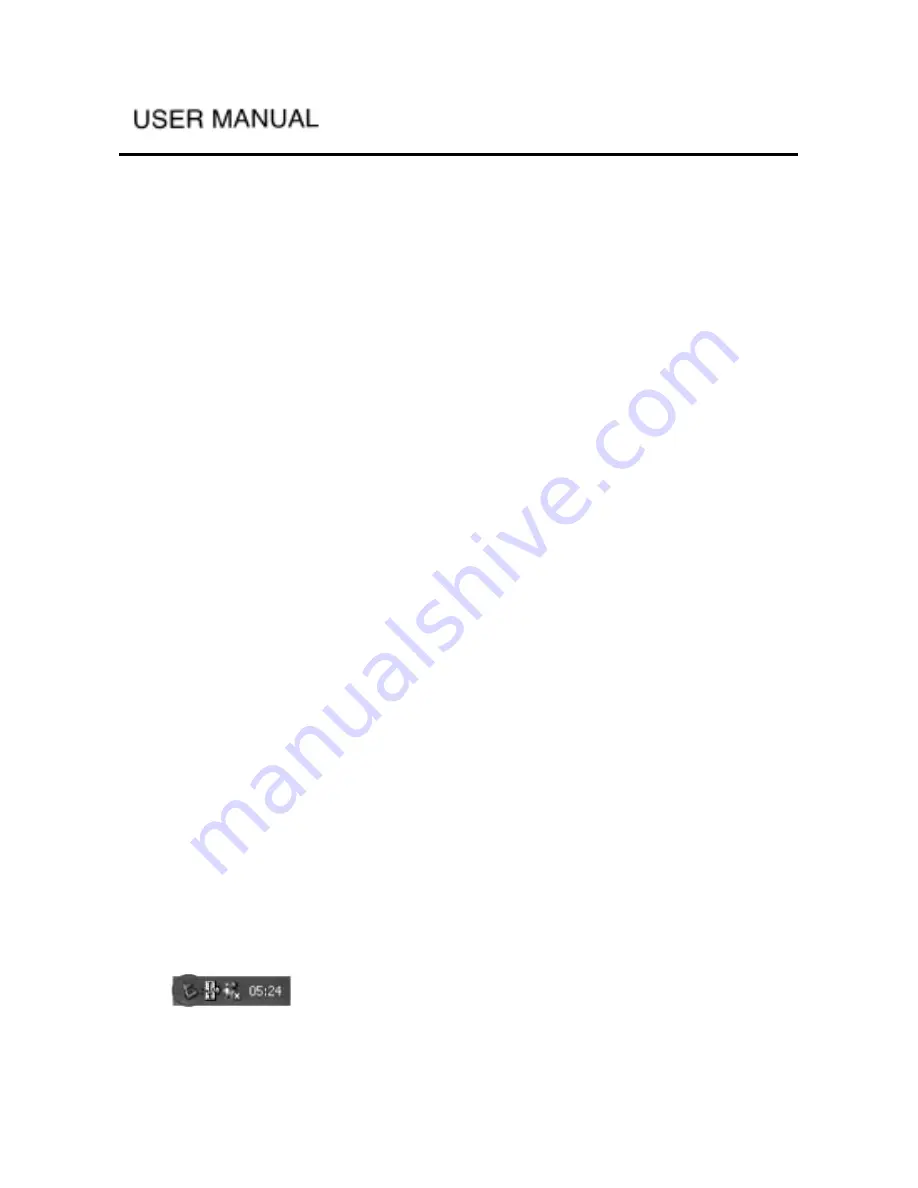
To disconnect the player safely, click on the system tray remove icon (green
arrow as shown below) and follow the instructions. Wait until your computer
shows a message saying that you can safely unplug the device, and then
disconnect the USB cable.
(1) The remove icon is on the system tray.


