12
SECTION 2: INSTALLATION
c.
Drill four screw holes according to the screw holes on the wall mount.
d.
Drill a 1-1/4" hole in the mounting surface between the mounting screws appropriate for the camera drop and
interface cables.
2.
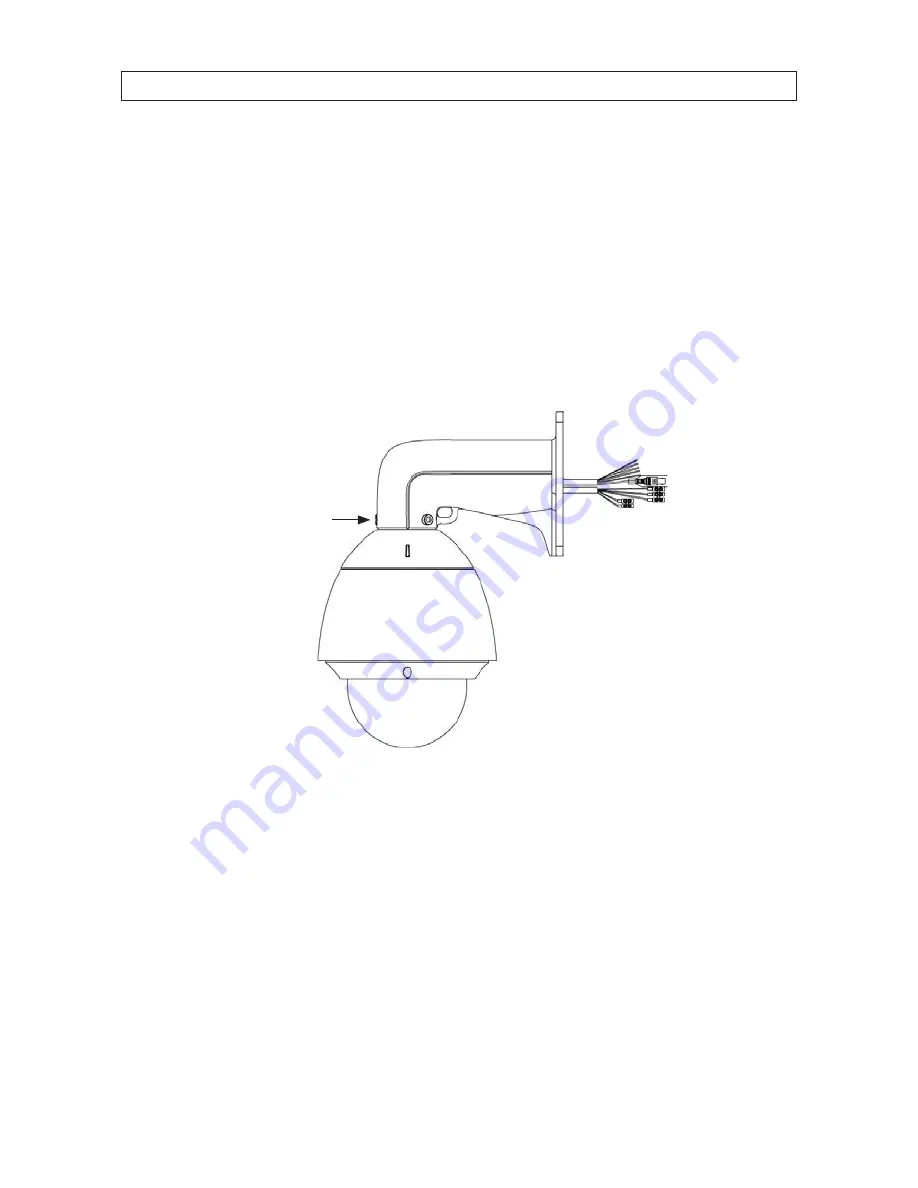
Secure the camera onto the wall mount bracket as shown below:
a.
Route the camera drop cables through the wall mount bracket.
b.
Rotate the connector of the camera housing onto the wall mount bracket.
c.
Tighten the set screws with the hex wrench (supplied) to hold the two units together.
Drop cable
Set screw (2)
Secure the camera to the bracket
3.
Route the camera drop cables through the hole for them drilled in the mounting surface.
4.
Using four fasteners, secure the camera to the mounting surface.
5.
Remove the protective plastic film from the lower dome.


