7
If you are new to the world of NDI® or BirdDog cameras, please follow this quick start guide to become familar with
the basic setup of your new camera. You can also view a similar online
.
Be sure to check the many helpful product videos on our YouTube
.
Basic Connections
Power
First off, you’ll have to decide on how you are going to power the camera. You have two choices. You can provide
24VAC 2.5 Amp to the breakout cable or use PoE+ (Power over Ethernet) via an optional power injector. If available,
PoE is the easier choice, since you can use the same Ethernet cable to power and control the camera, as well as
send the video, audio and data.
Network
Connect your camera to a PoE capable network switch with a Cat5/6 cable. By default, the camera is configured to
automatically obtain an IP address via DHCP. Some standalone or private networks may not have a DHCP server.
After 30 seconds of waiting for an automatically assigned IP address, your camera will fall back to a default address
of 192.168.100.100. To ensure that you can always reach your camera, it is recommended that you don't change this
default.
Power Up
When first powered up, the camera will perform it’s initialization routine by rotating to the left and then centering
again.
Basic Configuration
NDI® Tools
NDI® Tools is a free suite of applications designed to introduce you to the world of IP video and is available
.
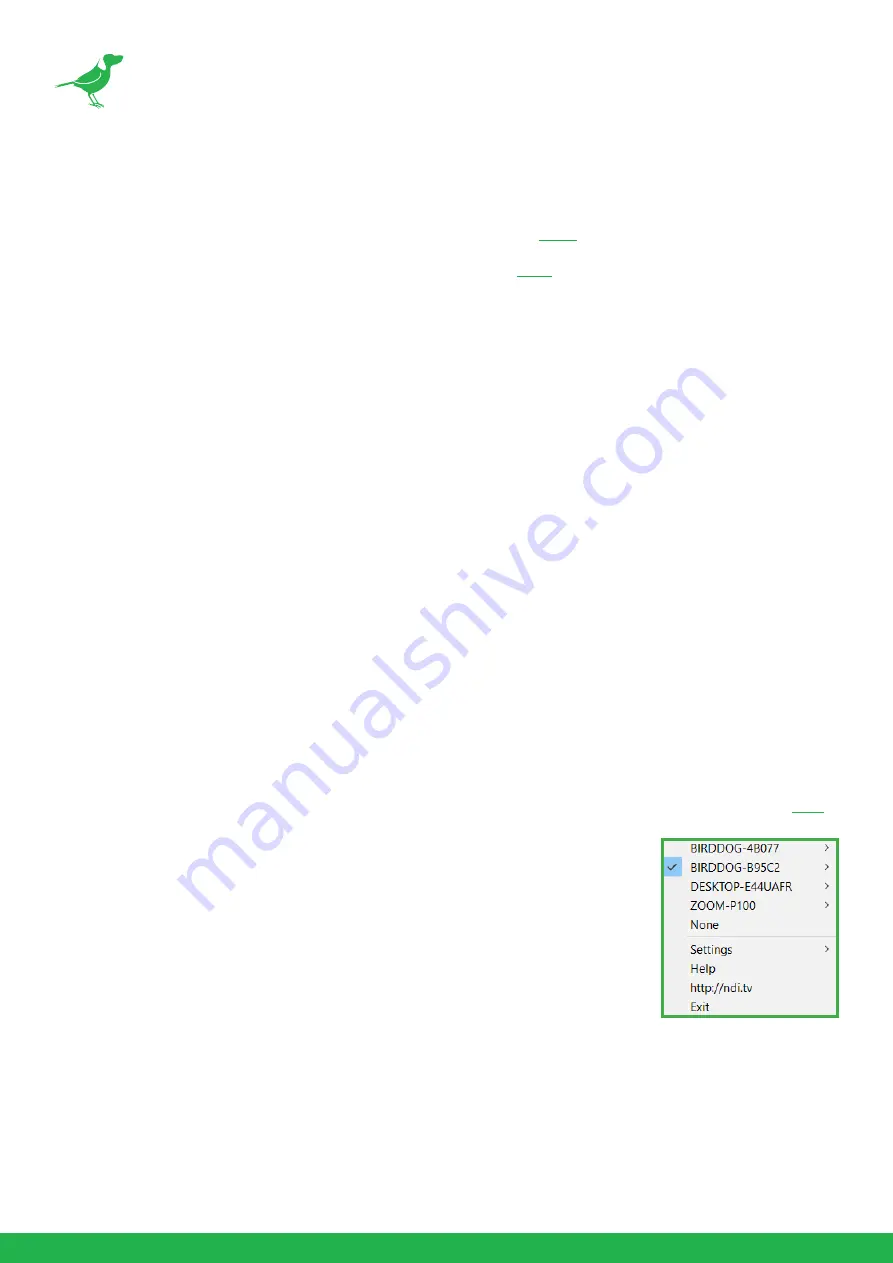
Once installed, launch the Studio Monitor (Video Monitor if on a Mac) application. This
simple application allows you to view all NDI® sources on your network. Right-click on
the Studio Monitor window to view your camera as an NDI® source. In the example to
the right, three cameras and a desktop computer are shown as NDI® sources.
Tip
By default, the displayed sources have names that include the last five digits of your
camera MAC address which is displayed on the bottom of the camera.
Clicking on your camera in the source list will display the image from your camera
with the default automatic settings.


