Gen5 Software |
39
After you have defined and saved the protocol, you can create an experiment and
read the plate:
1.
Create an experiment using an existing protocol.
2.
Select the protocol you created with the imaging read step, and click
OK
.
3.
Select a plate in the menu tree and read it.
4.
When prompted, give the file an identifying name.
5.
When the read is complete, images and measurement values appear in Gen5.
Select the desired data set from the Data list.
Using the Slide Holder
Manual Mode
1.
When prompted upon entering manual mode, select one of the slide holders
as your plate type.
2.
The slide holder plate map contains two well positions that correspond with
the two slide locations on the slide holder. Select the well position that
contains the slide you want to image.
3.
By default, the carrier moves so that the middle of the selected slide position
is below the objective. However, the sample on your slide may be in a
different location on the slide. To find the sample:
a.
Select your lowest-power objective.
b.
Select either
Small step
or
Large step
, then use the arrow buttons to
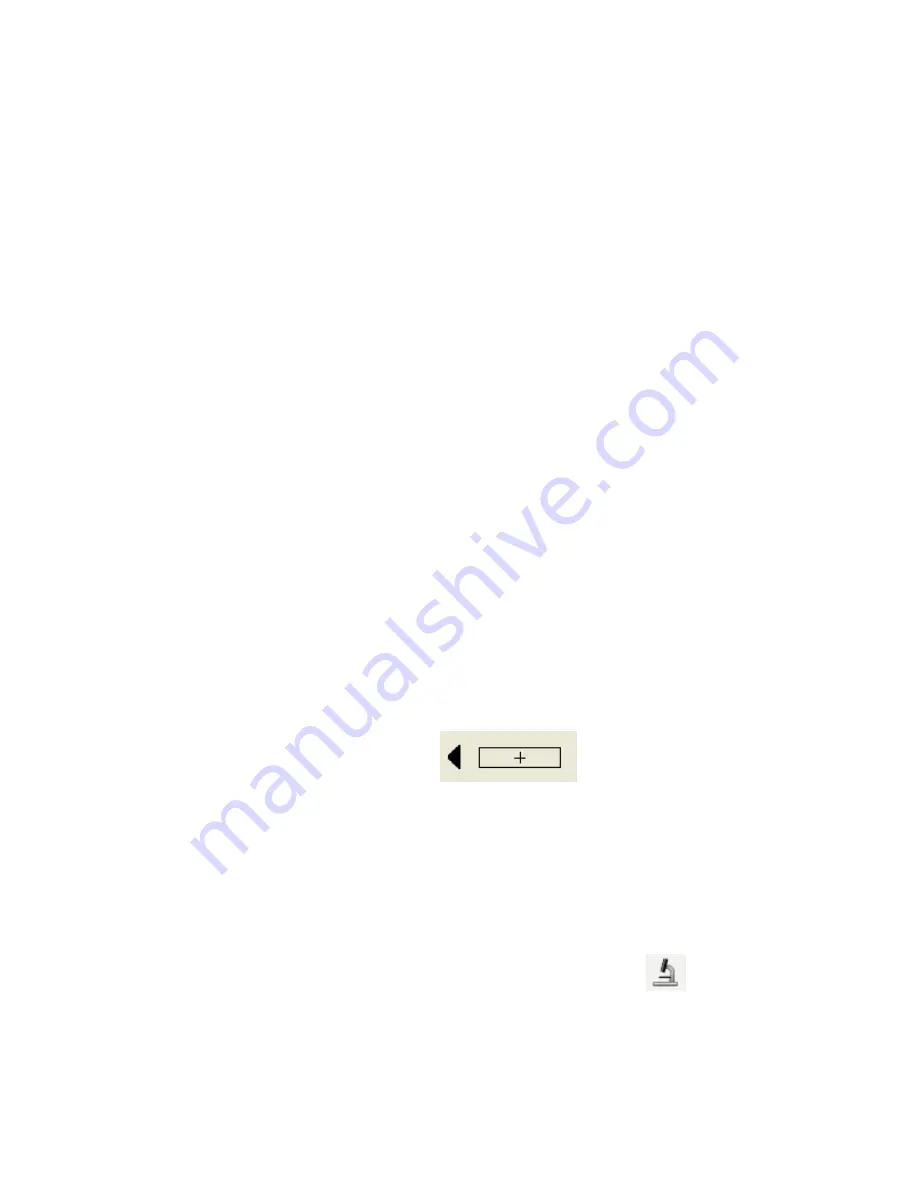
move the slide around until you find your sample. The cross in the slide
display to the right of the arrow buttons shows the general position of the
image in relation to the slide. The back arrow to the left of the slide display
shows the direction that the slide enters the read chamber.
4.
After you find your sample, you can change to a higher-power objective, if
desired, or define a Read step in a protocol using the x- and y-coordinates of
your sample, which are displayed below the Well button.
Experiment Mode
1.
In an experiment, select
one of the slide holders as the plate type, and create
an Image read step.
2.
Clear the
Auto
box to turn off Auto Exposure, then click
to enter
manual mode.
3.
Follow steps 2 and 3 in the manual mode procedure (above) to find your
samples, then click
Save settings
. Gen5 imports your exposure settings
Cytation 5
Summary of Contents for Cytation 5
Page 13: ...Installation ...
Page 31: ...14 Install the Imager Module 19 Cytation 5 ...
Page 37: ...Getting Started ...
Page 54: ...42 Getting Started BioTek Instruments Inc ...
Page 55: ...Maintenance ...
Page 66: ...54 Maintenance BioTek Instruments Inc ...
Page 67: ...Instrument Testing ...
Page 113: ...Specifications ...


