(Optional) Establish Communication | 19
800 TS
1.
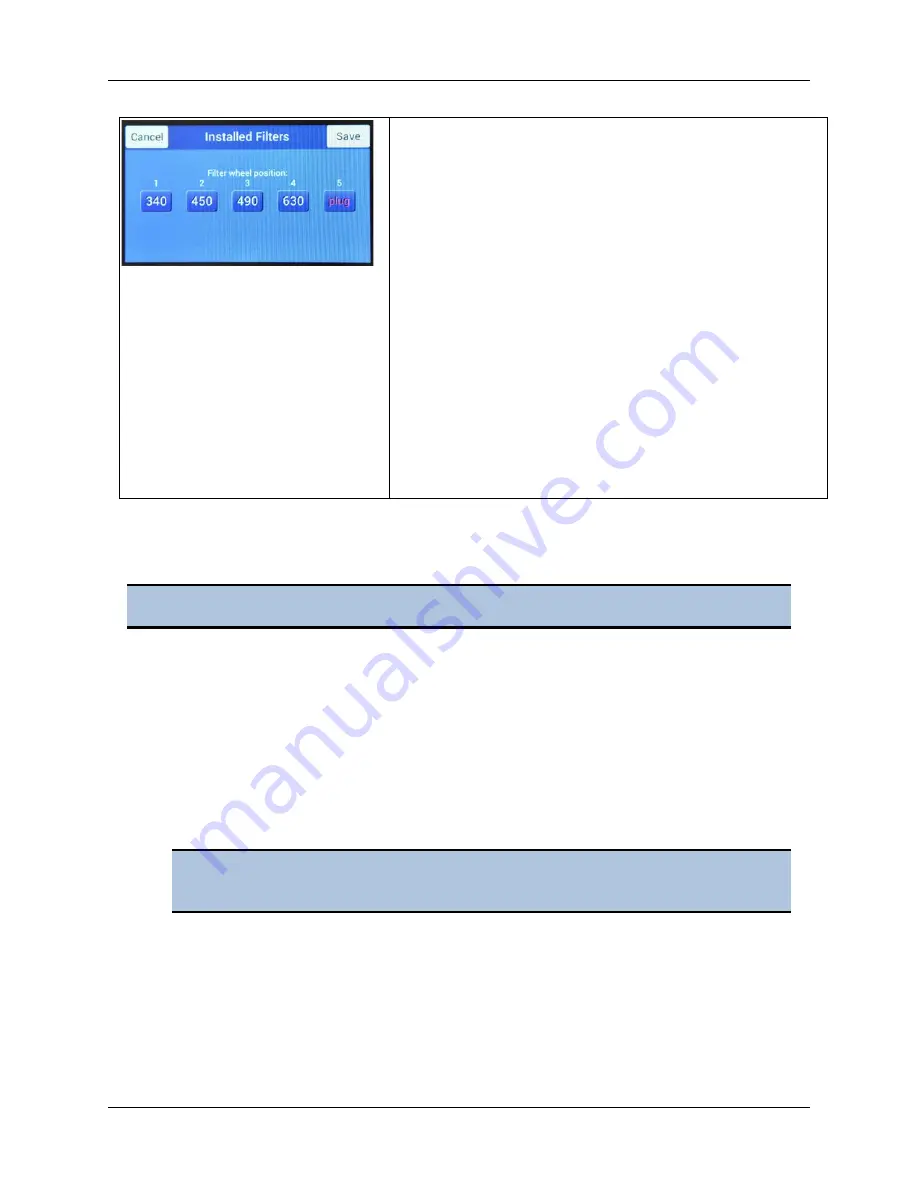
From the Main Menu, tap
Instrument
, the
Config
tab, and then
Filter Table
. Filter wheel
locations 1 through 5 are shown, with each
location’s filter value (in nm) or “plug” for a
blank filter.
2.
Verify that the values match the contents of
the filter wheel. See the
Installation
chapter
for instructions for accessing the filter wheel.
3.
To change the setting for a filter wheel
position, tap its value and use the keypad to
enter a wavelength value (in nm), or select
Plug
. Tap
OK
when finished.
4.
If you made any changes, tap
Save
in the
Installed Filters screen. The filter values are
now available for selection in protocols and
the absorbance test plate setup screen.
12.
(Optional) Establish Communication
1.
On the host computer, start Gen5 and log in if prompted. The default System
Administrator password is
admin
.
2.
From the Gen5 main screen, select
System > Instrument Configuration
and click
Add
.
3.
Set the Reader Type to
800 TS
.
4.
Perform one of the following steps, as applicable:
•
Select
Plug & Play
.
•
Set the Com Port to the computer's COM port to which the reader is
connected.
NOTE:
Instrument must be at the Main Menu screen for Gen5 communication to occur.
An 800 TS must be connected via USB to the computer and turned on to appear
in the Available Plug & Play Readers list.
Summary of Contents for 800 TS Series
Page 1: ...800 TS Absorbance Reader Instructions for Use BioTek Instruments Inc 2017 PN 1561011 Rev A ...
Page 12: ...xvi Safety Symbols BioTek Instruments Inc ...
Page 13: ...Installation ...
Page 28: ...BioTek Instruments Inc 24 Repackaging and Shipping Instructions ...
Page 29: ...Getting Started ...
Page 41: ...Maintenance ...
Page 48: ...BioTek Instruments Inc 44 Filter Storage and Handling ...
Page 49: ...Instrument Testing ...
Page 55: ...Specifications ...


