


Irys® User Guide
07/10/2015
25
For Research Use Only. Not Intended For Diagnostic Purposes.
4.3 Focus & Register
The Focus & Register workflow engages the camera and raises the Objective to the focal plane of the IrysChip.
The Focus & Register screen allows for manual verification of system focusing and registering; and manual
intervention, if necessary.
1. Focus: When the workflow progresses to the Focus & Register screen, the camera and Objective automatically
engage onto the Fiducial. If the image is not in focus, follow the steps below to troubleshoot:
a. Is the focus z-position inaccurate?
i. If so, press Stop Lens and then press Search For Focus, which engages a search algorithm to find focus.
Allow the search to proceed for approximately two minutes. If still not in focus, press the Stop Lens button
and manually attempt to find focus using the Up and Down Arrow buttons. If focus is achieved, press the
Autofocus button. If focus is unsuccessful, reoil lens and try again. If still unsuccessful, contact Support.
Once the image is in focus, proceed to step 3.
b. Is the oil on the Objective distorting the clear image?
i. If so, press Reoil Objective. Then follow the steps for cleaning and oiling the Objective. Then press the
Retract Stage button (previously the Reoil button) to initiate the automatic focusing process again. This
action can be repeated until the Objective is properly oiled. Once the XY Stage retracts, return to step 2
and allow Irys to focus on the IrysChip.
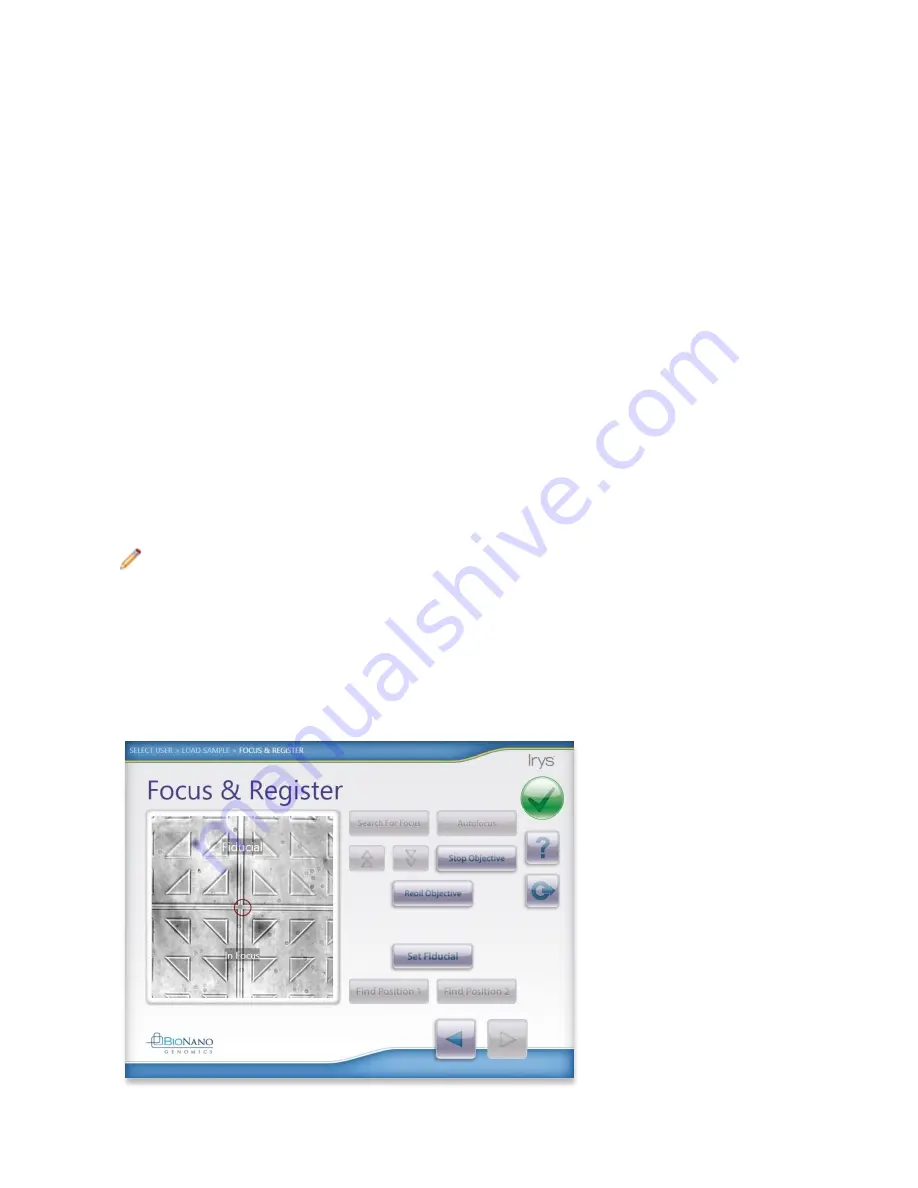
2. Center and Register: Once the Objective is in position and focused, manually center on the Fiducial by
tapping the Fiducial touchscreen in the direction to center the red calibration marker onto the intersection
point.
3. When the Fiducial image is in focus and centered, press Set Fiducial.
Note:
A red calibration marker indicates the image is in focus. The Set Position and Set Fiducial
buttons will become active once focus is achieved.
4. Then press Find Position 1. (A successful Find Position 1 will present the red calibration marker centered
over the intersection of the single tie and crossarm (cross).
a. If the Find Position 1 is not centered, find the Position 1 tie and crossarm manually.
i. Tap on the Fiducial image in the quadrant you want to move the red calibration marker to until you
center the calibration marker over the Position 1 tie and crossarm.
ii. Then press Set Position 1 to register.
Figure 20: Proper Registration of Fiducial Mark


