


Initial test for the camera and lens assembly
Procedure (For Gel Doc 2000/ChemiDoc/ChemiDoc XRS systems)
1. Press the Epi-Illumination Key.
2. Open the door and check if light is on.
3. Place the focusing target on the UV transilluminator.
4. Start the image acquisition software in your PC (TDS Quantity one).
5. Choose the right configuration (Gel Doc or ChemiDoc or ChemiDoc XRS)
6. You should get the image of the target. Using the lens control buttons on the membrane touch
pad or the control panel that appears in the PC screen, find the best Iris, Focus, and Zoom
conditions.
Note: Working with a widely open Iris and changing the Zoom may require you to adjust
the Focus. To reduce this need to focus with a dim sample it is suggested to close the iris
and increase the integration time
.
Test Procedure (For ChemiDoc XRS systems Only)
NOTE: The Operation Test for the ChemiDoc XRS system is different from the Gel Doc
2000 or ChemiDoc systems. Please note that the steps described below must be performed
in either of the following scenarios
a. When installing the system with a new computer or Camera
b. When software is first installed or reinstalled for any reason
1. Make sure that all the lights in the universal hood are off.
2. Make sure that the Lens Cap is ON the lens so that no light would enter the Camera.
3. Power ON the camera and the Universal Hood if not done already
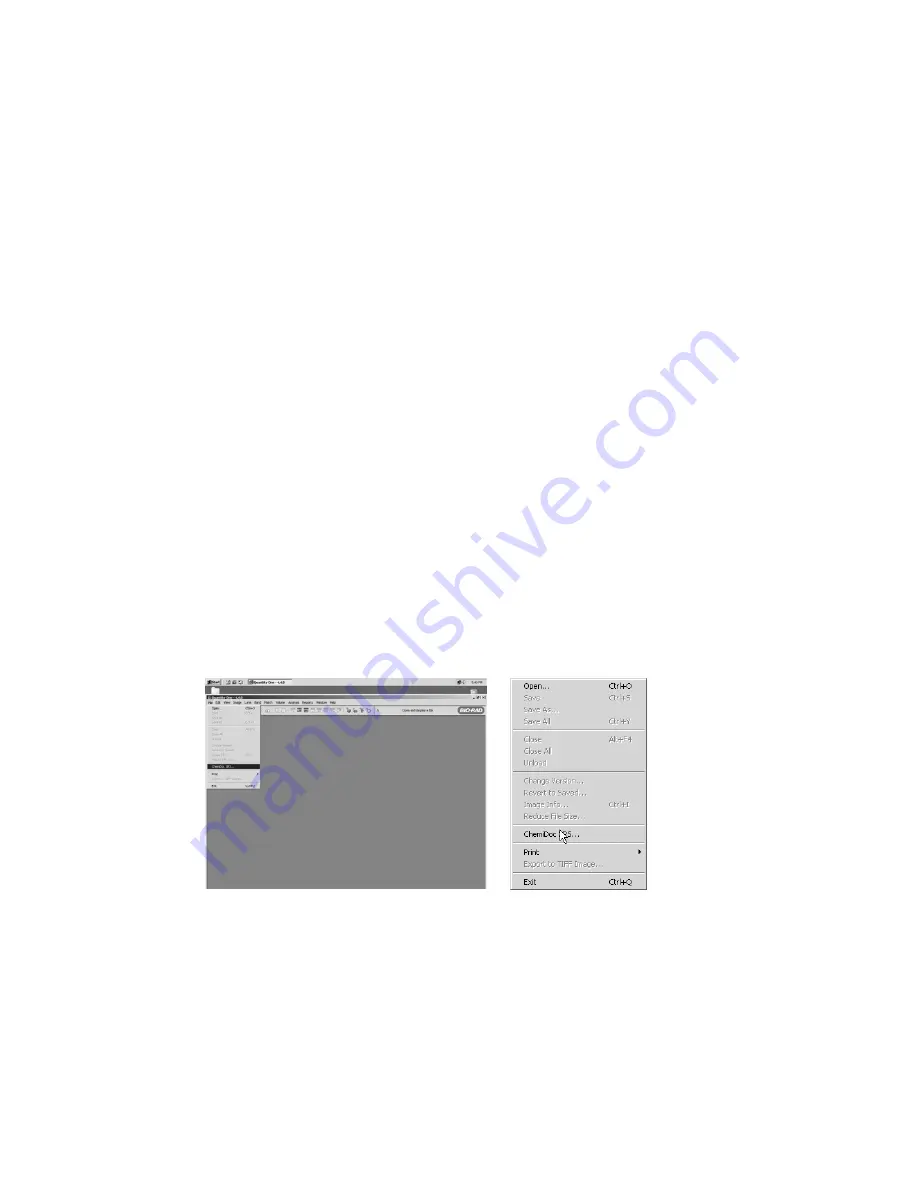
4. Double click on Quantity One software icon on the desktop From “File Menu” select
ChemiDoc XRS.
Quantity One Window
Select ChemiDoc XRS from File Menu
5. The following window will open with a notification that the system will be acquiring Dark
Reference Data images.
Page 23 of 42


