


Creative sewing
95
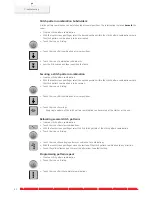
In the left portion of the display the position of the currently active point is indicated additionally. The
horizontal distance of the point to the center line is indicated in millimeters. The vertical distance of the point
to the previous point is also indicated in millimeters.
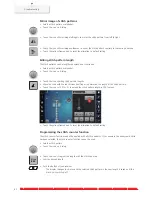
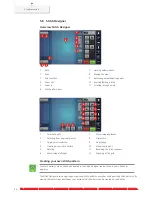
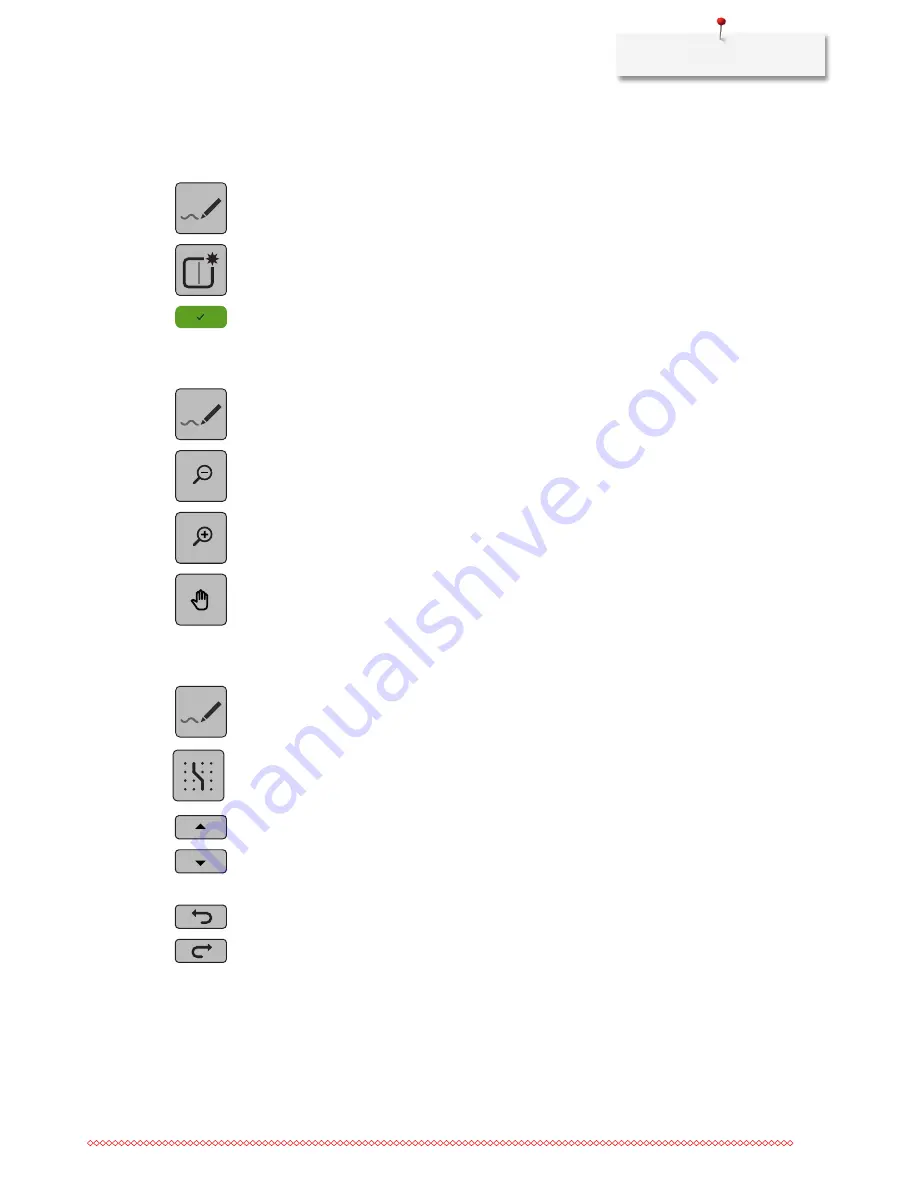
> Touch the icon «Stitch Designer».
> Touch the icon «Creating a new stitch pattern».
> Add a point on the display with the touchscreen pen/finger.
> Add more points on the display as desired.
> Touch the icon «Confirm».
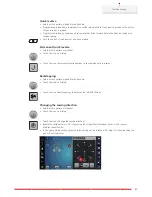
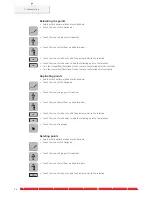
Editing the view
> Select a stitch pattern, alphabet or buttonhole.
> Touch the icon «Stitch Designer».
> Touch the icon «Zoom out» to minimize the view of the stitch pattern.
> Touch the icon «Zoom in» to enlarge the downsized stitch pattern view.
> Touch the icon «Move the view».
> Move the view of the stitch pattern using the touchscreen pen/finger.
Inserting points
> Select a stitch pattern, alphabet or buttonhole.
> Touch the icon «Stitch Designer».
> Touch the icon «Engaging at the grid» to have the grid points displayed.
– Every inserted point is automatically placed on the nearest grid point.
> Touch the icon «Scroll up» to select the point after which a new point is to be inserted.
> Touch the icon «Scroll down» to select the point to select the point after which a new point is to be
inserted.
> Add more points with the touchscreen pen/finger.
> Touch the icon «Undo» to undo the last work step.
> Touch the icon «Redo» to restore the last work step.


