


Sewing preparation
45
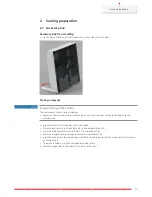
2.10 Needle and stitch plate
Changing the needle
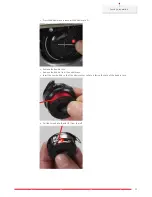
> Raise the needle.
> Switch the machine off and disconnect it from the power supply system.
> Remove the presser foot.
> Loosen the fixing screw of the needle using the screwdriver gray Torx.
> Pull the needle down.
> Hold the new needle with the flat side to the back.
> Insert the needle as far as it will go.
> Tighten the fixing screw of the needle using the screwdriver gray Torx.
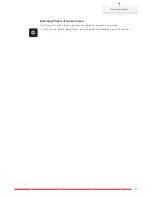
Selecting the needle in the User Interface
After having changed the needle, it can be checked whether or not it is suitable to be used together with the
selected stitch plate.
> Touch the icon «Needle selection».
> Select the inserted needle.
– If the selected needle is suitable in combination with the selected presser foot, sewing can be started.
If the selected needle is not suitable in combination with the selected presser foot, an error messsage
appears and sewing cannot be started.
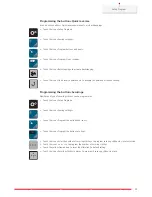
Selecting needle type and needle size
Convenient memory function: To prevent a loss of information, the needle type and the needle size can be
saved additionally on the machine. The saved needle type and the saved needle size can be checked at any
time.
> Touch the icon «Needle selection».


