


Operation
46
Personalizing the projector menu display
The On-Screen Display (OSD) menus can be set according to your preferences. The
following settings do not affect the projection settings, operation, or performance.
• Language in the SYSTEM SETUP: Basic menu sets your familiar language for
the OSD menus. Press Mode/Enter to display language page. Use
/
/
/
and Mode/Enter to select your language.
• Menu Display Time in the SYSTEM SETUP: Basic > Menu Settings menu
sets the length of time the OSD will remain active after your last key press. The
time length ranges from 5 to 30 seconds in 5-second increments. Use
/
to
select a suitable time frame.
• Menu Position in the SYSTEM SETUP: Basic > Menu Settings menu sets
the OSD position in five locations. Use
/
to select a preferred position.
• Reminder Message in the SYSTEM SETUP: Basic > Menu Settings menu
sets whether to display reminder messages on screen. Use
/
to select your
desired setting.
• Splash Screen in the SYSTEM SETUP: Basic menu sets a preferred logo
screen to be displayed during projector start-up. Use
/
to select a screen.
Select the lamp saver mode
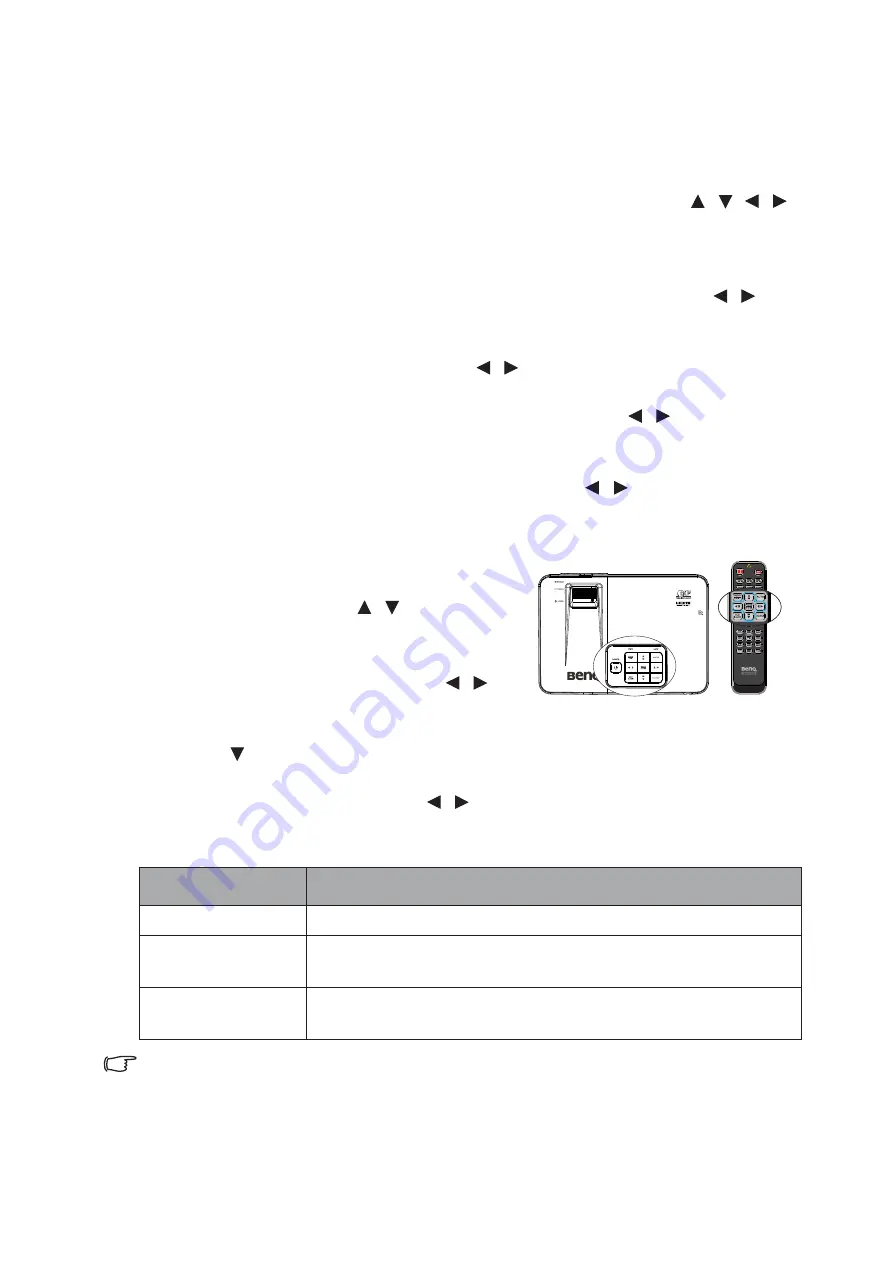
• Using the remote control.
Press LAMP MODE and the lamp mode
selection
bar appears. Use
/
to select
Normal/Economic/SmartEco.
• Using the OSD menu.
1.
Press Menu/Exit and then press
/
until the SYSTEM SETUP: Advanced
menu is selected.
2.
Press to select Lamp Settings and press Mode/Enter. The Lamp Settings
page displays.
3.
Select Lamp Mode and press
/
to select Normal/Economic/
SmartEco.
The lamp brightness vary from the different lamp mode,see the
description list in table below.
If the Economic mode or SmatEco mode is selected, the light output will
be reduced and result in darker projected pictures.
Lamp Mode
Description
Normal
Provides full lamp brightness
Economic
Lower brightness to extend the lamp life and decreases the fan
noise
SmartEco
Adjusts the lamp power automatically depending on the
content brightness level


